

1⁄35Trail Blazer
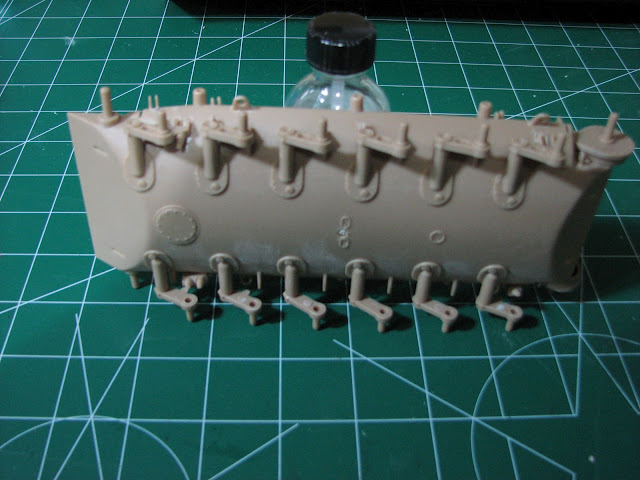
The Lower Hull
Initial construction was relatively simple and began with the running gear and suspension. The suspension was pretty well laid out with only a few parts needing some fit adjustments.
All of the wheel s were trimmed from the sprue tree and run over with a clean, new no 11 blade. I then went over each of the road wheels with the fine side of an emery board and then fine grit sand paper. I have taken the extra step of weathering the road wheels. Road wheels take a lot of abuse and the rubber often gets worn quickly over rocky and sandy terrain
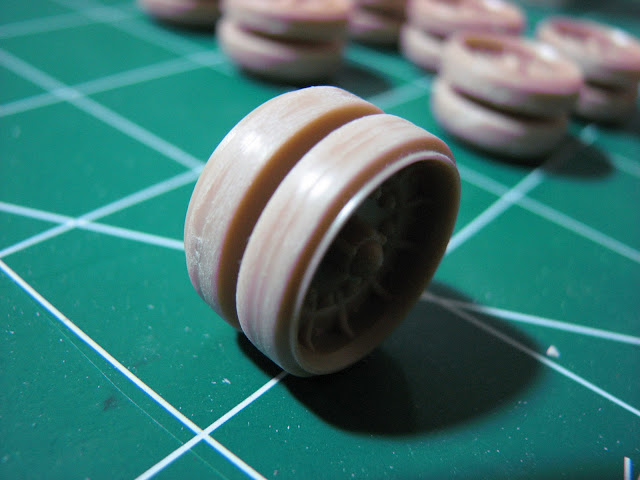
A good look at pictures from the field will show you that many road wheels often have divots and even large chunks gouged out of them, some even wearing down to the metal rims! Tracks likewise get severely worn and often the pads are completely worn to the metal as well, but more on that later.
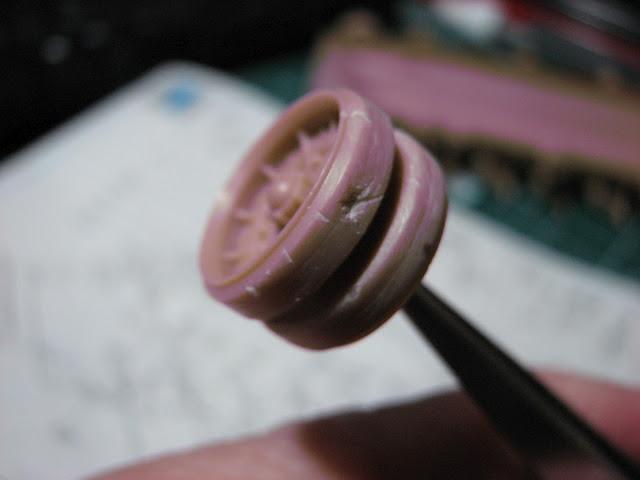
After all of the road wheels were in place I noticed that one or two were out of alignment and did not meet up with the ground.

This being my first kit in a while there are things to point out now. The running gear and suspension need to be lined up correctly (measure twice, cut once) before ANY glue is put on. Since I incorrectly assumed that the kit designers have done all this work for me by having little notches where things are supposed to line up. Needless to say hindsight is 20/20... Especially on the left drive sprocket, which I somehow managed to miss align the sprocket teeth on the inside and outside. How I did this, I have no idea as I thought that these could only line up one way, but there you go. Note to self, check fit PRIOR to gluing. Lesson learned.
The rest of the lower hull items were pretty uneventful and is just a matter of filling some holes and sanding the mould seams down.
About the Author

FROM: WASHINGTON, UNITED STATES
I have been "building" models, collecting and starting mostly, since I was a kid and really started getting into it in my teens. The Tamiya kits if the 80's were what did it for me. I actually became a tanker in the US Army just to get a chance to study the Abrams up close (and drink German beer). I...
Comments


All Rights Reserved. Please read our Conditions of Use and Privacy Policy.