

1⁄35Trail Blazer
The Upper Hull
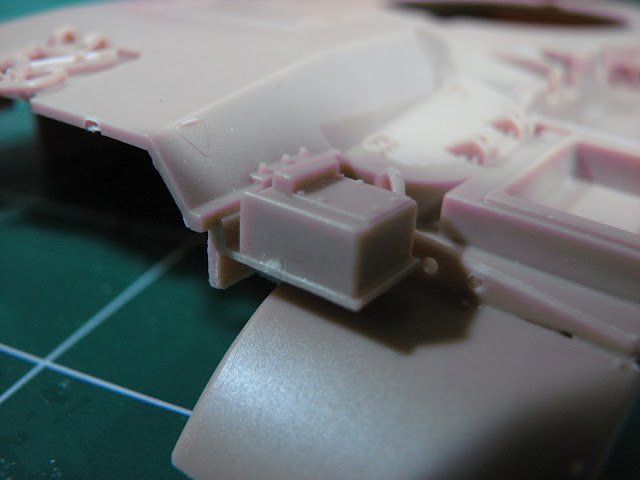
The upper hull presents a few items that need some attention, such as the rear infantry telephone box. The instructions look to have you anchor it directly onto the right rear fender, but all of the photos I have of the actual vehicle show it mounted just above the fender on its own bracket. I chose NOT to make a bracket and mount it directly onto the side of the engine compartment and above the fender. Looks more realistic than the kit instructions. This item can be seriously improved with some PE or some minor scratch-building, but again my plan was to do this OOB.
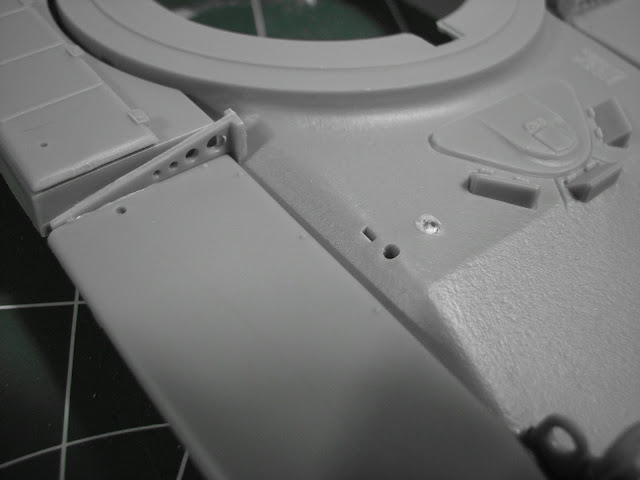
There are two items on the front upper hull that should NOT be included if you are building this as an IDF M60. I believe that these are a heater exhaust and a bilge pump outlet, feel free to correct me if I am wrong here. These holes needed to be filled with putty and sanded now that those parts are not included, even though the instructions tell you otherwise. Something to mention here is that NOTHING, BUT NOTHING takes the place of good research, even instructions, again measure twice, cut once.
Next order of business was the front slope elements such as the lights and light guards. The lights were no issue other than making sure they face front by looking at them top down when gluing in place. The light guards need to be taken down a bit to fit properly and correctly in front of the lights. This is achieved by sanding down the bottom of the bracket that holds them in place and checking the fit prior to gluing, alas to say, I did not...
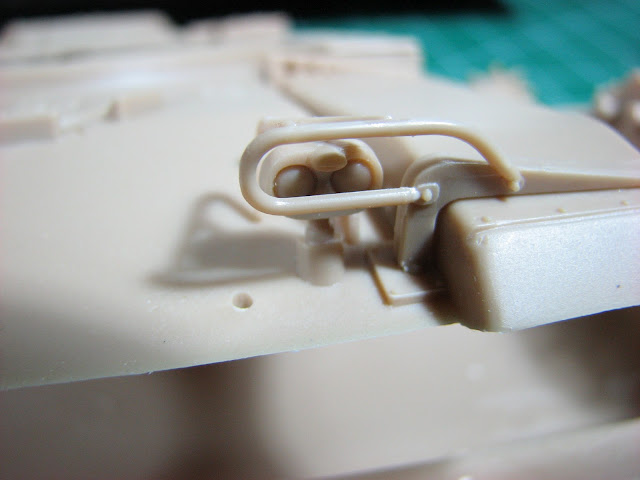
Again the instructions differ from real life - the direction of the stretcher on the left front fender. The instructions have you orienting the handles to the rear of the vehicle all of my photos show them 180 degrees facing to the front, this is not a huge issue, but again with the research. The first of the blazer blocks on the front slope fit well and without issue. The blazer blocks to either side of the drivers compartment need some pre-fit before gluing in place as the driver's hatch, if positioned open, could interfere with them. Fit for these is not ideal, and should be addressed with good research and test fitting with tape or blue tack to check the look, if you will, as the proportions seem to be off. I took the added step of positioning the driver's hatch open, to test fit the blocks on the right side of the hatch to make sure that it would be feasible for the block to rest there if the hatch were to be opened.
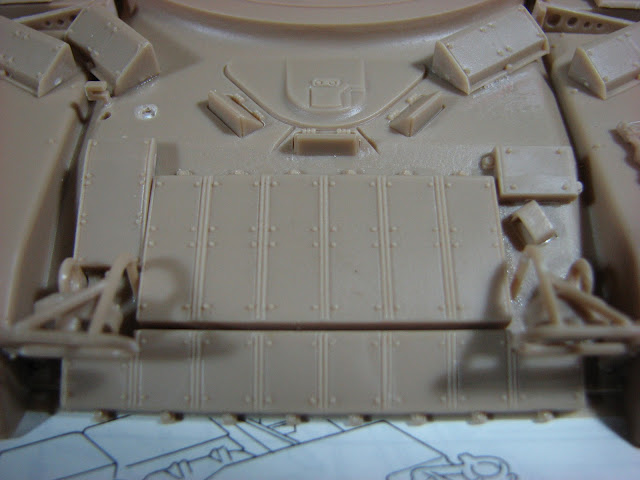 Br>Rest of the front slope and the upper hull had little to no issue except of the air cleaner box which warrant some sanding and filling and careful placement. On the actual vehicles in the field, especially during the Peace for Galilee operation, boxes were tied on in front of these so if you put the boxes/crates in front of them, this is a non issue, again I was trying to be thorough even for this OOB build.

About the Author

FROM: WASHINGTON, UNITED STATES
I have been "building" models, collecting and starting mostly, since I was a kid and really started getting into it in my teens. The Tamiya kits if the 80's were what did it for me. I actually became a tanker in the US Army just to get a chance to study the Abrams up close (and drink German beer). I...
Comments


All Rights Reserved. Please read our Conditions of Use and Privacy Policy.