

1⁄35Trail Blazer
Adding Life To The Tank
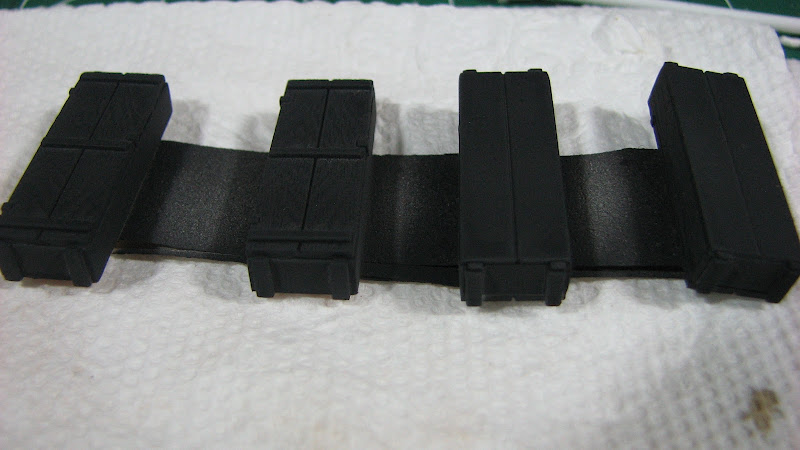
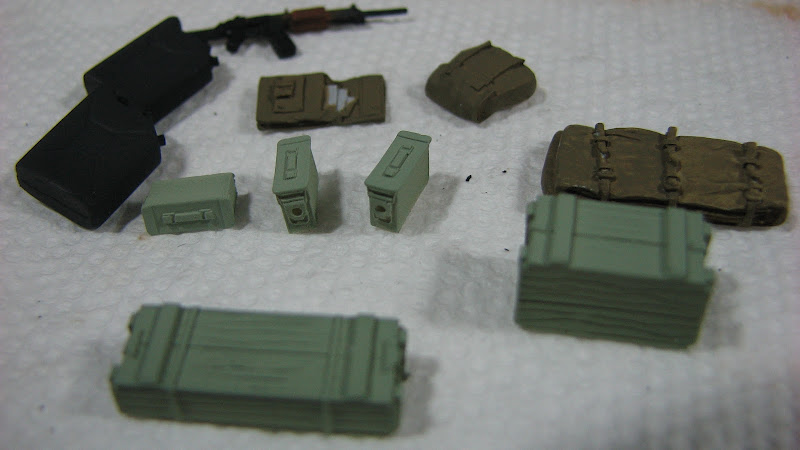
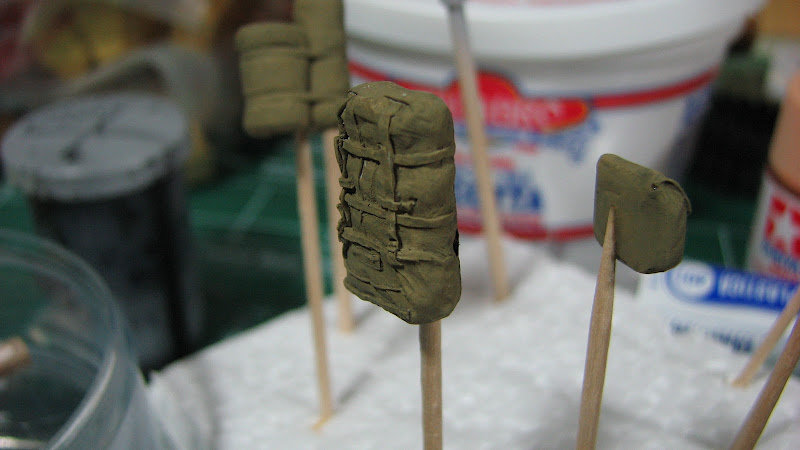
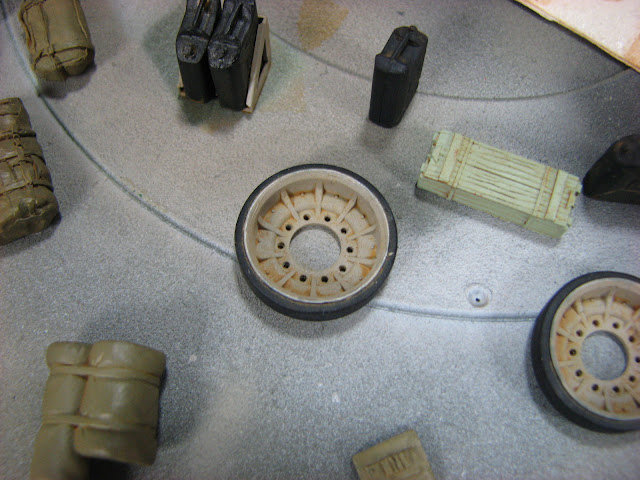
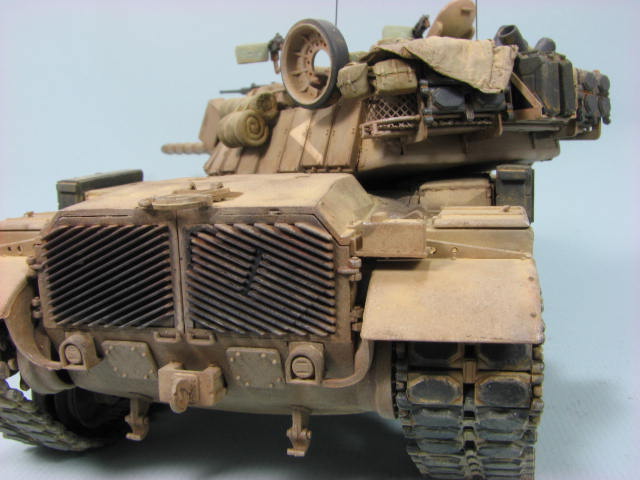
The stowage items were added to the turret with CYA or PVA glue where appropriate and then weathered with the rest of the model. In this project I intentionally left off the stowage until after the washes were done. The thinking was that I could weather the whole deal, see how it came out and then add stowage in the necessary places, just in case. I weathered the stowage with acrylics thinned with water initially, then after a coat of future with a small amount of oils to tie it into the look of the tank.

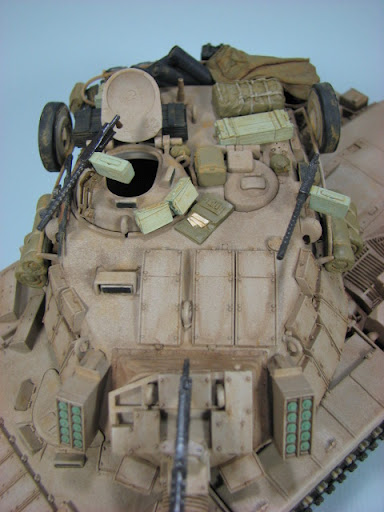
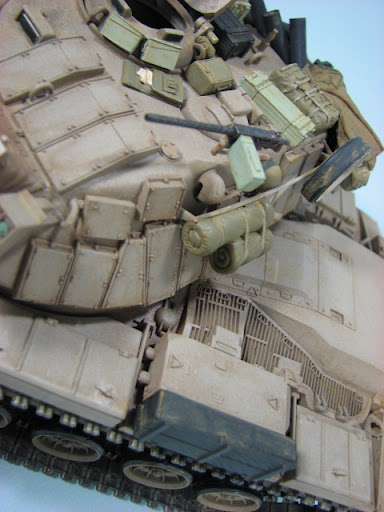
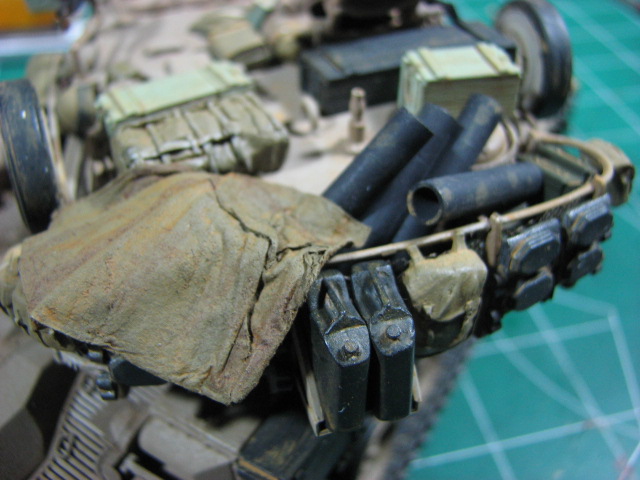
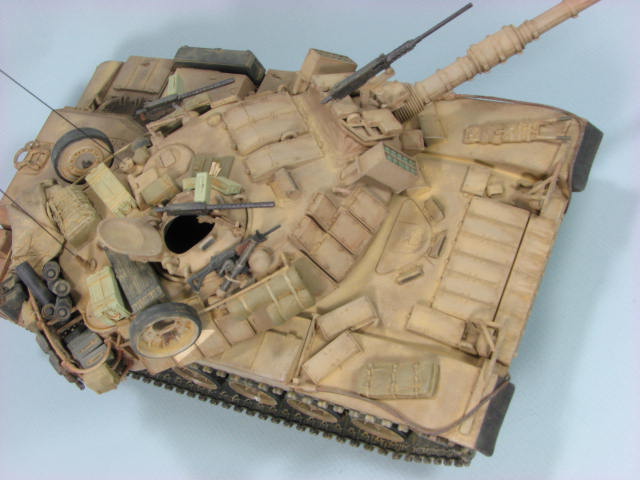
Once all of the stowage was set, I then used the chalks to do a final dusting layer and tone down everything. Antennas were then added and the bases hit again with the chalks. Antennas were made from carbon fiber rods that I found on the internet and bought in a small bulk lot, shipping was more expensive than the parts, but theyll last for a few kits at least.

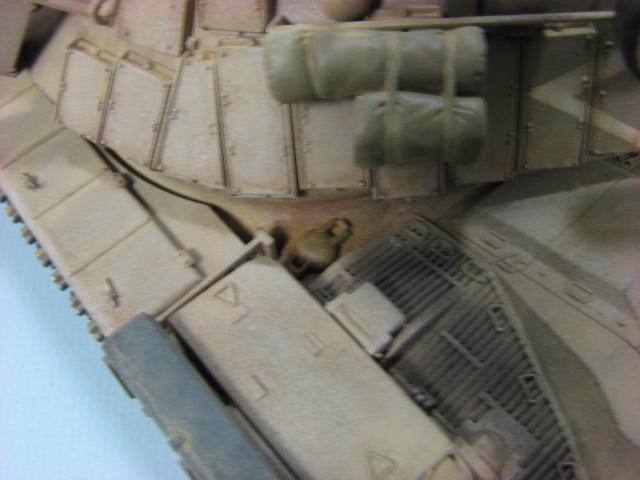
Fuel stains around the filler caps were done at the same time as the overall washes, using the base colour with some RED added to give the pinkish hue that diesel has to the colour. This was exaggerated a bit as it will be toned down later with the addition of pastel chalks. This diesel mix was then mixed with some linseed oil to add that fresh fuel and oil look to it. Once the clear flat was applied this was repeated to keep that wet look. The oil paint and linseed oil were also added to other areas that would benefit from the look of fresh grease or oil or to add other stains on the tank once the flat clear was applied and before the chalks.
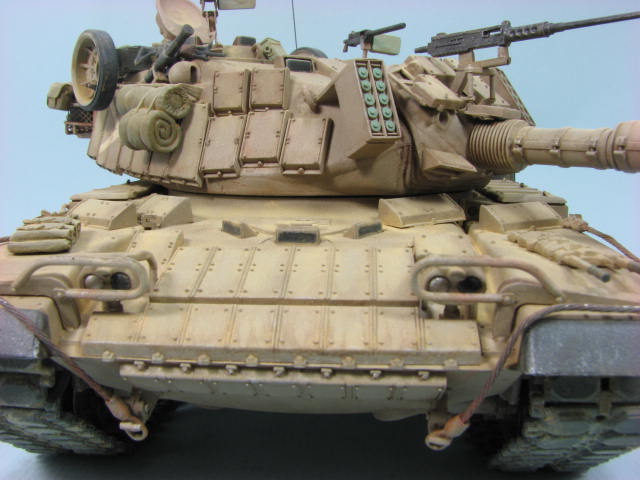
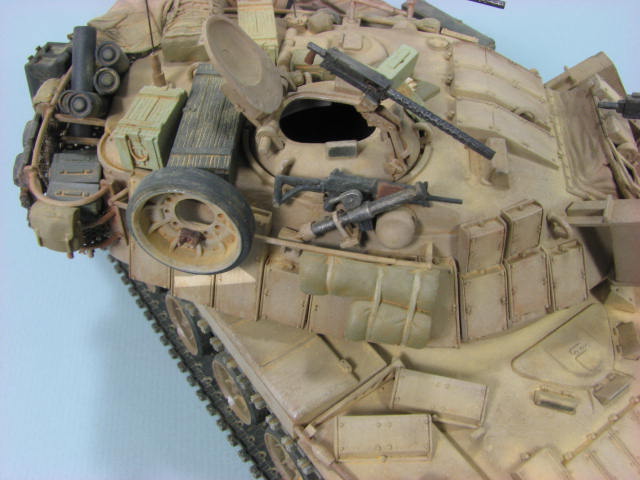
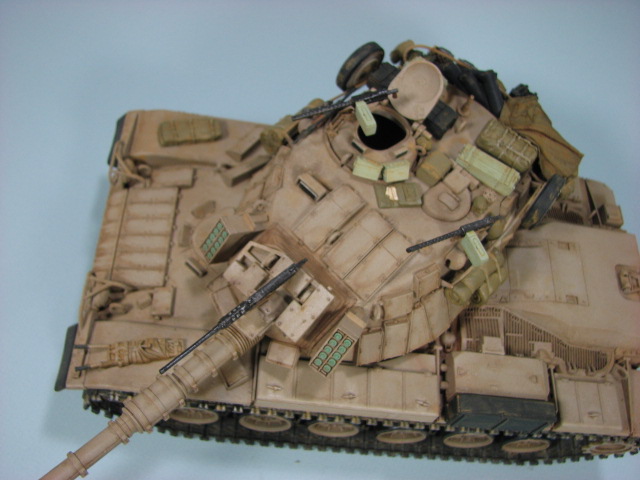
Chipping and dry brushing for me are one of the big selling points that can be overdone if you are not careful. I usually choose to play it safe and take the less is more approach. Although, the IDF vehicles in the PFG operation really took a beating and need to be sufficiently weathered. From photos I have, I made up a batch of paint that would work well as an undercoat that would be exposed by the paint wearing off; this would be my chipping colour. Many like using the sponge method for applying chips and wear, I prefer to use a fine brush in most places like along edges of panels or surfaces and such, and save the sponge for doing large flat areas like the engine deck, which would be subject to wear by the crews boots and tools.

The colour ended up being Tamiya NATO green, this was mostly wiped from a brush and then gently drybrushed across areas that I felt would have the most wear and tear. This was then done over with Tamiya flat aluminum again, sufficiently removed from the brush so that there was literally almost no colour at all and ever so gently hovered above the area to give the impression of paint wearing away to bare metal. The look I think came out well and in some places really good.

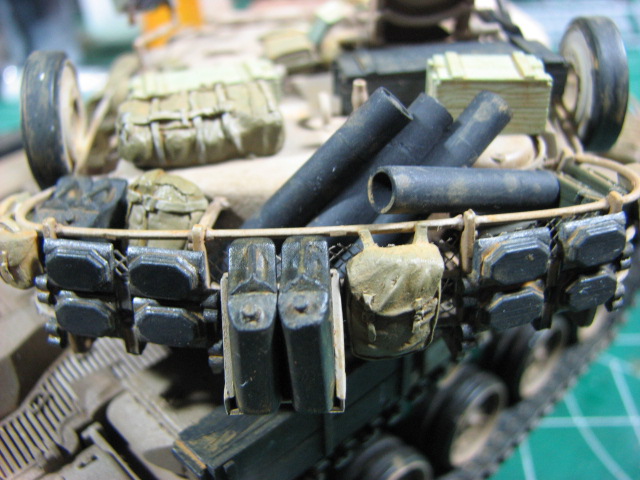
After chipping and dry brushing was done I applied a light dusting to the running gear and track using the same pastel chalks (Old School!) that were shaved off with a razor blade and applied with a large sable brush. Just a quick note here: I paid $6 or less for a set of pastel chalks in earth tones back when I was 14, I still have it and most are unused or very slightly used and there are a dozen colours, much more economical than pigments - just sayin. I went over a few areas of the tank with a rust color red chalk to bring out some extra depth and wear. This was especially used on the engine exhaust area, sparingly, to accentuate the worn paint by engine heat and elements over time.
About the Author

FROM: WASHINGTON, UNITED STATES
I have been "building" models, collecting and starting mostly, since I was a kid and really started getting into it in my teens. The Tamiya kits if the 80's were what did it for me. I actually became a tanker in the US Army just to get a chance to study the Abrams up close (and drink German beer). I...
Comments


All Rights Reserved. Please read our Conditions of Use and Privacy Policy.