

1⁄35Trail Blazer
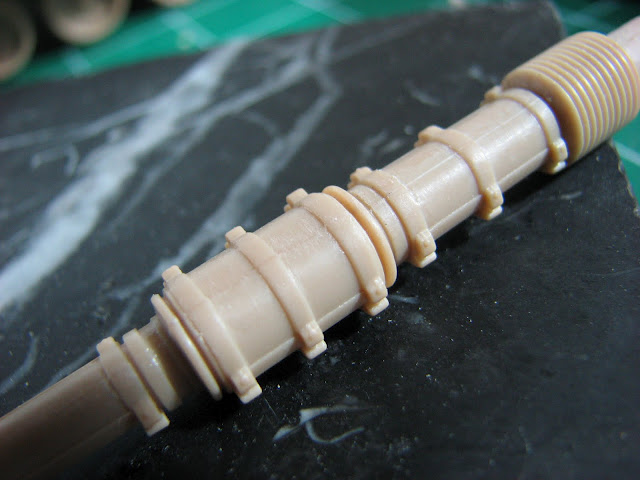
The Business End
Care should be taken when sanding the seams on the main gun as there are a lot of details that could be screwed up. My suggestion is to use some narrow sanding sticks and or sanding strips, as I did not have these, I progressed slowly, but I think that all in all, it turned out well.
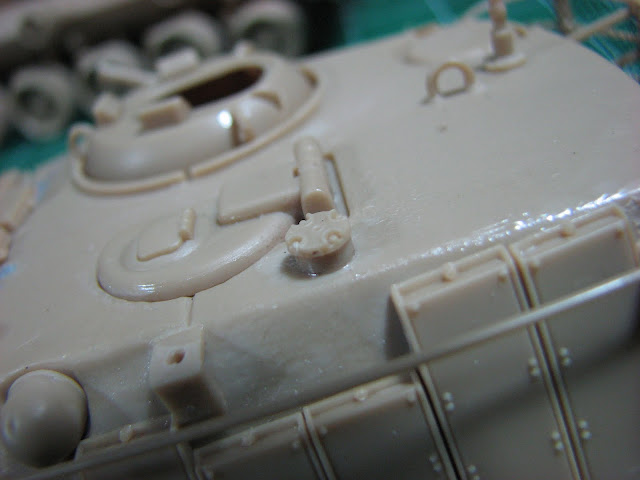
One item of note that is not included in the instructions (see how we keep repeating these lessons?) is the antenna mount that is just behind the loaders hatch. This part is included on the sprue tree but there is no mention of it. It should be obvious where it goes, just look at the pictures.
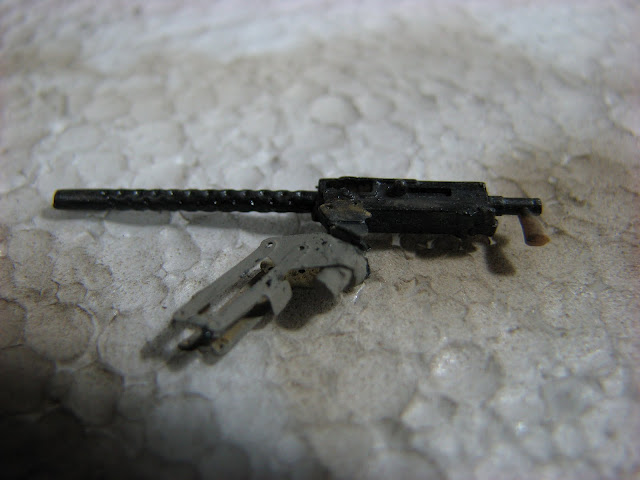
One item I will mention is that the instructions are not the best. Tamiyas, which unfortunately I have become accustomed to, are really straightforward and easy to read. Escis are not. The placement of some of the blazer blocks is left open to interpretation, as are other items as well. I know I keep harping on it, but research and test fitting are your two new BFFs with this kit - trust me. The other item that gave me some serious issues was the commanders MG mount. The kit supplied part is so horrible that I just could not bear to have it on this model, even if it is an OOB. Thank you Richard Maxim37 for the verlinden PE set that included the MG mount that was - oh so much better! Since I have never worked with PE before this was quite a challenge but I suffered through it and am better because of it and so it the kit. This was my one deviation from the OOB, other than stowage. It was necessary for me to scratch build a mount for the scissor MG mount - very basic - but it serves its purpose. Just evergreen card and rod.
About the Author

FROM: WASHINGTON, UNITED STATES
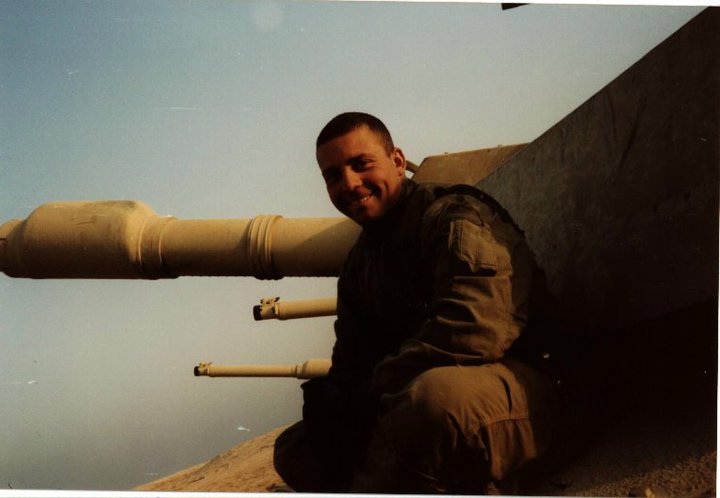
I have been "building" models, collecting and starting mostly, since I was a kid and really started getting into it in my teens. The Tamiya kits if the 80's were what did it for me. I actually became a tanker in the US Army just to get a chance to study the Abrams up close (and drink German beer). I...
Comments


All Rights Reserved. Please read our Conditions of Use and Privacy Policy.