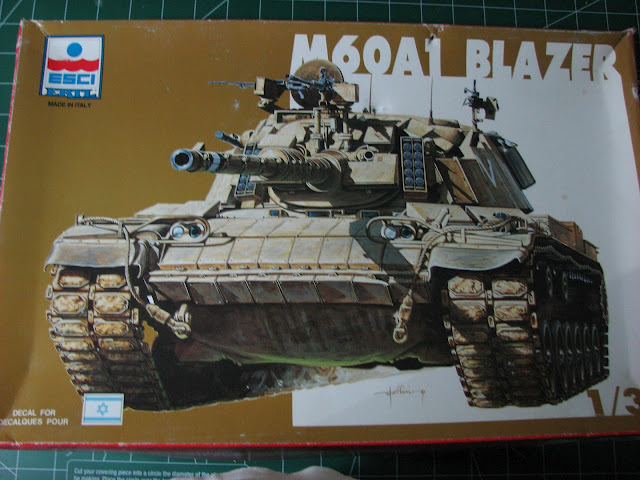
1⁄35Trail Blazer
After Action Report: IDF M60A1 Blazer Build Log
Introduction

I have been building models since I was a kid after watching my brother put together B17’s, B25’s and various other WWII aircraft, ships and the occasional car and truck model. While I tried to build a P40 and a sweet ford Econoline van (complete) with Starsky and Hutch stripe, it was really the new modern tanks that Tamiya started putting out in the early 80’s that really caught my eye.
I think the “used universe” look of all IDF armour was what I liked about them. Dirty, dusty and loaded with crew crap, it was pretty hard to resist these ugly beasts. The M60 Blazer was the only tank other than the Merkava that I really fell in love with the first time I saw it. While ESCI may not have been the greatest model making company you have to give them credit for releasing items that NO ONE else was doing at the time. Thinking that this ESCI kit was a pretty poor design (based upon some of their other kits, like the LAV’s) I thought that well, if I screw it up, no worries. Little did I know that this is considered one of the best M60A1 kits produced. Had I known that I might have chosen something else to “begin” with.

This being my first serious build since around 1988 I was hoping that I could concentrate on my basic modeling skills and at least, make this look presentable. It was my decision that since this was a “learning” build it was going to be straight out of the box. The kit itself is pretty straightforward if you want to build it OOB without any fussing around with things like accuracy and detail. But there are plenty of ways you can really customize this kit to your level of proficiency. I will admit, that having been out of the hobby I wanted to “take it easy” on my first attempt back. So here I am now writing this “Build Story” at the request of one of the editors here (either I am better than I give myself credit for or am the biggest fool on this site, or maybe a little bit of both).
So I began this build with the idea of a “refresher” for myself and a chance to try out some of the “new” techniques of painting and weathering (new to me kids, remember that whole “old dogs” thing). What I first noticed about this kit was the relative absence of flash and pin marks on the kit. This is not to say that there are none, but not as many as I expected and not as many as I have seen on other kits of the same era. My fist jump into this was cleaning up some minor molding lines on the lower hull. The mold lines are very minor and clean up easily. The injector pin marks are minimal and the overall quality is better than I expected, having experienced the other ESCI kits of that era.


