

1⁄35Trail Blazer
Building The Turret
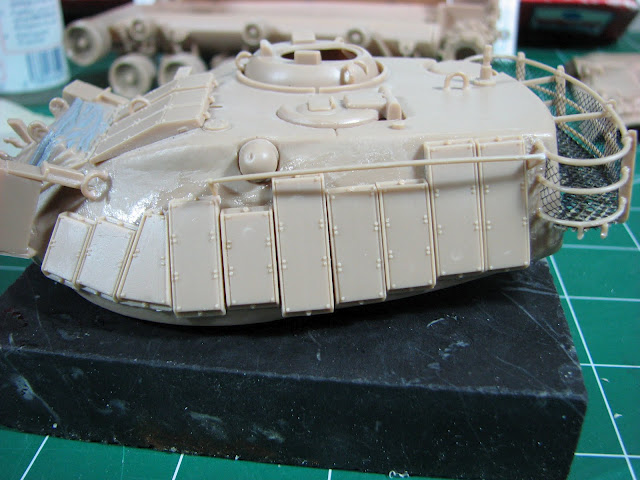
The biggest issue that I had with this kit was by far the bustle rack. In my inexperience I managed to snap one of the rungs on the bustle when I was trying to clean up the mold lines. (I still have no good solution for this so feel free to send me your best suggestions). Upon screwing the bustle up I tried to glue it, with no joy. Then I tried to solder one out of brass rods, again no joy.
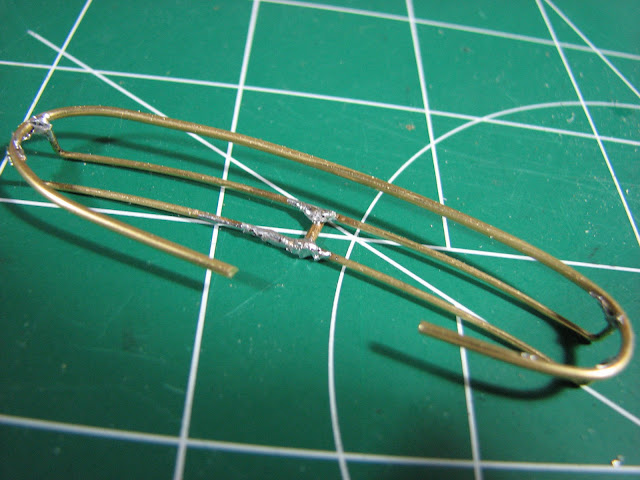
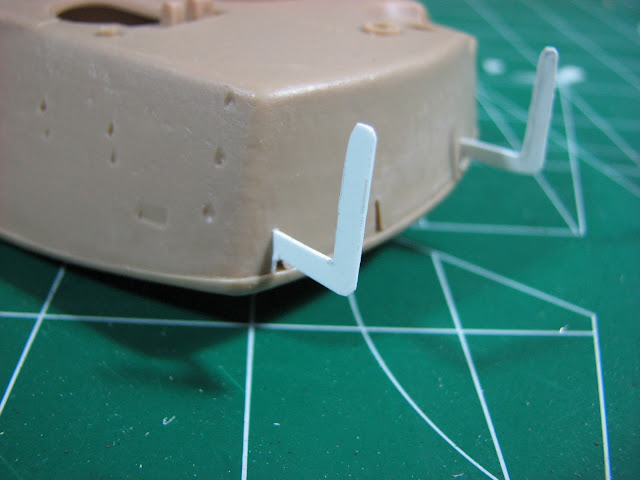
Since I have another of these kits in my stash now, I pirated the other bustle, cleaned it up and assembled it without further incident. Once the bustle is ready it needs to be lined up with the mounting brackets BEFORE it is completely glued together. If alignment is not considered prior to gluing, things will not line up properly - trust me. I am torn between suggesting you mount the brackets and then attach the basket to them and suggesting that you mount the brackets to the basket and then attach the whole assembly to the turret. Neither way is perfect and the correct way is to do some combination of the two. Good luck with that...
br>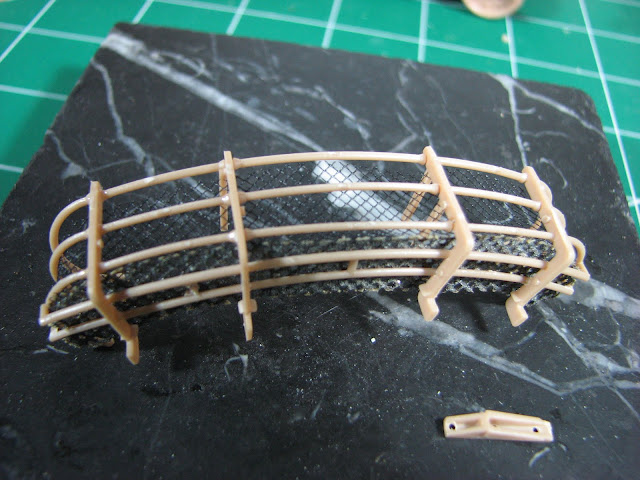

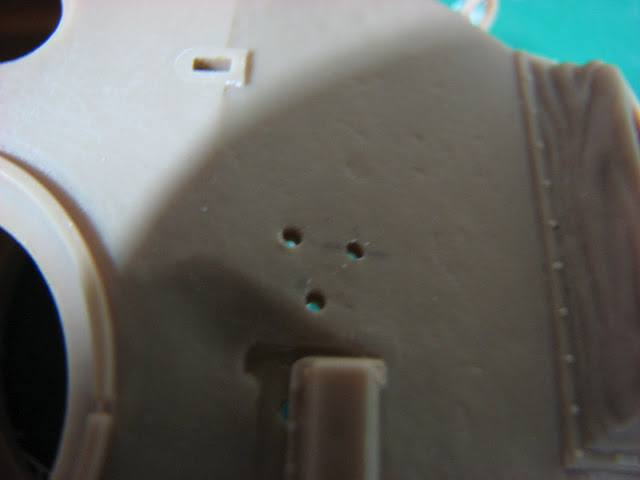
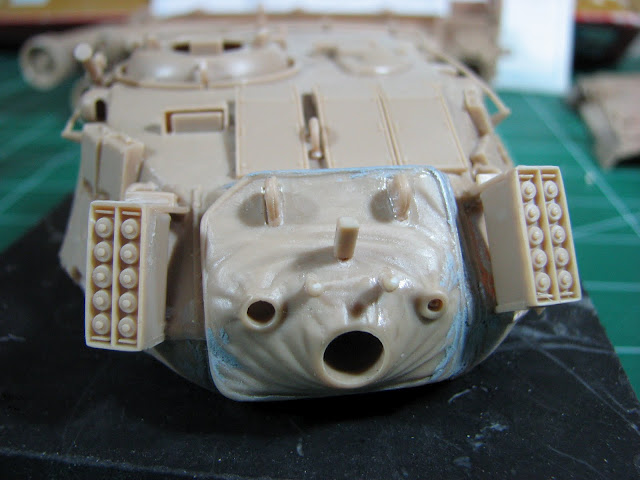
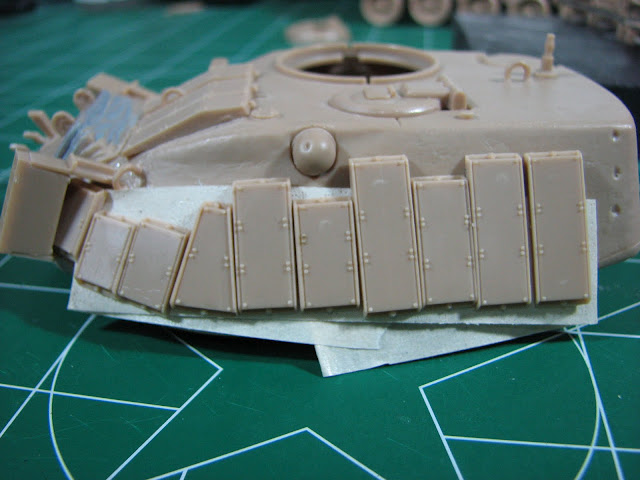
The basic turret construction is fairly straight forward, with only a few issues: The first was that I found was the lifting lug that is mounted in between two of the three blazer blocks on the turret front slope. There is only one hole present with a second hole drilled out at an angle.

The first hole is correct and if you turn the turret upside down and look at the inside just behind the gun mantlet you will see an indentation where the second hole is supposed to be. This needs to be drilled through with a pin vice.
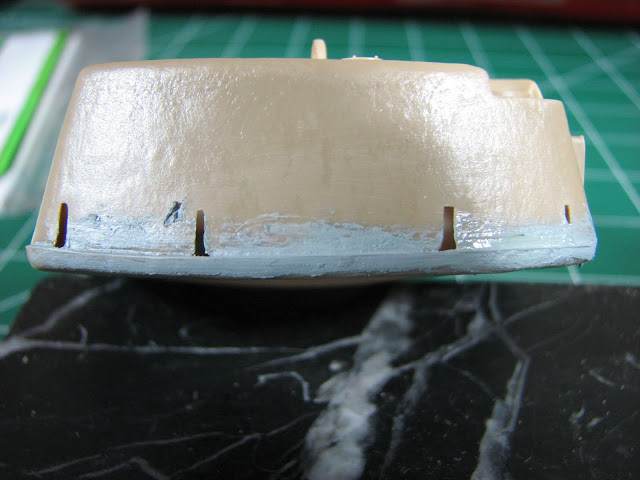
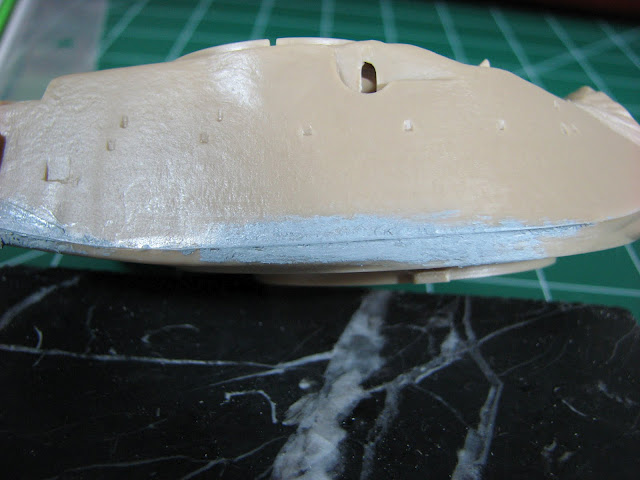
The rest of the turret construction required some filling of gaps and seams along the where the two turret halves come together and where the gun mantlet mates up with the turret top and bottom.
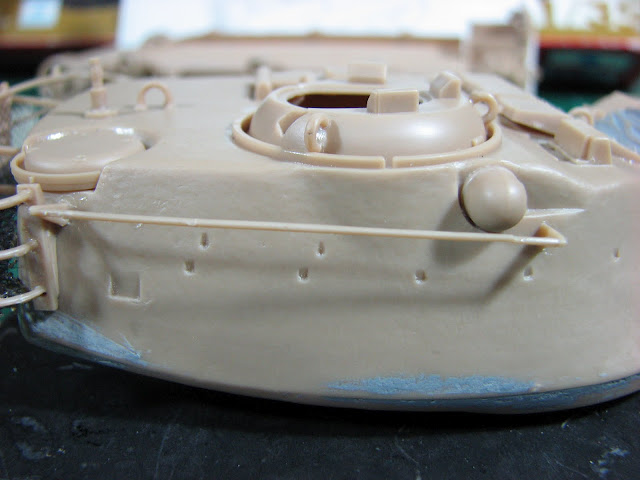
The side rungs that run on either side of the turret should be mounted prior to mounting the blazer blocks, making sure to check the placement of the blazer blocks prior to gluing the rung in place. It was my experience that the blazer blocks for the turret sides need careful consideration prior to gluing and that care should be taken when finally committing them to the model. The fit is very precise if you are going to try to get all of the blocks on there, I was unable to fit all of mine, especially the front ones that mount closest to the main gun. With the smoke grenade launchers in place (well cover this in a minute) the fit is very tight. Having it to do over again I would mount the launchers closer to the main gun and after the blazer blocks. Also on the right hand side it is better to have the bustle installed prior to mounting the blazer blocks, you will obviously need to mount it to both sides, but youll see why this makes sense from the pictures.

The other issue that I happened upon was the installation of the blazer kit above the main gun. This again is a very fiddly part that takes some time to get fitted into place. Be careful and test fit, there is really only one way it goes on and works and youll have to play with it a bit to get it on, be careful.
About the Author

FROM: WASHINGTON, UNITED STATES
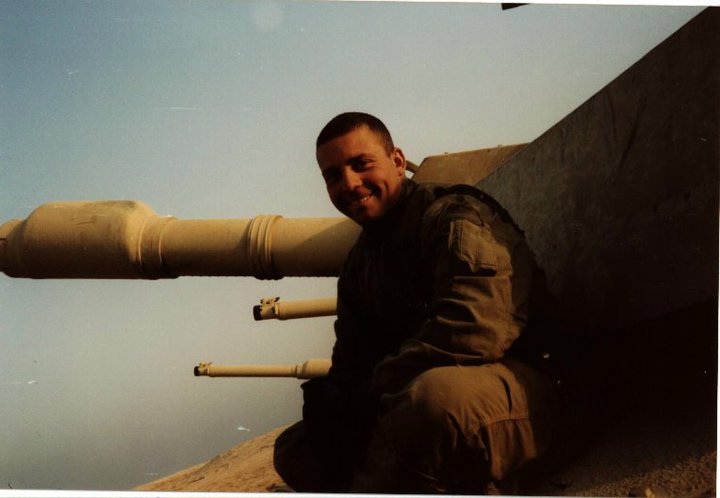
I have been "building" models, collecting and starting mostly, since I was a kid and really started getting into it in my teens. The Tamiya kits if the 80's were what did it for me. I actually became a tanker in the US Army just to get a chance to study the Abrams up close (and drink German beer). I...
Comments


All Rights Reserved. Please read our Conditions of Use and Privacy Policy.