

1⁄35Trail Blazer
Detailing
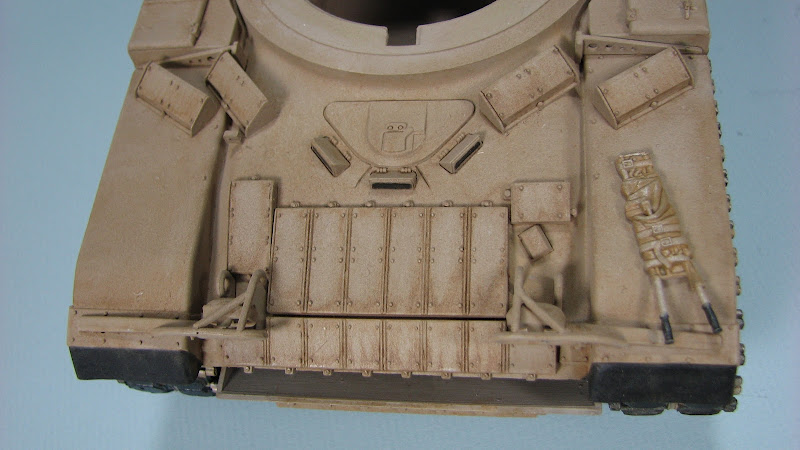
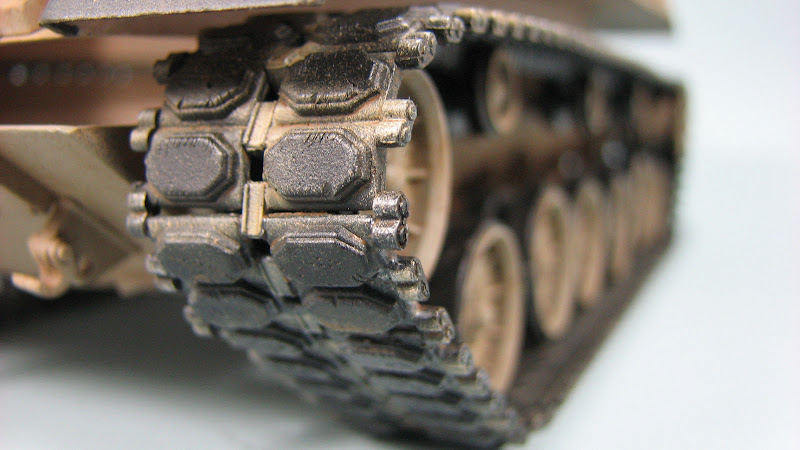
Once I felt that all of my detail painting was done (it never is...) I sprayed on a coat of future, waited for it to dry and did it again. Light, misting coats with even build up, to create a good solid layer for the washes to flow over (thank you SSgt Toms for the continued instruction and mentoring). I used a combination of several oil paints in combo to create the preferred look I was going for. A general wash of burnt umber, raw umber, raw sienna and burnt sienna were mixed in different ratios to make different layers for the washes.
An initial wash that is dirty being more brownish with some yellow (sand) colour to it is my preferred base. Next darker, more brown/dark brown washes are added for the deep shadows. Lighter washes are added (more yellow) to seep in to the layers where dust would be continuously settling and adding a highlighting effect (I think). Once this is sufficiently done I went back over specific areas, like bolt heads and running gear with darker almost black washes. Running gear and areas that would have grease and grime were hit with the darker wash with some Abteilung engine grease oil paint mixed in too. This also became the grease staining solution with the addition of some linseed oil to the mix. To achieve the rain staining effect on the blazer panels I added the wash, a bit more paint to it, allowed this to sit for a few minutes and then began to wipe in a downward stroke with an flat angled brush toward the bottom, without removing too much paint. This allows the paint to settle in the area around the bottom. Wipe your brush often to remove the thinner as this will allow you to control the placement of the colour in the correct way.
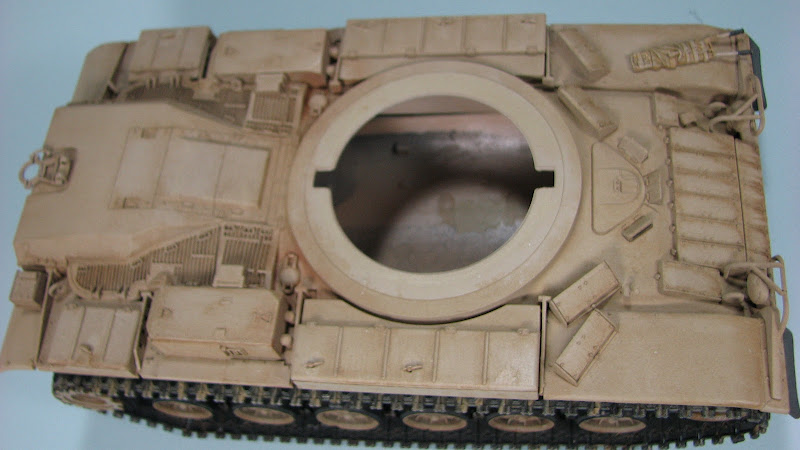

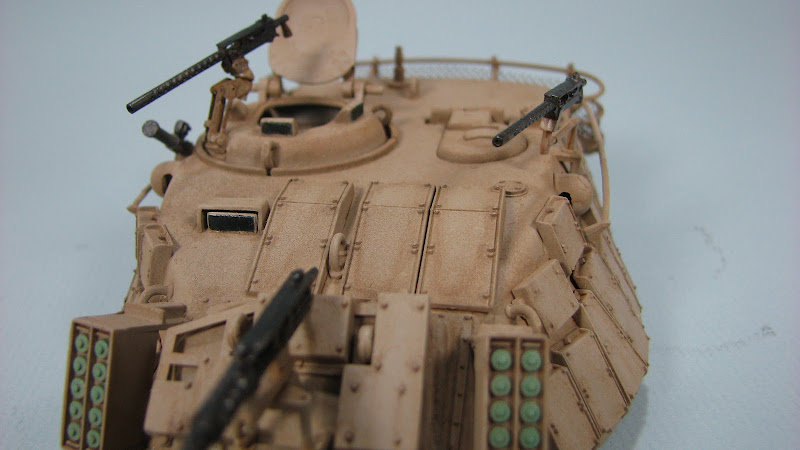
The running gear was treated with the basic wash with more yellow added to simulate dust and sand. The areas of the running gear that would be greasy also receive the dirty wash mentioned above and the oil staining too. Once I felt that there was sufficient oil weathering done I sealed the whole thing with a coat of Model Master clear flat. Again, light coats building up a good layer slowly to avoid any issues.


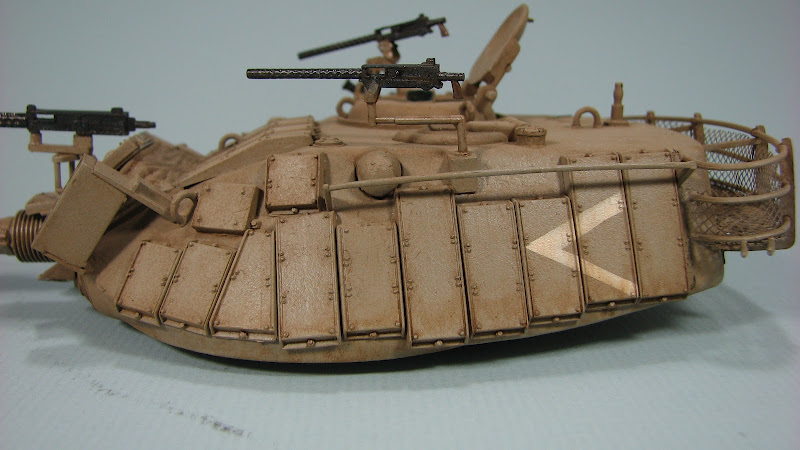
I choose to forgo any decals on this kit as the ESCI ones were 20yrs old and looked rather old and unusable. I choose to add the spinning V by hand, just using artist tape to make a quick mask and hitting it with a 1/35 white that I came up with (Tamiya XF-2 and XF-57). Markings on the fenders would be added by hand using a white fine tip pen.
About the Author

FROM: WASHINGTON, UNITED STATES
I have been "building" models, collecting and starting mostly, since I was a kid and really started getting into it in my teens. The Tamiya kits if the 80's were what did it for me. I actually became a tanker in the US Army just to get a chance to study the Abrams up close (and drink German beer). I...
Comments


All Rights Reserved. Please read our Conditions of Use and Privacy Policy.