

1⁄35Trail Blazer
Back On Track
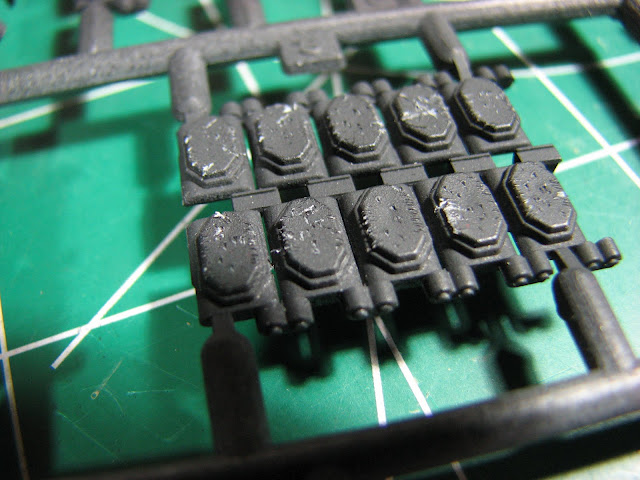
Most of the assembly is done at this point; and the build moves onto the tracks. As I mentioned earlier, I wanted the tracks to look well used as it looks on the real deal. So with my trusty no 11 blade I went to work gouging up my track pads that would be visible and made them look worn. Now, real tanks in the field, especially in combat in the 1982 PFG op, often had the track pads totally worn down to the metal with little to no rubber left. I did not want to spend THAT much time detailing it out, as this was a practice kit build (isnt everything?) so I just went with what I had achieved. The end result was good, I think. I convey a well-worn look without going over the top. This is where things start to fall apart. After glue mishap on the workbench one of my track sections was left crazed and had to be reworked. After spending a few extra hours getting it back in to useable condition I began to try and fit the track together. Now, if you remember that I mentioned the alignment issue on the drive sprocket that happened earlier you will begin to see how frustrating the fit of the track was going to be. There were several attempts at mounting the tracks and assembling them at once, this just resulted in frustration and several sessions of choice words.
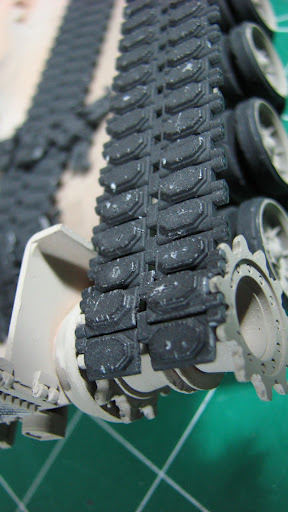
Here is how I assembled the track. With the top and bottom runs in place I began adding links to the rear top run, one at a time, over the drive sprocket using the Testors liquid cement. For those of you that have not used this, it was my first time, it is horrid stuff. Use in a WELL VENTILATED area as the fumes are terrible. I am used to using the liquid cement that dries almost instantly, the stuff for ABS. So giving this glue its proper setting time, took some extra patience on my part. As one piece became set I would add another link, until per the instructions the proper amount of links had been added.
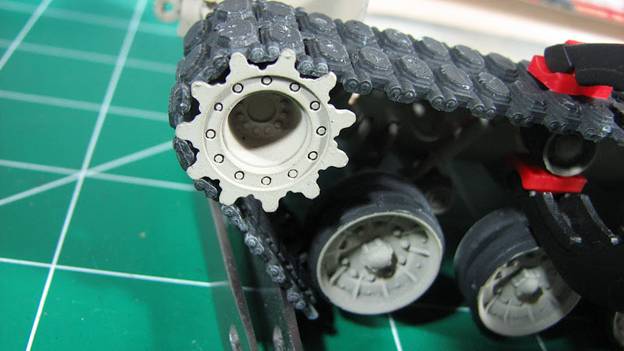
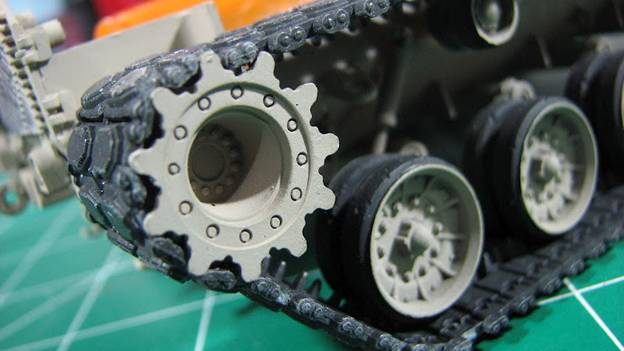
Then came the small runs. Now, mind you, that I needed to do this several times and usually when there were three or more links set, once the next one went on the whole assembly would fall apart into pieces. Joy. After too many attempts to count I finally was able to get enough small assemblies together and begin mounting. This again took several attempts to actually get it on the kit and set. With the sprocket issues and the misaligned suspension the mounting of the track was problematic to say the least. Several times I considered throwing out the kit supplied track and using an aftermarket set. But because this was supposed to be an OOB build, I was determined to use it and make it work. So once one side was mounted I did the other by laying the whole lower hull on its side and laying the 9/10 assembled track on the kit and then adding in the last links and glued them on. Where the track seemed loose in places I glued it down onto the wheels and return rollers with some CA glue. This helps the track tension and the sag, I think.
About the Author

FROM: WASHINGTON, UNITED STATES
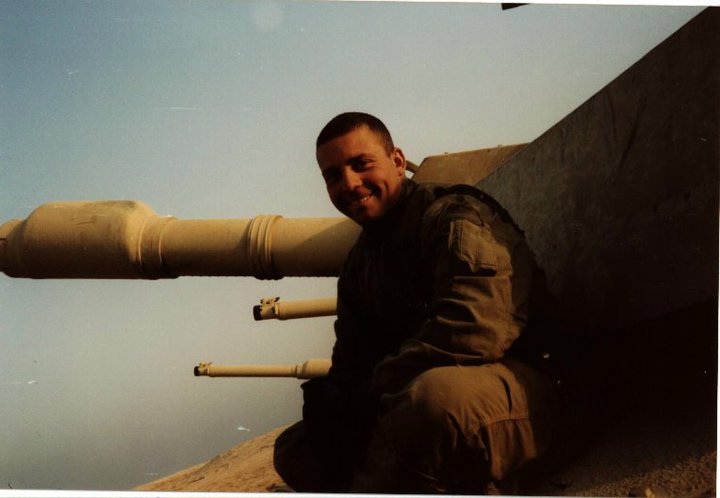
I have been "building" models, collecting and starting mostly, since I was a kid and really started getting into it in my teens. The Tamiya kits if the 80's were what did it for me. I actually became a tanker in the US Army just to get a chance to study the Abrams up close (and drink German beer). I...
Comments


All Rights Reserved. Please read our Conditions of Use and Privacy Policy.