

1⁄35Trail Blazer
To The Paint Booth!
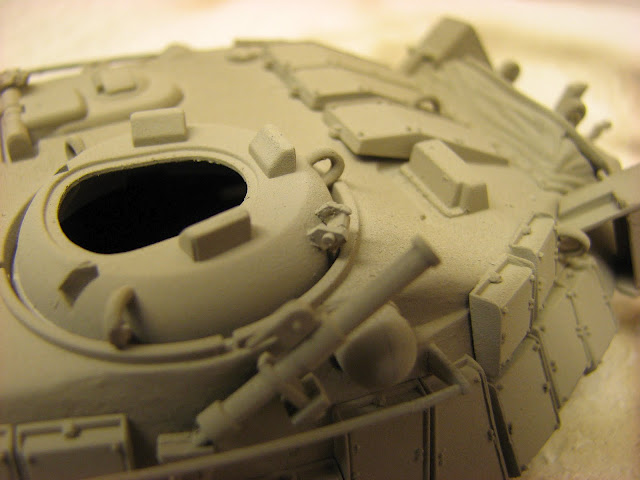
The kit was primed with Vallejo grey primer and then airbrushed with a mix of Tamiya XF 57 and Tamiya XF 20 until it looked correct. I was going for something closer to the colour that I see in my photos rather than something precise, I think mine turned out very well, IMHO.

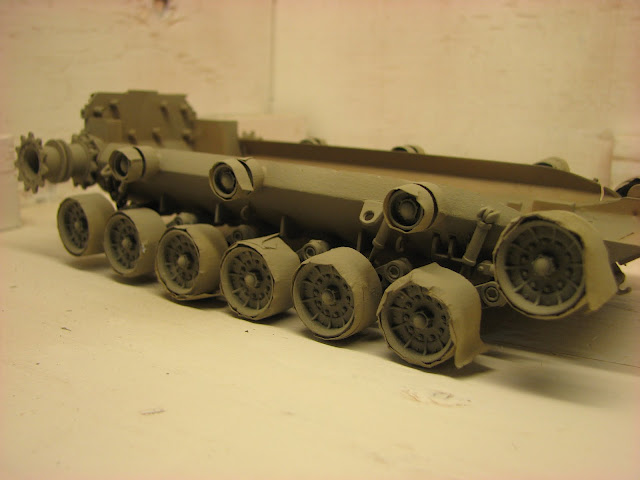
The road wheels were airbrushed with a mix of black rubber that I concocted from Tamiya XF 1 XF 64 XF 2 and XF 20. The idea was to achieve a dirty rubber look, something that is not quite black with that dirty brown you find too often on tires once you have just walked by them in your clean dress pants - know what I mean?
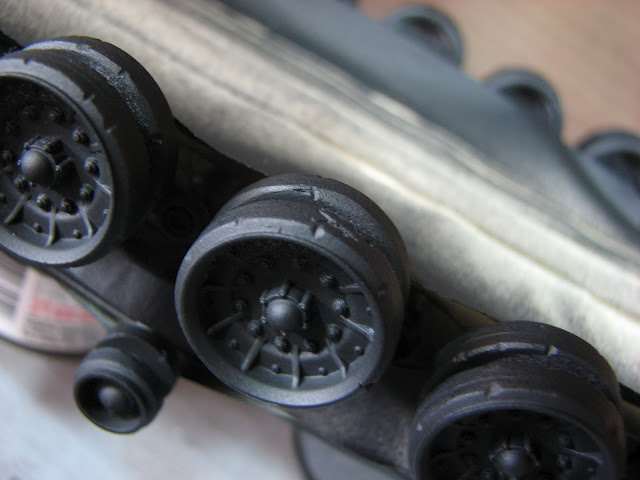
Once the road wheels were dry, these were masked and then lower hull airbrushed with my Israeli home brew. The wheels were touched up with a fine brush to touch up any overspray or poor masking.
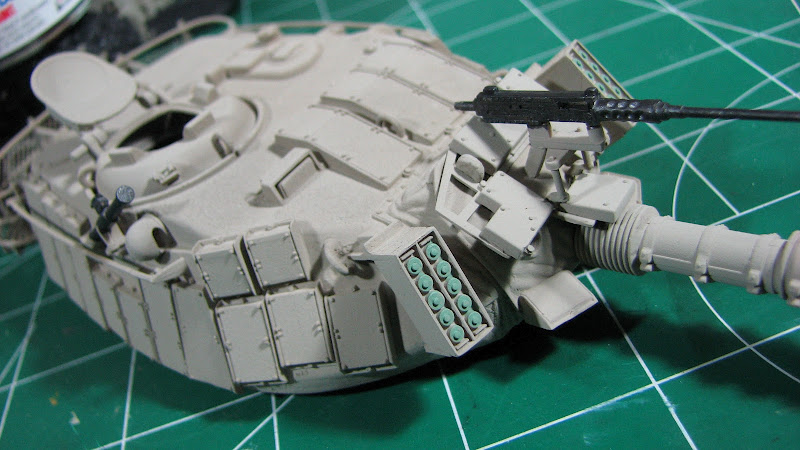
All of the MGs were painted by hand with Tamiya gun metal and then black washes and dry brushed with various metallics (gun metal, flat aluminum) until I felt the look had been achieved. All of the MGs were left off the kit until just prior to weathering to avoid the potential for breakage, accept for the .50 cal as it is much more secure and stable than the others.
Detail painting was done in place for the 60mm grenade launcher, stretcher, smoke launchers and all periscopes, prior to any weathering. Periscopes were hand painted with Tamiya black XF 1, then with Tamiya Smoke X 19. Stretcher was hand painted with Tamiya Khaki XF 49 and Flat Aluminum XF 16. Handles were painted in the black rubber mix. Smoke grenades were hand painted (carefully, no masking required) with a mix of some concoction that I came up with on the fly, I honestly have no clue WHAT I put in there, but thank God I made extra.It is basically a mix of Tamiya Sky Green and Tamiya Blue to deepen the colour. This seems to be the preferred IDF colour for ammo boxes and such during that period.
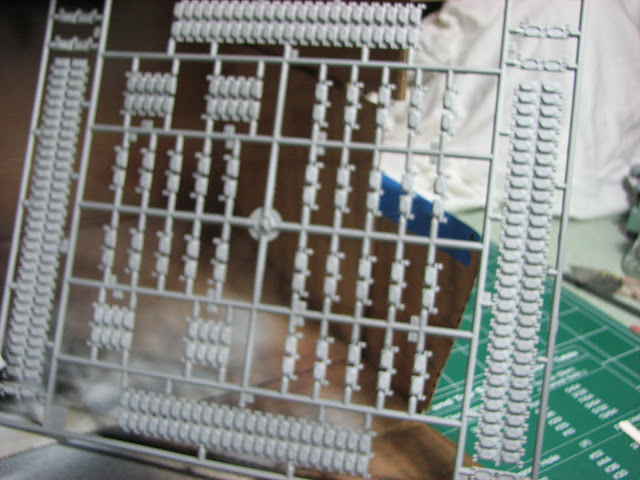
The track was primed just like the kit and then airbrushed with the black rubber. This was then dry brushed and washed with some lightened gun metal (gunmetal with silver added) in a thinned mix that was removed, mostly, from the brush. This allows the paint to flow, without adding too much metallic that would need to be toned down later. I then added a mix of Tamiya Buff (XF 57) and Tamiya Desert Yellow (XF 59) to create a sand dusting colour based upon the photos from the PFG op. This was sprayed down the center guides on the inside and outside of the track, across the end connectors area and in between each link of track both on the road wheel side and on the ground side. All of the pictures I have shown the track seriously worn and seriously dusty and even caked with dirt. All of this was then weathered in place with the rest of the kit, using a more yellowed oil wash than on the upper surfaces.

About the Author

FROM: WASHINGTON, UNITED STATES
I have been "building" models, collecting and starting mostly, since I was a kid and really started getting into it in my teens. The Tamiya kits if the 80's were what did it for me. I actually became a tanker in the US Army just to get a chance to study the Abrams up close (and drink German beer). I...
Comments


All Rights Reserved. Please read our Conditions of Use and Privacy Policy.