

Hosted by Richard S.
The Great War: Dawning of a New Age

2ndWorcesters

Joined: March 15, 2014
KitMaker: 80 posts
Armorama: 80 posts
Posted: Tuesday, July 15, 2014 - 11:41 PM UTC
Alan M, the gun and emplacement looks superb mate.

AlanL

Joined: August 12, 2005
KitMaker: 14,499 posts
Armorama: 11,675 posts
Posted: Wednesday, July 16, 2014 - 09:35 AM UTC
Hi Alan,
Many thanks.
Al

Many thanks.
Al

thebear

Joined: November 15, 2002
KitMaker: 3,960 posts
Armorama: 3,579 posts
Posted: Friday, July 25, 2014 - 08:19 AM UTC
Looking good Al. 

AlanL
Joined: August 12, 2005
KitMaker: 14,499 posts
Armorama: 11,675 posts
Posted: Friday, July 25, 2014 - 08:41 AM UTC
Thanks Rick.
Cheers
Al
Cheers
Al

Aurora-7

#360

Joined: June 18, 2003
KitMaker: 1,020 posts
Armorama: 131 posts

Posted: Monday, July 28, 2014 - 03:58 AM UTC

Meticulous work here, Si.
And the wood decking realy stands out without overpowering the rest of the build.


RedDuster

Joined: March 01, 2010
KitMaker: 7,078 posts
Armorama: 248 posts

Posted: Sunday, August 03, 2014 - 05:34 AM UTC
Great stuff Al, bags od character and depth.
Thanks Michael, I was wary of these wood decks until I bought the set for the Dreadnought that came with a deck, so I had to use one, and now I am a convert.
Onwards.
The rigging for the stowed derrick fitted.

work on fitting the etched anchor cables.

and done.

Finally the searchlights fitted to the after platform.

The boat sat by X turret will be hung from the starboard davits. Not much more I can do until the custom base Mrs Duster ordered as part of my Anniversary pressy.
Si
AlanL
Joined: August 12, 2005
KitMaker: 14,499 posts
Armorama: 11,675 posts
Posted: Sunday, August 03, 2014 - 08:51 AM UTC
Hi Simon,
Looking good, excellent and detailed work. Thanks Mk 2 is coming along.
Cheers
Al
Looking good, excellent and detailed work. Thanks Mk 2 is coming along.
Cheers
Al

miniflea
Joined: October 17, 2011
KitMaker: 237 posts
Armorama: 235 posts
Posted: Monday, August 11, 2014 - 03:28 AM UTC
Been a while, but I have made some progress.


The interior detail is very good even though this version of the kit is missing most of it, but the scale thickness plates are a bit tricky to line up properly, and it gives a turret that is assembled like so:

The interior detail is very good even though this version of the kit is missing most of it, but the scale thickness plates are a bit tricky to line up properly, and it gives a turret that is assembled like so:
AlanL
Joined: August 12, 2005
KitMaker: 14,499 posts
Armorama: 11,675 posts
Posted: Monday, August 11, 2014 - 04:48 AM UTC
Good progress.
Al
Al

Sniper738
Joined: January 06, 2013
KitMaker: 14 posts
Armorama: 10 posts
Posted: Saturday, August 16, 2014 - 01:35 PM UTC
Hey you guys, I like what I'm seeing. Keep up the good work! FYI I joined this campaign last March. This is my first campaign. While I'm not new to modeling, I am new to this internet modeling stuff. I've decided on my project. I'm gonna build the 1/48 scale Eduard Albatros D-V of ace Eduard Ritter Von Schleich, but instead of the light blue fusalage, I'm making mine natural wood to look like the flying replica at Old Rhinebeck Aerodrome in NY State USA. This model will be a gift for my dad who was an award winning master model builder, but age and cancer have caught up with him. This is his favorite WW1 German aircraft and he specificly asked for this color scheme. 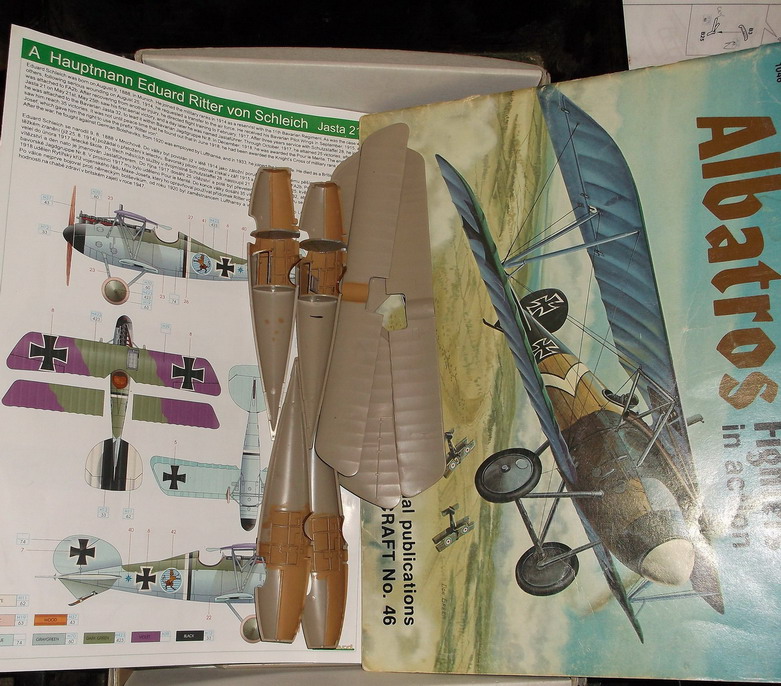 I have just started the interior.
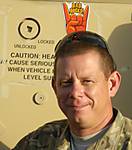
 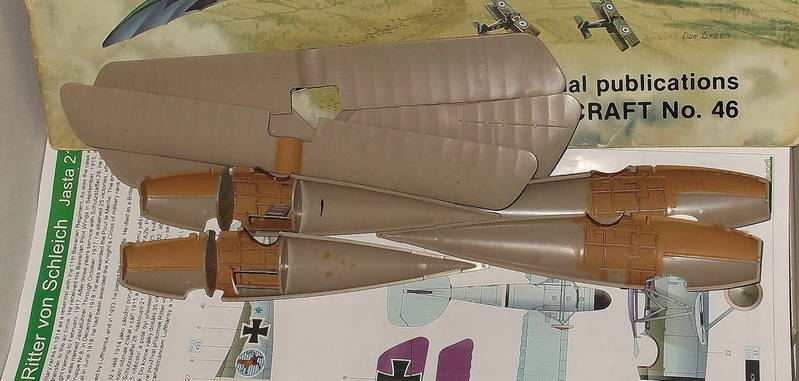 You will notice two kits in the photo. I want to build a second one at a later date, so I will do the 2 interiors in assembly-line fashion and save one for later. Here is a photo of my father Hugh Hedges with the flying replica with the color scheme I'm modeling.
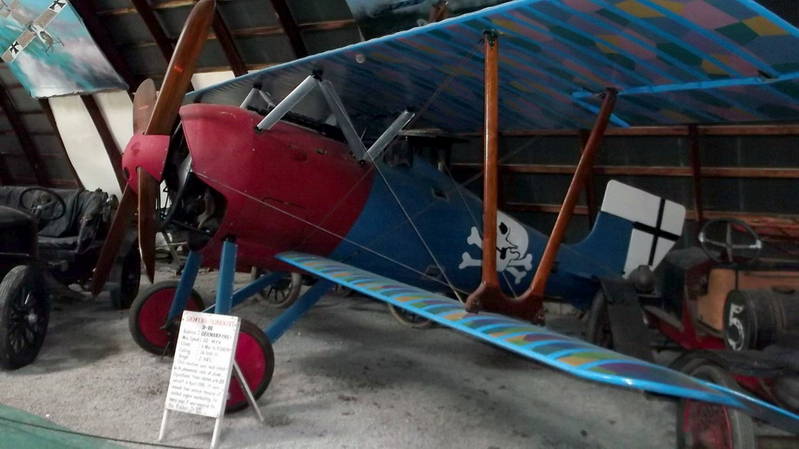
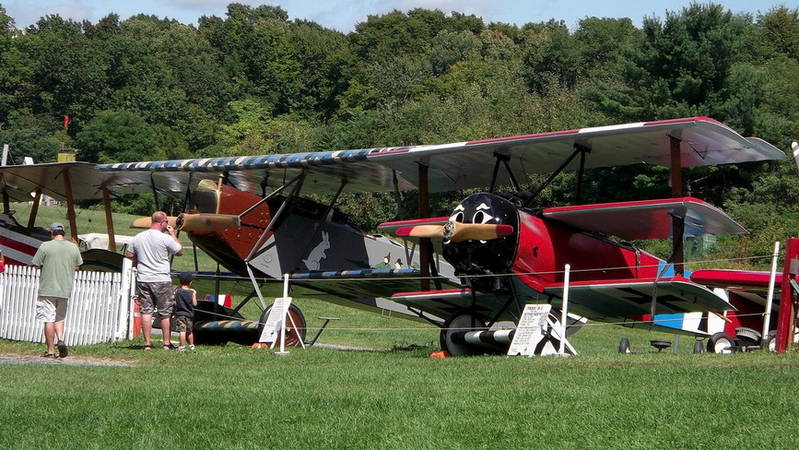
 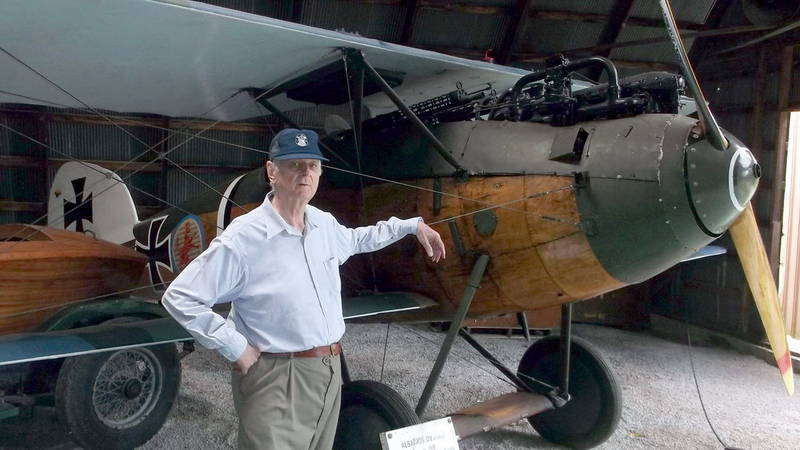 Here is a second photo of the actual aircraft.
 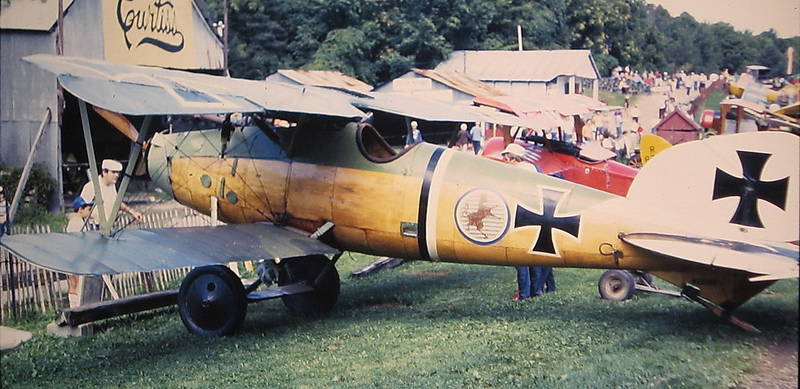 I'm blessed to live only a few hours from where this aircraft is located at Old Rhinebeck Aerodrome. If you like WW1, it is worth the trip. Here is a small sample of what is there:
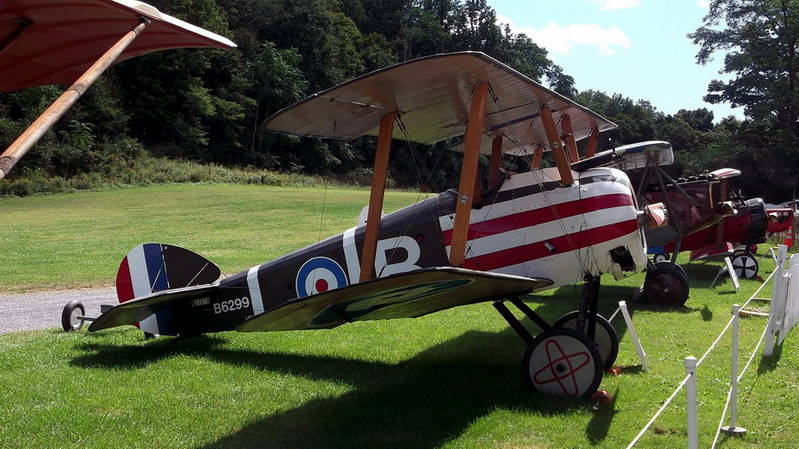
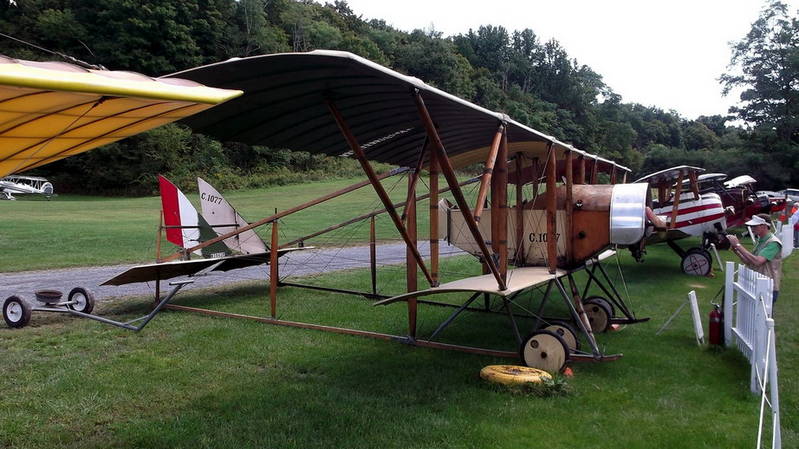
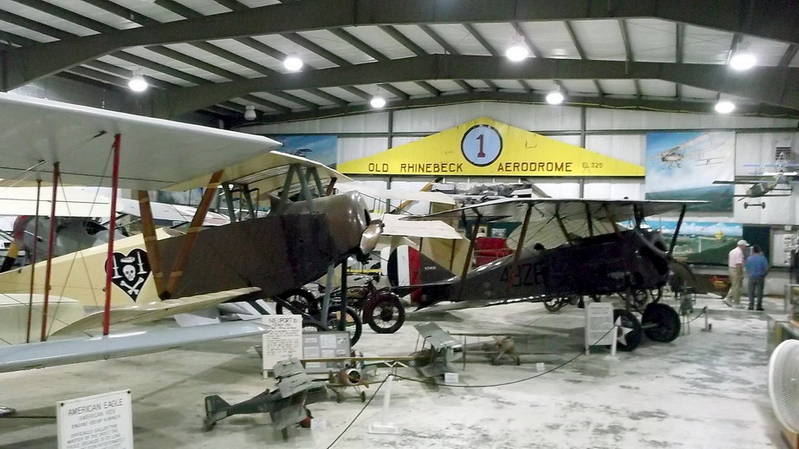
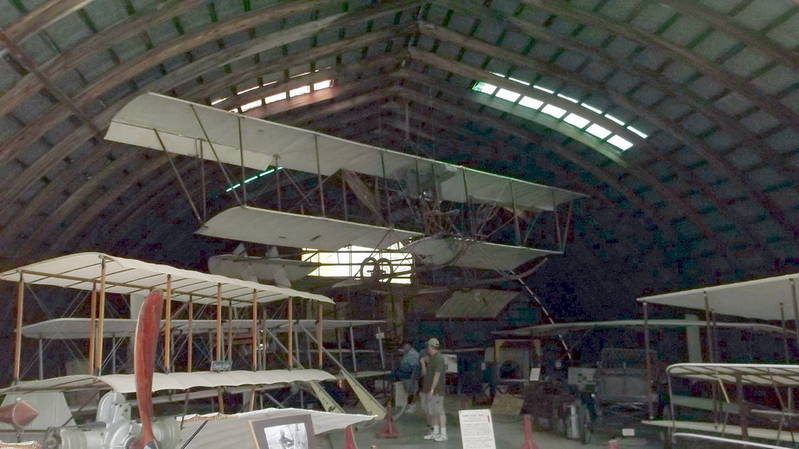

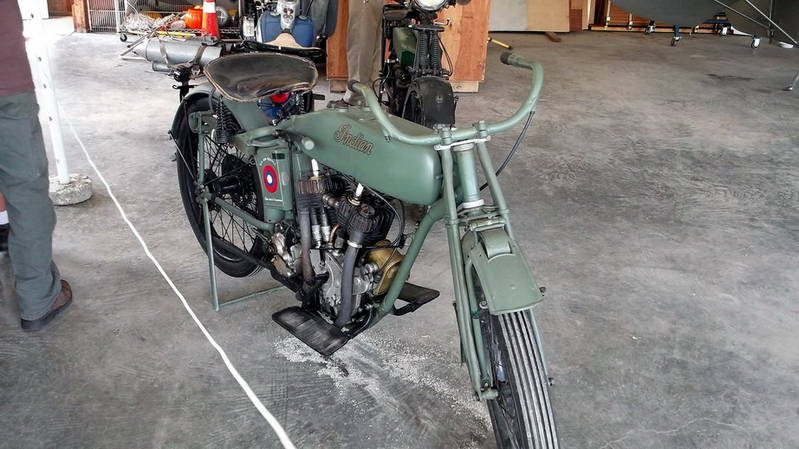
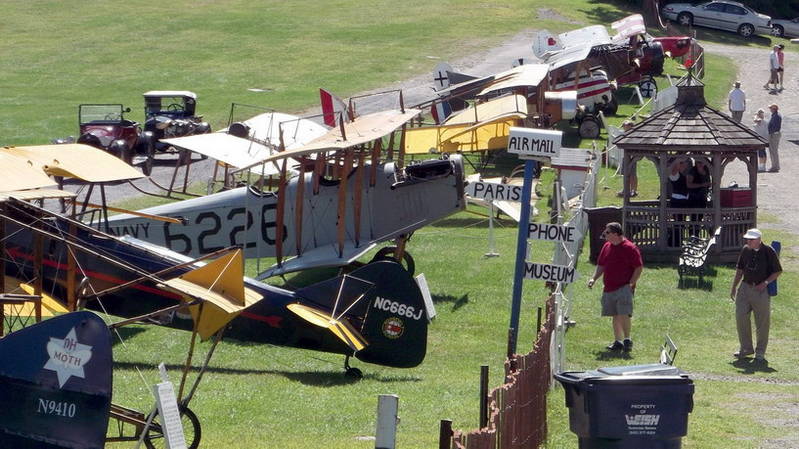
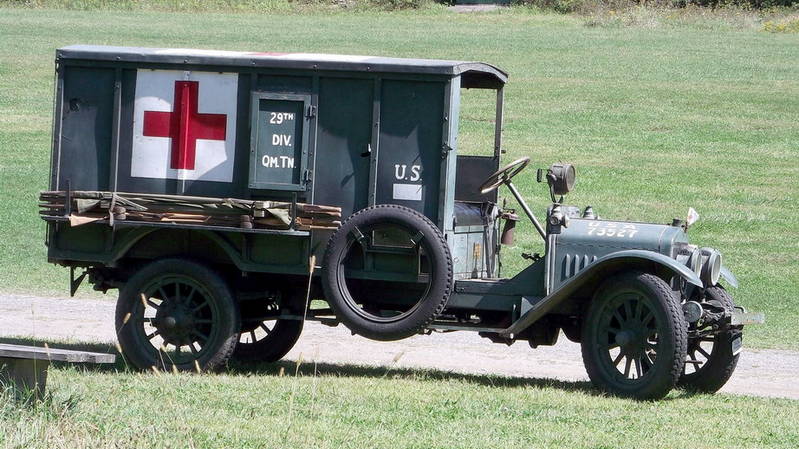
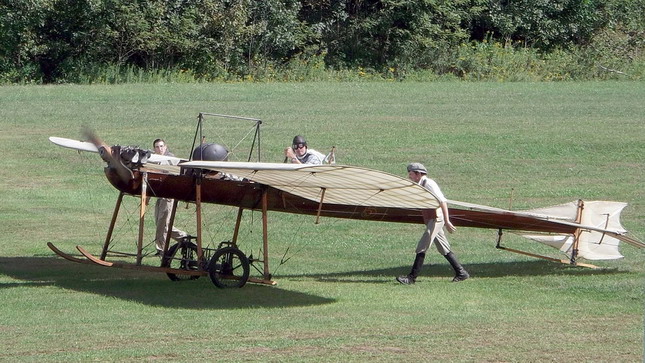
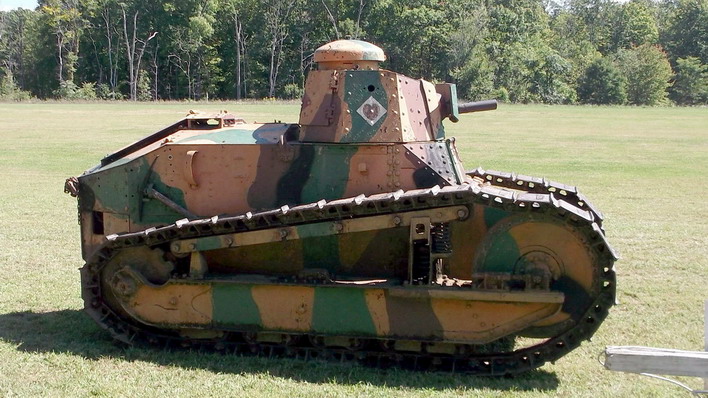 All photos were taken in September 2012. Hope you liked them. God bless!!
I have just started the interior. You will notice two kits in the photo. I want to build a second one at a later date, so I will do the 2 interiors in assembly-line fashion and save one for later. Here is a photo of my father Hugh Hedges with the flying replica with the color scheme I'm modeling. Here is a second photo of the actual aircraft. I'm blessed to live only a few hours from where this aircraft is located at Old Rhinebeck Aerodrome. If you like WW1, it is worth the trip. Here is a small sample of what is there: All photos were taken in September 2012. Hope you liked them. God bless!!AlanL
Joined: August 12, 2005
KitMaker: 14,499 posts
Armorama: 11,675 posts
Posted: Sunday, August 17, 2014 - 06:05 AM UTC
Hi Daniel, coming along, nice pics too.
Al
Al
Motives

Joined: October 15, 2013
KitMaker: 444 posts
Armorama: 428 posts
Posted: Thursday, August 28, 2014 - 06:28 PM UTC
Great progress since i last visited the thread, nice job everyone!
I uploaded a pic of my entry to the gallery, or At least I think I did
https://gallery.kitmaker.net/showphoto.php/photo/419587
This being my first campaign and all, can anyone confirm that it's in the right place?
I uploaded a pic of my entry to the gallery, or At least I think I did
https://gallery.kitmaker.net/showphoto.php/photo/419587
This being my first campaign and all, can anyone confirm that it's in the right place?
Aurora-7
#360
Joined: June 18, 2003
KitMaker: 1,020 posts
Armorama: 131 posts
Posted: Friday, August 29, 2014 - 03:14 AM UTC
Great work, Daniel.
I've got to get to Rhinebeck this fall before their season ends. It's been years since I've been there.
I've got to get to Rhinebeck this fall before their season ends. It's been years since I've been there.
cdharwins
Joined: October 28, 2006
KitMaker: 491 posts
Armorama: 462 posts

Posted: Sunday, August 31, 2014 - 03:47 AM UTC
Quoted Text
I'm blessed to live only a few hours from where this aircraft is located at Old Rhinebeck Aerodrome. If you like WW1, it is worth the trip.
Daniel, great pictures, thanks for the information. I've heard of the Old Rhinebeck Aerodrome, but I had no idea what they had there. It's only a couple of hours for me, too. I need to make that trip.
Chris
cdharwins
Joined: October 28, 2006
KitMaker: 491 posts
Armorama: 462 posts
Posted: Sunday, August 31, 2014 - 03:49 AM UTC
I'm slowly making progress on my Saint-Chamond. I'm having a great time with this build.
Here's the completed upper hull. Pretty easy to put together. The Lewis MGs are great. I left the upper front armor plate off in case I need to make adjustments when lining it up with the lower plates.

Now the suspension. Every blog or article about this kit have described assembly of the suspension as "fiddly", and I agree. As we know, all tanks of this era were cutting edge technology, sent to the battlefield without a lot of testing, and having no historical data or lessons learned to draw from. In my opinion, it's one of the reasons that we in this campaign enjoy building machines of The Great War. The fact that the kit accurately reflects these early designs makes for an interesting and enjoyable build. It's not bad, it's just, well....fiddly. Those blogs and articles all stated that despite what you may think during construction, everthing lines up in the end. So far, yes, that has certainly been the case. My advice for anyone wishing to build this kit is to take your time. I found that it's better to read ahead in the instructions, and assemble a few components out of sequence. Here's what I have so far:


I have a couple of small parts to add today. The little u-bolts are giving me a hard time; I managed to break one, but I made a new on from brass rod.

So that's where I stand so far. I'm looking forward to painting this beast.
Thanks for looking!
Chris
Here's the completed upper hull. Pretty easy to put together. The Lewis MGs are great. I left the upper front armor plate off in case I need to make adjustments when lining it up with the lower plates.
Now the suspension. Every blog or article about this kit have described assembly of the suspension as "fiddly", and I agree. As we know, all tanks of this era were cutting edge technology, sent to the battlefield without a lot of testing, and having no historical data or lessons learned to draw from. In my opinion, it's one of the reasons that we in this campaign enjoy building machines of The Great War. The fact that the kit accurately reflects these early designs makes for an interesting and enjoyable build. It's not bad, it's just, well....fiddly. Those blogs and articles all stated that despite what you may think during construction, everthing lines up in the end. So far, yes, that has certainly been the case. My advice for anyone wishing to build this kit is to take your time. I found that it's better to read ahead in the instructions, and assemble a few components out of sequence. Here's what I have so far:
I have a couple of small parts to add today. The little u-bolts are giving me a hard time; I managed to break one, but I made a new on from brass rod.
So that's where I stand so far. I'm looking forward to painting this beast.
Thanks for looking!
Chris
cdharwins
Joined: October 28, 2006
KitMaker: 491 posts
Armorama: 462 posts
Posted: Sunday, August 31, 2014 - 04:01 AM UTC
Quoted Text
can anyone confirm that it's in the right place?
Yes! It's in the right place.
Nice job on your diorama, Johan. It has a lot of detail for being such a small scale.
Chris
AlanL
Joined: August 12, 2005
KitMaker: 14,499 posts
Armorama: 11,675 posts
Posted: Sunday, August 31, 2014 - 04:08 AM UTC
Congrats on completing John.
Nice pics Daniel, thanks.
I'm making progress slowly.


Cheers
Al
Nice pics Daniel, thanks.
I'm making progress slowly.


Cheers
Al
RedDuster
Joined: March 01, 2010
KitMaker: 7,078 posts
Armorama: 248 posts
Posted: Sunday, August 31, 2014 - 05:57 AM UTC
Time has not been on my side of late, but a little more progress.
The foretopmast has been adapted from the left over Dreadnought compontant, Topping lifts fitted as well, still haven't learned to do footropes yet.

and fitted in place.

After conning tower in place, and work started on the guardrails.
Si
The foretopmast has been adapted from the left over Dreadnought compontant, Topping lifts fitted as well, still haven't learned to do footropes yet.

and fitted in place.

After conning tower in place, and work started on the guardrails.
Si
cdharwins
Joined: October 28, 2006
KitMaker: 491 posts
Armorama: 462 posts
Posted: Monday, September 01, 2014 - 03:29 AM UTC
Quoted Text
The Lewis MGs are great.
Oops! I meant HOTCHKISS MGs.

Please forgive me!!
Chris
RedDuster
Joined: March 01, 2010
KitMaker: 7,078 posts
Armorama: 248 posts
Posted: Monday, September 01, 2014 - 07:58 AM UTC
Aoplogies,
This should have been the final pic on my last post.

Si
This should have been the final pic on my last post.

Si
2ndWorcesters
Joined: March 15, 2014
KitMaker: 80 posts
Armorama: 80 posts
Posted: Wednesday, September 03, 2014 - 12:29 AM UTC
Simon, I'm really enjoying your WIP mate.
Keep up teh good work as she looks stunning.
Keep up teh good work as she looks stunning.
RedDuster
Joined: March 01, 2010
KitMaker: 7,078 posts
Armorama: 248 posts
Posted: Wednesday, September 03, 2014 - 07:46 AM UTC
Thanks Alan,
This is an interesting build, not far to go now.
Si
This is an interesting build, not far to go now.
Si
Motives
Joined: October 15, 2013
KitMaker: 444 posts
Armorama: 428 posts
Posted: Wednesday, September 03, 2014 - 10:08 AM UTC
Chris & Alan, Thanks!
The chamond is looking promising, plan a base for it as well?
The chamond is looking promising, plan a base for it as well?
cdharwins
Joined: October 28, 2006
KitMaker: 491 posts
Armorama: 462 posts
Posted: Thursday, September 04, 2014 - 09:44 AM UTC
Quoted Text
The chamond is looking promising, plan a base for it as well?
Thanks, Johan.
No base for this puppy, though. Maybe down the road...
Chris

Cam
#275
Joined: March 01, 2006
KitMaker: 174 posts
Armorama: 141 posts

Posted: Monday, September 08, 2014 - 03:30 PM UTC
Calling my St Chamond done. Still have the figure to paint but that will have to wait until I do a group of figures.


 |

WEB HOSTING BY


Copyright ©2021 Armorama and Kitmaker Network, a subsidiary of Silver Star Enterprises
All Rights Reserved. Please read our Conditions of Use and Privacy Policy.
All Rights Reserved. Please read our Conditions of Use and Privacy Policy.