Campaigns: Completed Campaigns
Campaigns that are completed should be grouped here.
Hosted by Richard S.
The Great War: Dawning of a New Age
SGTJKJ
#041
Visit this Community
Kobenhavn, Denmark
Joined: July 20, 2006
KitMaker: 10,069 posts
Armorama: 4,677 posts
Posted: Monday, November 10, 2014 - 07:45 PM UTC
Nice build, Alan. Great looking Male tank.

Alan, I have been tempted many times myself, but always resisted the urge. Good luck with it. Remember, a lot of mud can hide a lot of tracks
AlanL
Visit this Community
England - East Anglia, United Kingdom
Joined: August 12, 2005
KitMaker: 14,499 posts
Armorama: 11,675 posts
Posted: Monday, November 10, 2014 - 08:57 PM UTC
Thanks Jasper,

Al
windysean
Visit this Community
Wisconsin, United States
Joined: September 11, 2009
KitMaker: 1,917 posts
Armorama: 735 posts
Posted: Monday, November 10, 2014 - 09:17 PM UTC
Two nights of poking away at this so far...
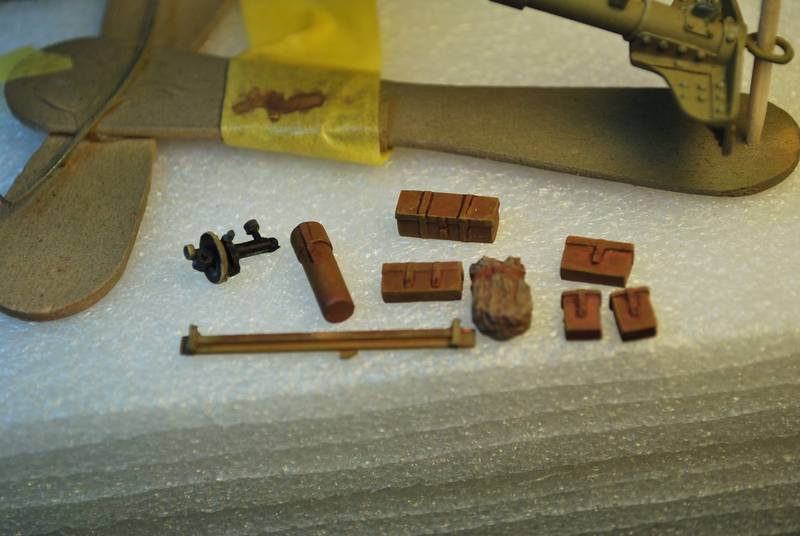
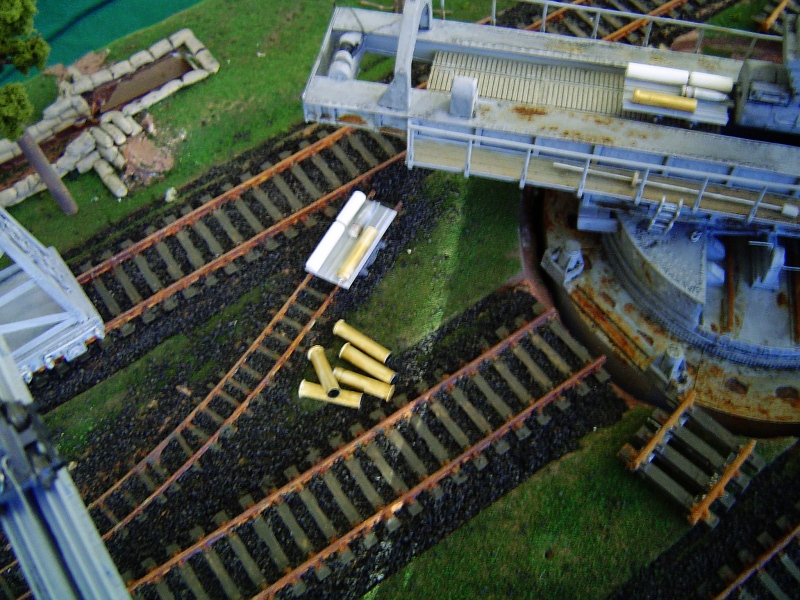
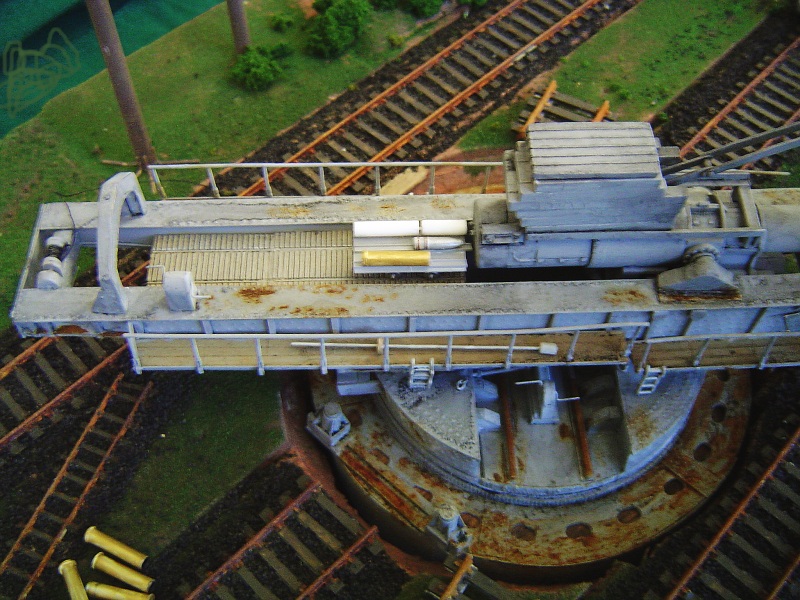
Lots of cleanup and dry-fitting to get this far and added spacers (white) as needed. by windysean, on Flickr
The fit is kind of what I expected from what I had read. The shield mount here didn't quite reach the shield, so I've stuffed some white styrene spacers in here for a better glue surface. It was tricky to center the gun in the round shield, but I think I have it. We'll know for sure when I mount it in the sponson(?). So far I haven't pulled my hair out or anything.
Sean H.
cdharwins
Visit this Community
New Jersey, United States
Joined: October 28, 2006
KitMaker: 491 posts
Armorama: 462 posts
Posted: Saturday, November 15, 2014 - 10:37 PM UTC

Hi everyone!!!!

Between business trips and family stuff, I've FINALLY been able to sit down and do some work on my Saint-Chamond! I really like this kit. With construction complete in September, I've been doing some painting.

I chose colors based on this period painting, mixed until I thought they looked cool. (I found the painting on Landships II, a great WWI modeling/reference site):


Black primer:


Gray base color:


The first camo color. This was my first time using Valejo and I LOVED IT. Easy to work with, great smooth finish, and great color. I added a little Mig standard rust pigment to Valejo dark yellow to give it more of an "ochre" color and thinned with a couple of drops of windex.


The finished camo pattern. The Green and brown are mixed from Tamiya acrylics, thinned with windshield washer fluid. The black stripes are hand-painted Valejo black-gray. The pattern is roughly based on a 1/72 paper model available on Landships II.


I marked it as a vehicle named "Renee" that I stumbled upon on the internet (mostly on the French site "Pages 14-18" with lots of help from Google Translate). I used the kit decals to make the vehicle number (62459) and chopped up some decals from Decalcomaniacs' Char 2C set to spell the vehicle name on the front left. (It's kinda hard to see on the dark green) The clover is hand painted...it's passable...I give myself a C-. The markings make it the vehicle commanded by CPT Rime-Bruneau: "Artillerie Speciale" Group 31, 1st Vehicle, 4th Battery.


Now it's ready for the fun part: WEATHERING!!!

Thanks for looking...I welcome your comments.

Chris
AlanL
Visit this Community
England - East Anglia, United Kingdom
Joined: August 12, 2005
KitMaker: 14,499 posts
Armorama: 11,675 posts
Posted: Sunday, November 16, 2014 - 01:04 AM UTC
Nice work Chris.

Al
windysean
Visit this Community
Wisconsin, United States
Joined: September 11, 2009
KitMaker: 1,917 posts
Armorama: 735 posts
Posted: Sunday, November 16, 2014 - 09:55 PM UTC
Chris, the camouflage and the reference artwork are both terrific!

Here's my progress lately...
Taped up warped parts while the glue sets by windysean, on Flickr
I pulled tape around edges to keep the warped panels tight to each other as the glue set.
Extra bracing on the rear wall pieces and tape to hold down the mufflers while the glue sets by windysean, on Flickr
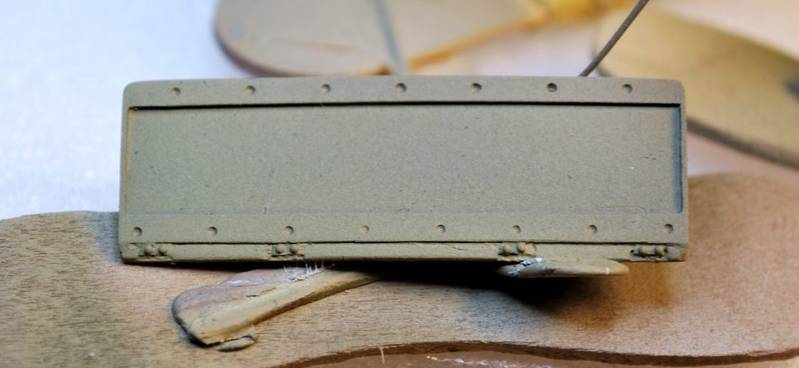
The kit is fairly well-engineered, but most of the parts are warped. See the bend in the closest part here-- hopefully hidden when the tracks come together. by windysean, on Flickr
Some parts had little for strength or location, such as these rear inside walls, so I added bracing from scrap. As you can see there is warping along the line too.
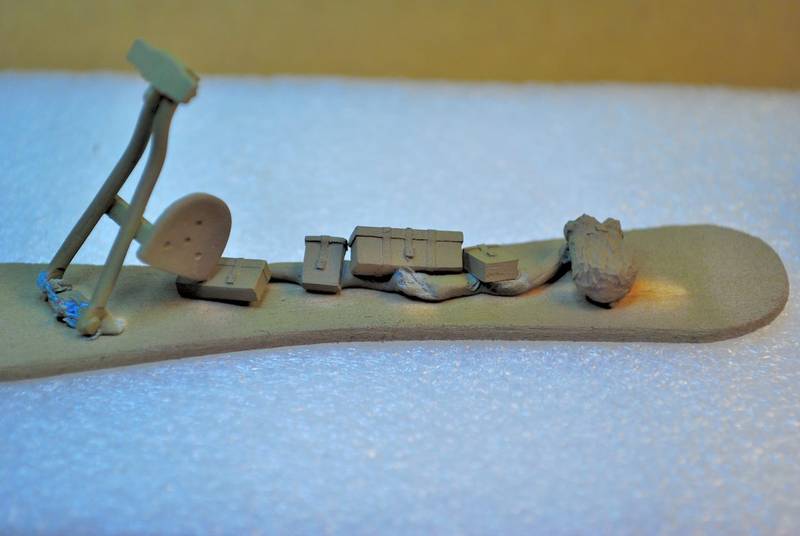
Ooh, this is the good part. by windysean, on Flickr
...and here it's coming together! Very exciting.
Note the plastic is white where I bent it back into a straight alignment.
Despite some challenges, I'm enjoying this build so far. I had been waiting so many years to build a WW I tank like this.
-Sean H.
cdharwins
Visit this Community
New Jersey, United States
Joined: October 28, 2006
KitMaker: 491 posts
Armorama: 462 posts
Posted: Sunday, November 16, 2014 - 10:27 PM UTC
Looking good, Sean. I built that kit a few years back...I thought it was OK. There are a bunch of accuracy issues and soft detail, but at the end of the day it's a simple build and it looks like an Mk IV when it's done. The tracks are by far the worst part of the kit but mine glued together fine (and stayed that way so far). If I were to build it again, I'd replace the them.

Chris
thebear
Visit this Community
Quebec, Canada
Joined: November 15, 2002
KitMaker: 3,960 posts
Armorama: 3,579 posts
Posted: Sunday, November 16, 2014 - 11:47 PM UTC
Nice work everyone ... Chris ... you're bringing back memories .. Good job on the paint scheme ..

Keep it up guys .
windysean
Visit this Community
Wisconsin, United States
Joined: September 11, 2009
KitMaker: 1,917 posts
Armorama: 735 posts
Posted: Sunday, November 23, 2014 - 10:20 PM UTC
As for the plastic tracks, I glued the runs together into a single band for each side, then glued the middle of the band (locating the seams in less obvious places) to the top run, in the hopes that any slack would be along the bottom ends.
Difficult task of gluing down the top run of tracks-- the loose ends hang past the bench while my cutting pad holds the tank out. by windysean, on Flickr
For the tracks, I glued the top run down to the hull, later I came back and joined the ends at the bottom, letting any slack settle at the bottom ends. by windysean, on Flickr
the effect is passable. Anyway, moving on to paint, decals, and wear next. Oh, yeah, and a basswood unditching beam.
cheers!
-Sean H.
windysean
Visit this Community
Wisconsin, United States
Joined: September 11, 2009
KitMaker: 1,917 posts
Armorama: 735 posts
Posted: Tuesday, December 09, 2014 - 10:16 PM UTC
Me again...
Primer by windysean, on Flickr
Going to try some "undershading" by windysean, on Flickr
I can hear it now, "Sean, what are you doing?"
Undershading base by windysean, on Flickr
Model Master "SAC Bomber Tan" was not the brown I thought it would be by windysean, on Flickr
And ugh, that Model Master "SAC Bomber Tan" is awfully green, but I don't plan to repaint and lose any undershading that might be working. I'm hoping heavy weathering can negate the green tint.
Cheers!
-Sean H.
FJHueso
#156
Visit this Community
Madrid, Spain / España
Joined: February 29, 2004
KitMaker: 119 posts
Armorama: 53 posts
Posted: Wednesday, December 10, 2014 - 12:56 AM UTC
I must hurry! After missing the end of "Bronco Only" I think atleast the gun will Arrive in time to the battleground...Regarding the Bombardier, I'll try my best!

BTW, there's many excellent models, here!

Regards

Javier


windysean
Visit this Community
Wisconsin, United States
Joined: September 11, 2009
KitMaker: 1,917 posts
Armorama: 735 posts
Posted: Sunday, December 21, 2014 - 08:05 PM UTC
Nearly there. I doubt I'll have a base for it by the end of the campaign, but here is the tank itself, complete...
Washes/ tints of acrylic art paints and water and Future for a rusty, drippy hue by windysean, on Flickr

I knew the tracks were going to be trying, but the decals were a surprise. They have super thick carrier film that defied fitting to the heavy rivets and panels on the kit. After placing them, I hacked away with an Exacto #11 wherever trouble arose, and gave everything a heavy dose of Walthers Solvaset, and overtopped with more Pledge Future...
The original Emhar decals were atrociously thick and unwielding and required great effort with an Exacto and Solvaset to get to this state. by windysean, on Flickr
Obviously, there was silvering under the larger decals, but I pierced and filled the worst of it.

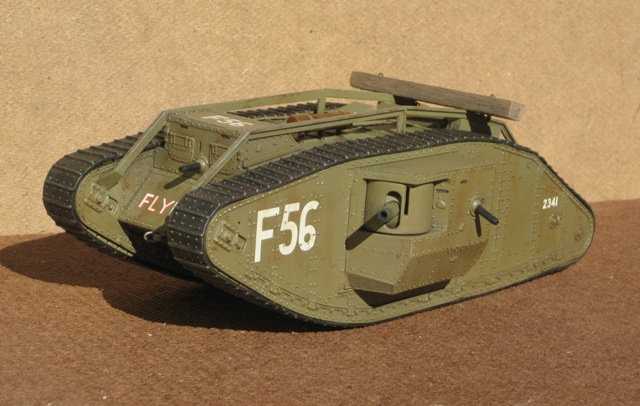
Nearly complete, I still want to do more with the unditching beam by windysean, on Flickr
Decent results. I took this photo under fluorescent lights. I'm hoping outdoors it will look less green. That sure is a tricky color! --and no, I won't repaint it.
I'll keep working on the unditching beam-- too black right now, so I'll try to tone it back closer to a yellow wood color. I have to buy some chain for it, at a craft store, I think.
Cheers!
Sean H.
FJHueso
#156
Visit this Community
Madrid, Spain / España
Joined: February 29, 2004
KitMaker: 119 posts
Armorama: 53 posts
Posted: Sunday, December 21, 2014 - 09:26 PM UTC
A quick update: Now trying to finish the figure (And Emden's Revell, for "Unfinished Business", but that's another campaign 
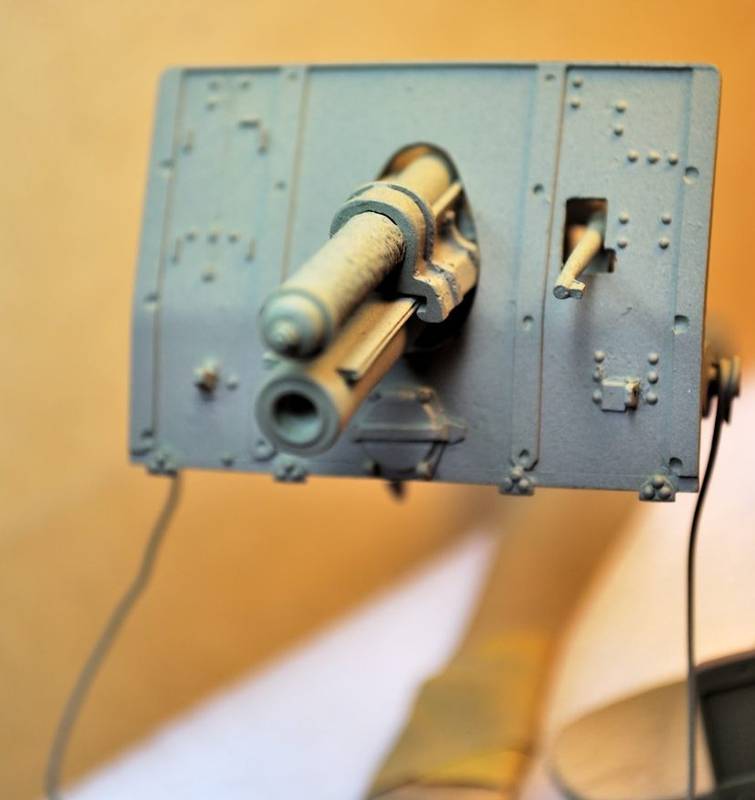
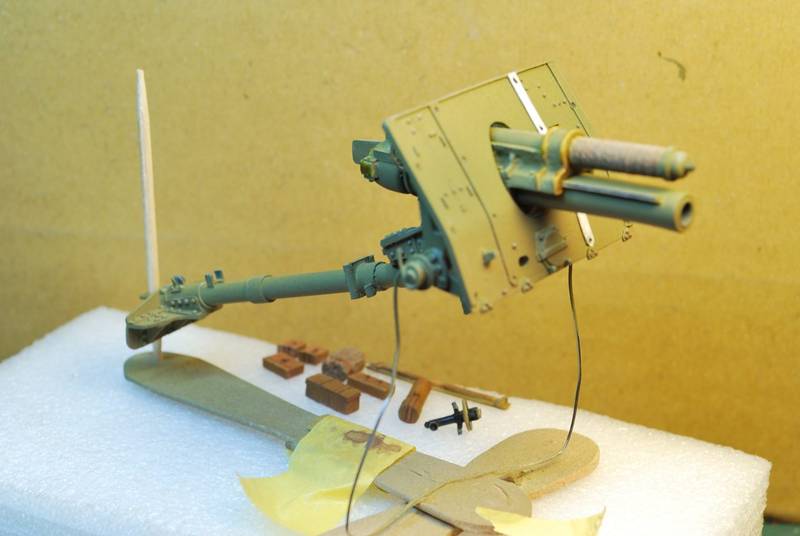
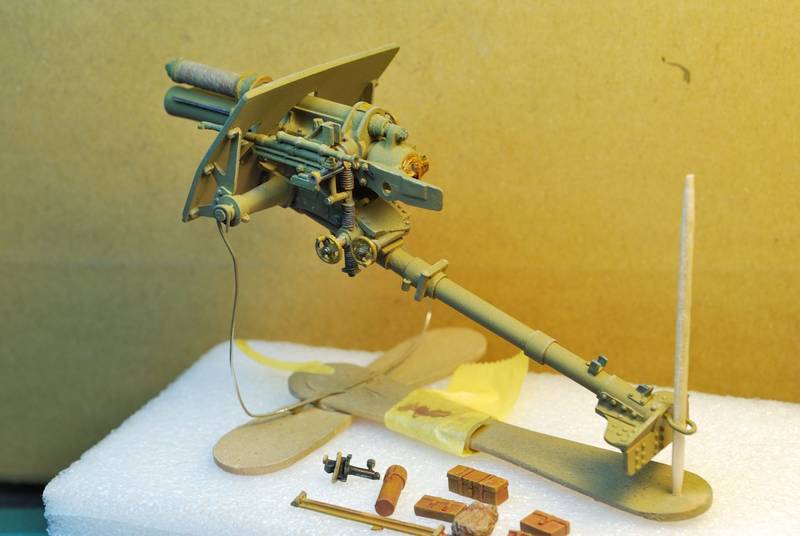
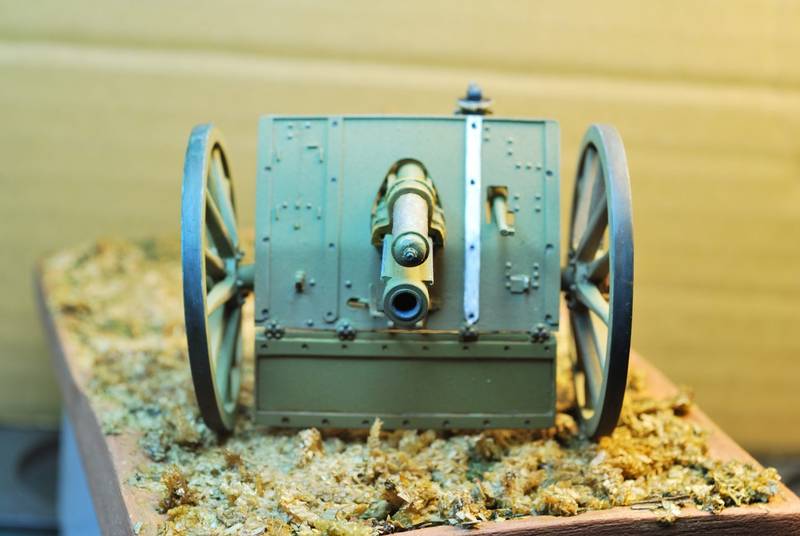
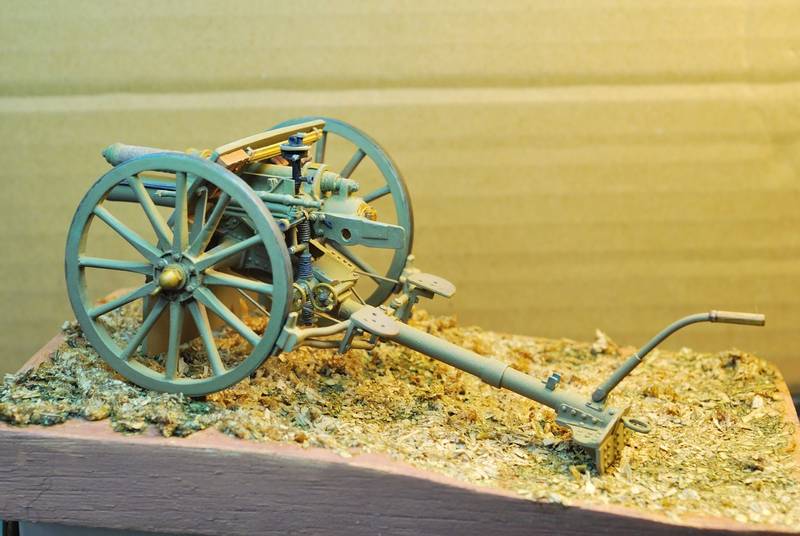
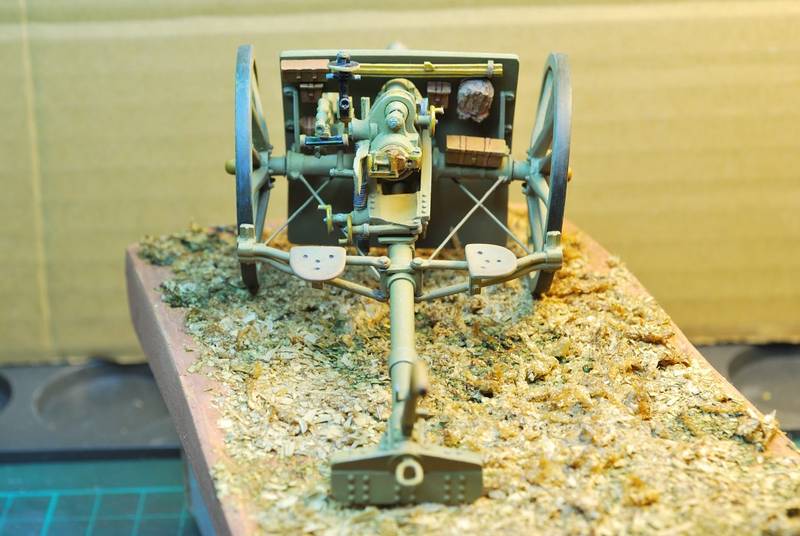
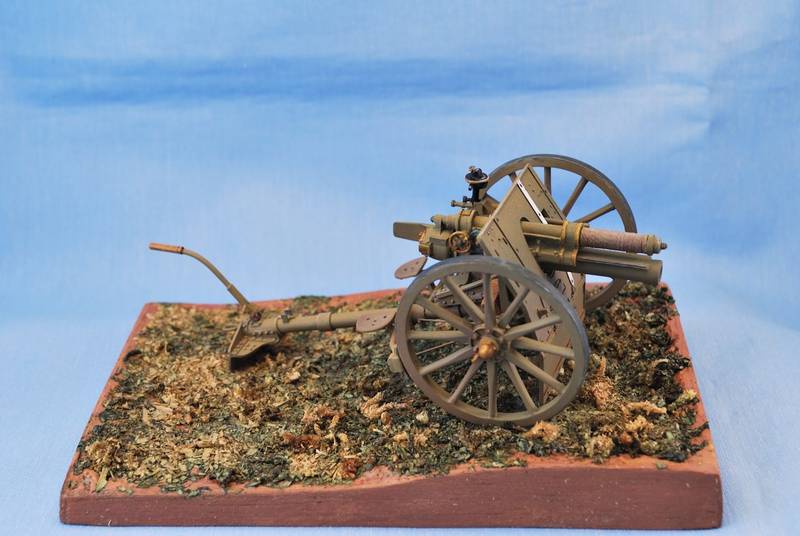
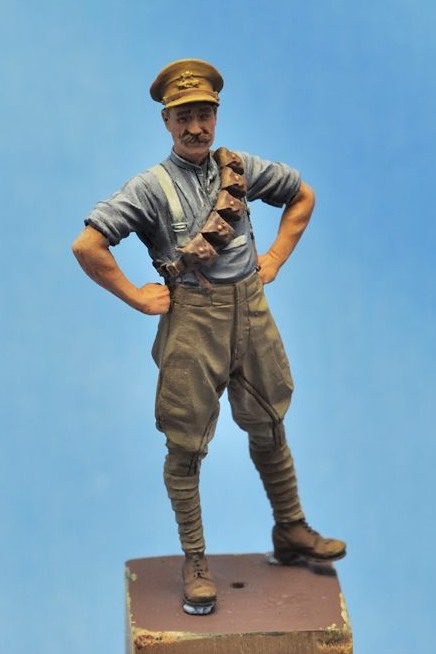
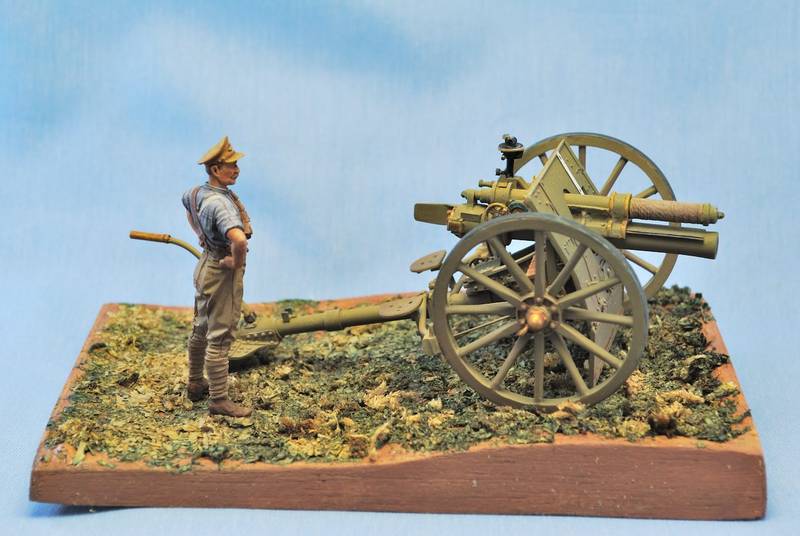
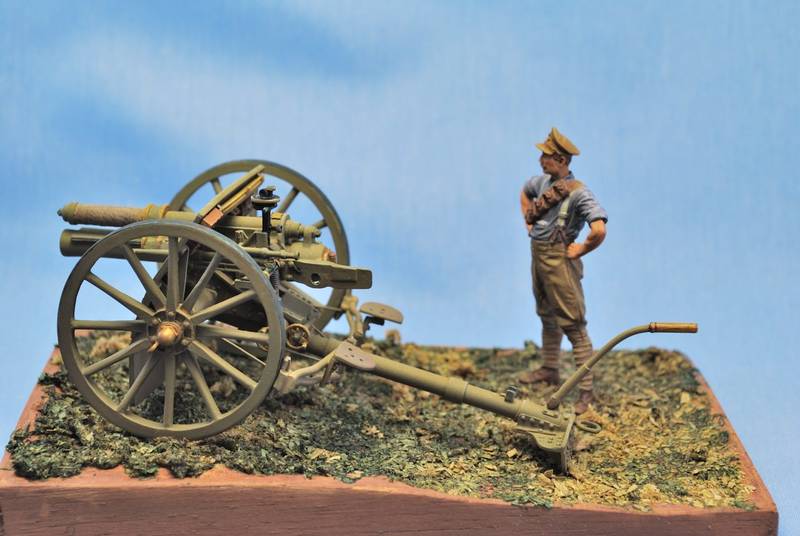
). But at least the gun is ready.


cdharwins
Visit this Community
New Jersey, United States
Joined: October 28, 2006
KitMaker: 491 posts
Armorama: 462 posts
Posted: Sunday, December 21, 2014 - 09:41 PM UTC
Sean...looks good. I remember those thick Emhar decals. I wound up making new tactical markings with blank white decals. Even still...I was happy with the kit.

Javier..The gun looks fantastic, and I also like your popsicle stick/wire paint stand.

I was almost finished with my Saint-Chamond, and then decided to put it on a diorama base, so I'll be coming in under the wire. I'm on vacation next week, so that'll help.

Chris
cdharwins
Visit this Community
New Jersey, United States
Joined: October 28, 2006
KitMaker: 491 posts
Armorama: 462 posts
Posted: Monday, December 22, 2014 - 06:55 PM UTC
Merry Christmas and Happy Holidays to all!

I'm almost done with my Saint-Chamond. The tank itself is more or less finished. Takom have done a great job with this kit, and in my opinion one of the most interesting features of this model is the suspension. If the model is displayed on a shelf all that detail will be hidden, so I decided to display it coming over the top of a rise.

I modified the diorama base included in Meng's FT17 "Riveted Turret" kit. I built the shell of the diorama, added .040 sheet as a floor, replaced the two "groundwork" pieces with floral foam, and covered the foam with Durham's Water Putty. I embedded the wood sections and sandbags that are included with the kit into the wet putty. The Durham's serves as a good, solid base layer.


Next I'll finish the outside of the base, then add the top groundwork layer of mud and dirt...thick enough to sink the tracks into it. Then I'll finish with some barbed wire and other details. I'm pretty happy with it so far.

In reality, a steep drop like that would probably immobilize a Saint-Chamond; it would take a nose-dive and bottom out. However, displaying it like this will allow that nice underside detail to be seen.

Thanks for looking.

Chris
windysean
Visit this Community
Wisconsin, United States
Joined: September 11, 2009
KitMaker: 1,917 posts
Armorama: 735 posts
Posted: Monday, December 22, 2014 - 08:35 PM UTC
Chris, I like the base details, and I have to imagine the other side of that trench would catch the nose. As you have it, the tank teally stands prominently.
Sean H
AlanL
Visit this Community
England - East Anglia, United Kingdom
Joined: August 12, 2005
KitMaker: 14,499 posts
Armorama: 11,675 posts
Posted: Tuesday, December 23, 2014 - 01:44 PM UTC
Nice work Sean, Javier and Chris,

Things are looking good..

Al
Northern_Lad
Visit this Community
United Kingdom
Joined: September 17, 2012
KitMaker: 462 posts
Armorama: 417 posts
Posted: Wednesday, December 24, 2014 - 09:23 PM UTC
This one is finished… I don’t have any decals so this one is an unidentified tank of an unknown unit…

I’ll upload a few more pictures to the gallery


Cheers

Matthew
windysean
Visit this Community
Wisconsin, United States
Joined: September 11, 2009
KitMaker: 1,917 posts
Armorama: 735 posts
Posted: Thursday, December 25, 2014 - 12:21 AM UTC
Good one, Matthew. It doesn't need markings to look good!
Sean H.
FJHueso
#156
Visit this Community
Madrid, Spain / España
Joined: February 29, 2004
KitMaker: 119 posts
Armorama: 53 posts
Posted: Thursday, December 25, 2014 - 10:06 PM UTC
Hello all! Just in case I can't finish the Bombardier, I've just uploaded the gun to the gallery. I must finish also my Emden this week, but... Who's afraid?

Thanks for your generous comments. The model is a delight, no too demanding, but it needs good references. Also, the cross members and brake bars are not present but, again, with good pics in hand, is not difficult to overcome that.

Merry Christmas!


cdharwins
Visit this Community
New Jersey, United States
Joined: October 28, 2006
KitMaker: 491 posts
Armorama: 462 posts
Posted: Monday, December 29, 2014 - 08:10 AM UTC
Happy New Year, everyone!

My Saint-Chamond is DONE!


Photos have been uploaded to the gallery.

So, when does the next WWI campaign start?

Chris
FJHueso
#156
Visit this Community
Madrid, Spain / España
Joined: February 29, 2004
KitMaker: 119 posts
Armorama: 53 posts
Posted: Tuesday, December 30, 2014 - 09:13 PM UTC
Done! Great way to finish the year!

Bombardier reporting on duty. Hope you like it, and have a nice and prosperous New Year All!.

(And, though Spain did not fought WWI, Lest we Forget!)


windysean
Visit this Community
Wisconsin, United States
Joined: September 11, 2009
KitMaker: 1,917 posts
Armorama: 735 posts
Posted: Tuesday, December 30, 2014 - 11:06 PM UTC
Done! Here are my gallery photos.
Thanks for the insight and encouragement!


-Sean H.
cdharwins
Visit this Community
New Jersey, United States
Joined: October 28, 2006
KitMaker: 491 posts
Armorama: 462 posts
Posted: Wednesday, December 31, 2014 - 04:25 AM UTC
Fine work, Javier and Sean. Happy New Year, gents.
geogeezer
Visit this Community
Arizona, United States
Joined: February 17, 2011
KitMaker: 263 posts
Armorama: 258 posts
Posted: Wednesday, December 31, 2014 - 05:49 AM UTC
Hi all
I haven't posted anything for about six months due to travel, holidays, house guests, etc. This is the last update for my Paris Gun build. Anything more will be posted on the Diorama Forum.
The following photos are overhead views of the emplacement taken in daylight with the gun elevated to firing position. The track is now ballasted and the rails are rusty. Wooden crates for the shells are on the ground beside the track in the foreground.


The photo below is looking in the opposite direction with the forward truck of the gun carriage (newly built) in the foreground.
/>
The next two photos show the breech end of the gun with the ready ammo cart in position for loading. Fired brass base cartridges are on the ground below the gun.


Unfortunately, I've forgotten how to post images to the campaign gallery and I'm hoping someone will be able to help with that.

Figures are notably lacking, and I'll add some if I can ever find any which aren't made of rubbery plastic and can be shaped into a gun crew - each Paris Gun had a crew of 80.I have about a dozen more trees to add to the forest plus some undergrowth

Cheers and a Happy New Year to all!!

Dick