

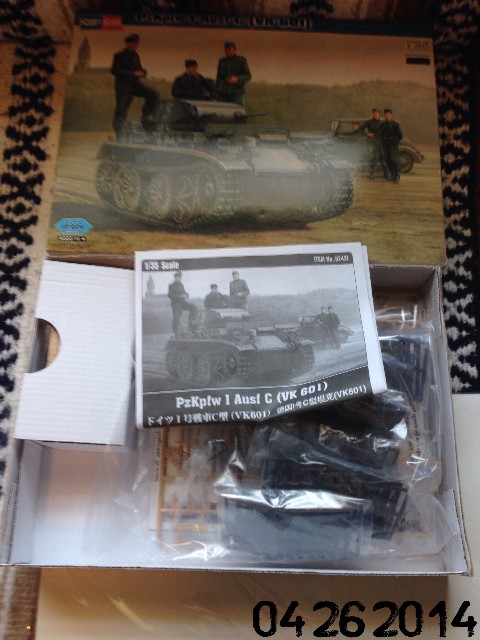
I have signed up. Here's what I plan for the campaign -- a beute T-37:
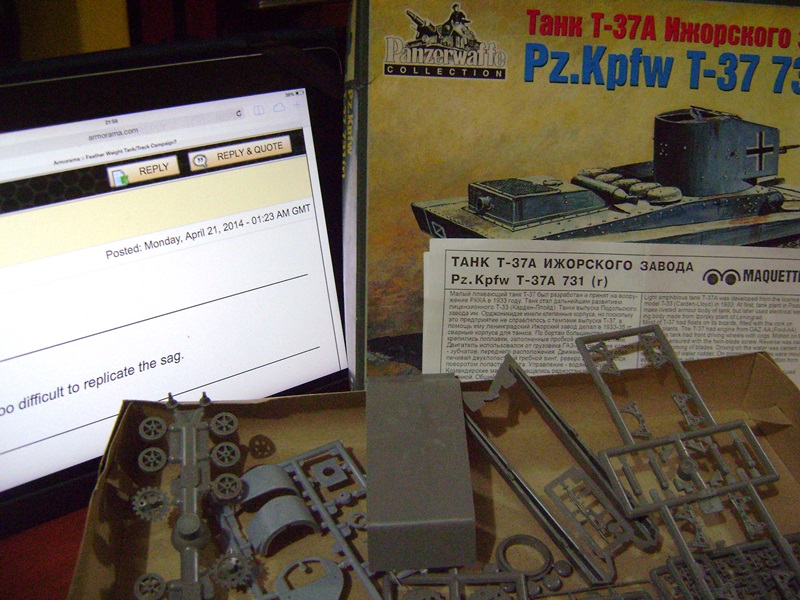
At 3200 kgs, I guess this one won't have much issues on tipping the scales


Cheers,
Tat


Yes. Paper panders, as long as they are light or reconnaissance tanks, are allowed.


alright, here we go:
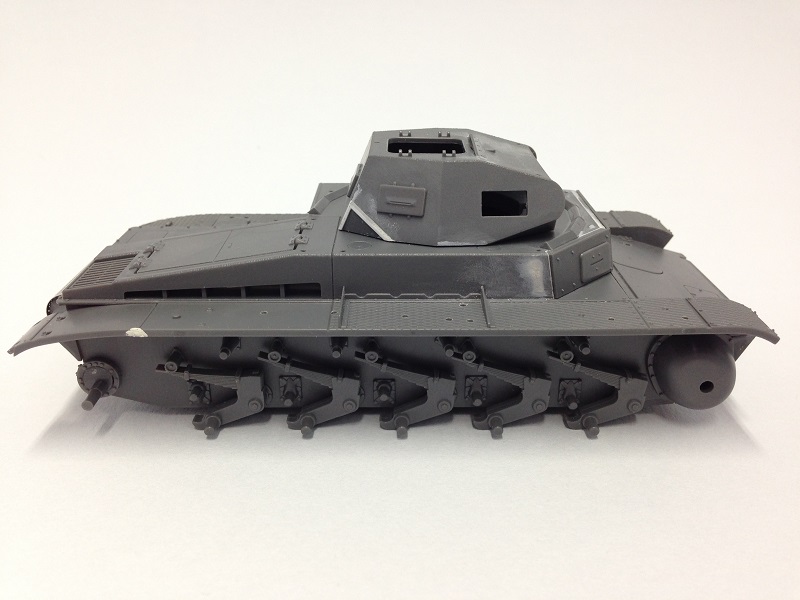
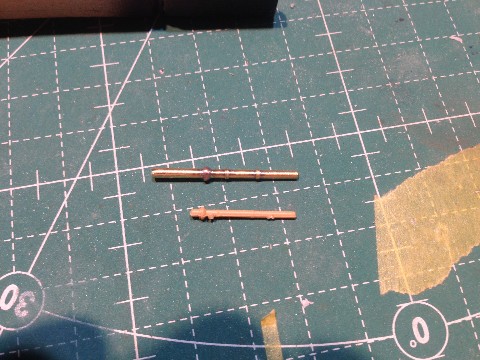
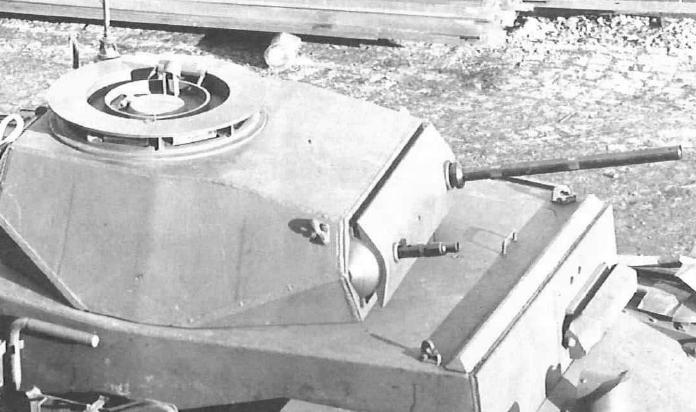
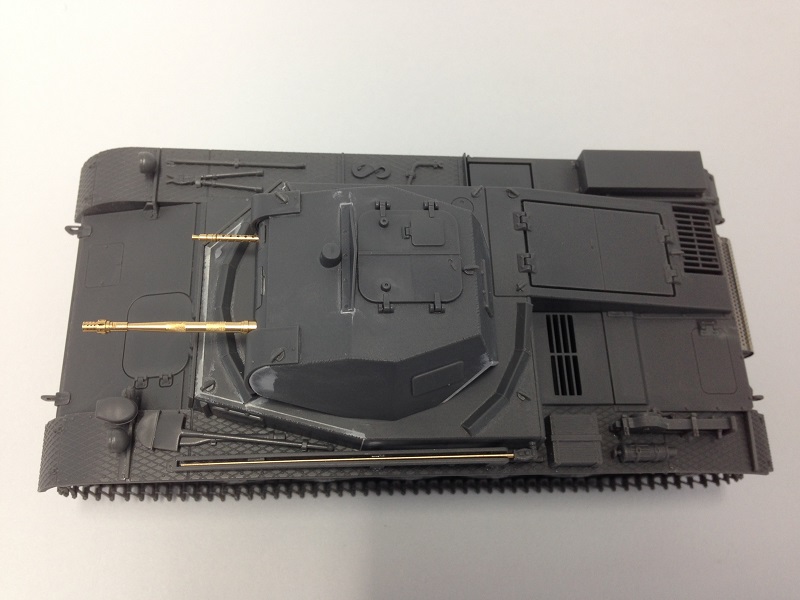
the drivers aiming device, added a little pice of scrap PE in front of the drivers vision port and replaced the the "solid disc on the stick" with scrap PE and a small ring of wire:
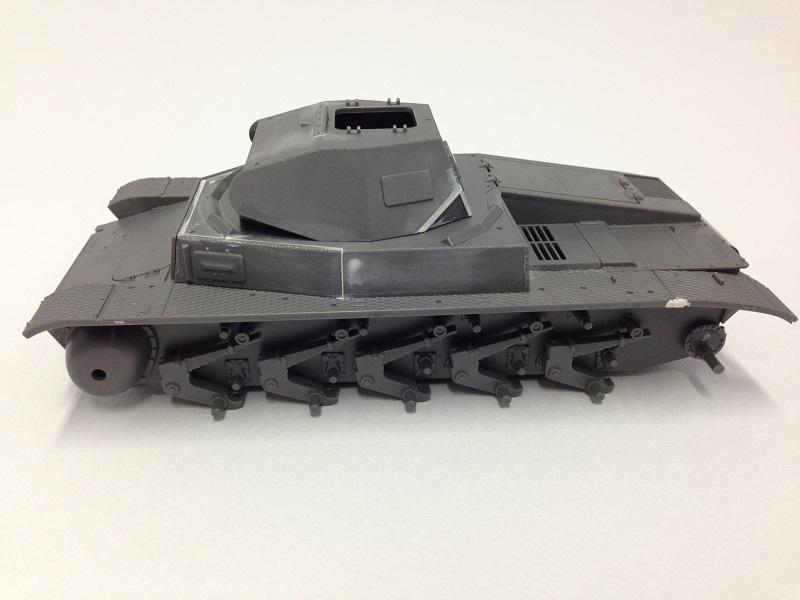
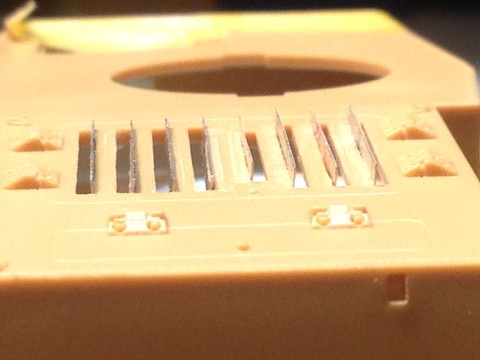
didn´t stick too colose to the instructions and rearranged the segments in the lower front area, the segments can take some gentle bending without falling apart.
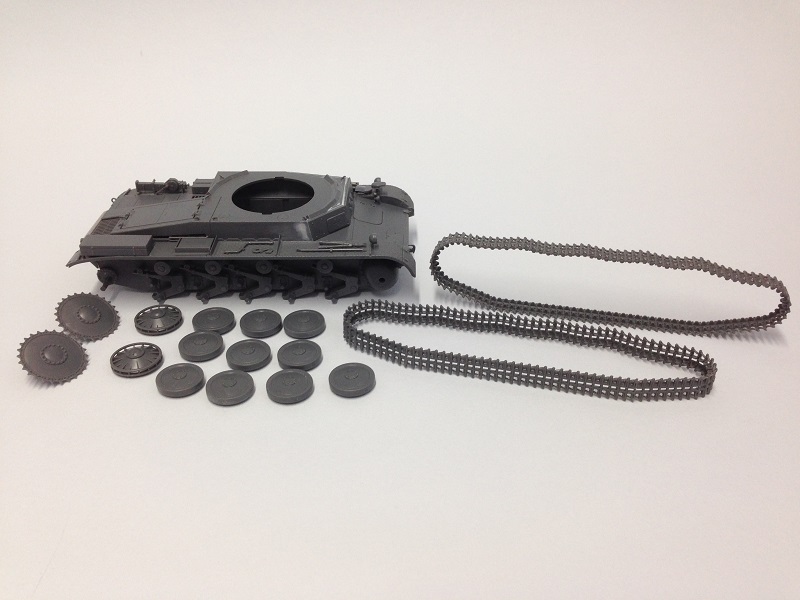
I thought I was quuite close to the finish, but noticed, while looking at the kit, that there is lot of work still waiting for me...


Thanks Fabian for the info and pics, I'll put them to good use.
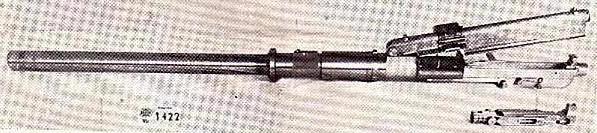
I was thinking about getting the CMK resin engine, the fruil model tracks and the passion models PE fret but there quite pricey so still undecided.
 (although I couldn´t resist to do some scrating).


 I'm not looking forward to either blowing the dough on Fruils or the spending the time on sprocket salad surgery.


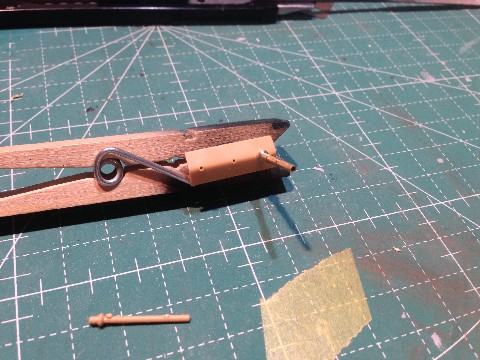


I was going to hold my water on that handle - do fix it if you have some tiny stretched sprue or thinner wire.


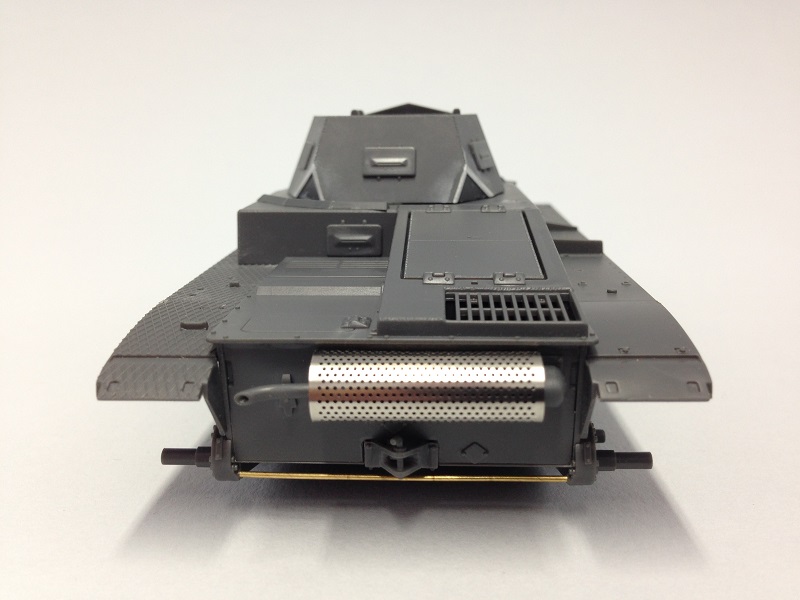
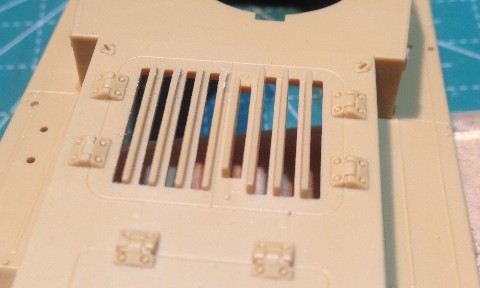
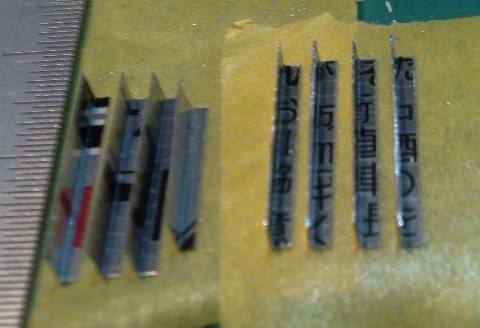
Oh, I also decided the louvers on the engine compartment ventilation are entirely to chunky and will have to go. Was wondering how Raul and the other PzIc'ers are looking at those. Like many other scratched up parts I am cutting up beer cans because they are cheeper than brass and plentiful around my house


The second consideration was a conscious decision (and I'm about to speak heresy here, so cover your eyes if you're easily offended) to pursue an option favoring visual impact over accuracy. Most of the people that see my work are not history buffs or armor officianados so I try to present something that "looks good." In this case, that means that even if the louvers are technically right, they "look wrong." At least in my view.
For me the hobby is as much about the artistic expression and mastering of techniques as it is about achieving perfect technical accuracy. But that's okay; I never expect to win any awards anyway.
 |


