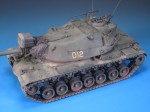
1⁄35M103A2 Heavy Tank
18
Comments
Part 14 - Weathering Heights
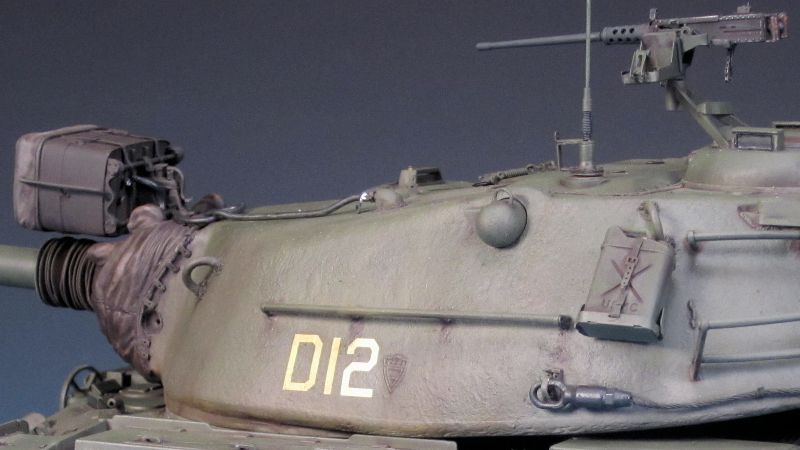
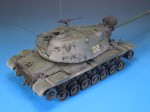
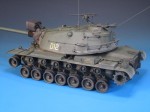
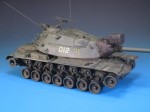
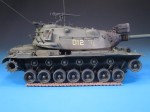
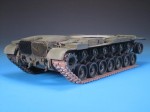
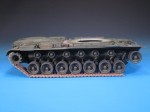
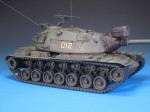
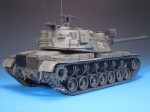
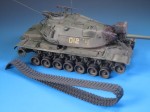
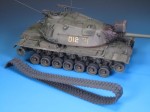
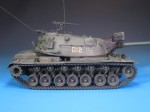
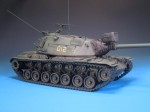
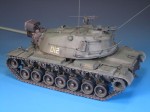
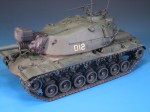
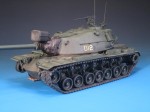
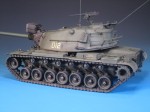
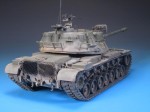
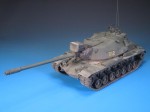
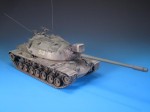
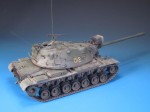
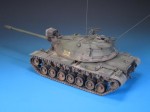
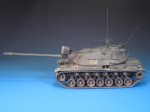
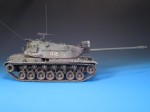
The first weathering was a diluted "dusting" application of Tamiya XF-57 Buff. The key is to use a very thinned application at low pressure with the airbrush. Not only can you dust large areas but you can also apply thinner lines to replicate dust accumulation. The second weathering application was washes of Raw Umber oil paint. Using this in the recesses really accentuates the details and adds a deeper level to the base paint. The opposite of the XF-57 Buff application, the Raw Umber washes create the look of "old" built up dirt on the tank. The road wheels and return rollers have also been painted with a faded application of Tamiya NATO Black XF-69. To break up the monotone USMC green I repainted the searchlight with a darkened shade of Tamiya XF-62 Olive Drab. I figured the searchlight was an addition to the M103A2s in the late 1960s so they would look a bit fresher than the tank itself. Both the searchlight and the mantlet cover were given heavier washes / filters of the Raw Umber to alter the colour and really make them stand out from the USMC green. The washes will be cleaned up and reapplied to achieve deeper detail, some streaking, and to eliminate any "tide" marks as the weathering continues. The next step was to paint the small details on the hull and turret before reapplying washes. I fixed the headlights and IR lights in place. For the headlights I used EK Success / Sticko brand silver shimmering epoxy dots. These are great little pieces and on par with the much more expensive MV Product lenses. There is nothing wrong with the kit headlights. They are clear plastic but I feel they don't give the realistic appearance of a glass headlight lens. On a side note the EK Success / Sticko brand silver shimmering epoxy dots are no longer in production. I confirmed that with the company during this build. For the Infrared lenses I used the kit lenses. I painted them black and then gloss coated them. A touch of white glue set everything in place. I primed and then base coated the tracks. I purposely left the tracks in two sections. The breaks were before and after the idler wheels for the left set. I attached the track sections together with unpainted track components and then touch them up with the airbrush. The result was a seamless run of tracks. Oil paint washes were applied to give the look of worn tracks with surface rust and wear. More weathering will be added to the lower hull and tracks once the right set of tracks is attached. Weathering was also done to the searchlight cover and the mantlet cover. I want to portray a well-used but maintained tank. I pushed on with the construction and finishing of the right set of tracks. Proper cleanup, sanding, dry fitting, and deep breaths for sure assist with getting these little beauties built, painted and installed. For the right set of tracks I changed my approach. I started with the bottom run on the tracks. This ensured they sat flat, the road wheels were properly situated, and it created the basis for the curved runs around the drive sprocket and idler wheel. I next built the track sections running around the drive sprocket. The Bronco tracks fit great on the Dragon sprocket teeth. Mid construction I changed my mind. I decided to change approach to the track construction. As I would have to remove the tracks for proper painting I repositioned the break in the tracks to between the last road wheel and the drive sprocket. This way I can base coat the tracks, install them, connect the tracks with unpainted track pads, and repaint the connecting parts. The right tracks were base coated with Tamiya XF-69 NATO Black. The next step was re-installation and connection. Once in place, unpainted track components were used to connect the sections. Care was taken to bring the sections together and not make a mess with glue. A couple of the missing centre guides were also glued on to the tracks. With the track assembly completed, the tracks were evened out with Tamiya NATO Black paint. The right set of tracks was now ready for weathering. With the tracks completely on and some minor detail painting finished I set about weathering the big beast. I used various shades of MIG Productions pigments to create dust and dirt build ups. My intent was to create the look of a dusty well travelled but equally well maintained heavy tank.Comments
Thanks very much again Fellas! I really appreciate your positive feedback and comments.
What's next? I've got a few Leopards to get back to but as far as Cold War Heavies...a German KPz 70 and a British FV4005 are on the list.
MAR 10, 2016 - 04:01 PM
Which was more work, building the kit or writing that article? Both are a great effort. Nice to see something a little less covered here.
MAR 13, 2016 - 05:52 AM
Building the kit was for sure much more work. I'm glad you like both results!
MAR 13, 2016 - 09:55 AM
Thanks Colin...with any luck I will have it at the Alberta Open Model Contest in Edmonton at the end of May.
MAR 13, 2016 - 11:56 PM
Thanks Bob! Not nearly what you bring to the table with your amazing ships!
MAY 12, 2016 - 05:00 AM
Copyright ©2021 by Jason Bobrowich. Images and/or videos also by copyright holder unless otherwise noted. The views and opinions expressed herein are solely the views and opinions of the authors and/or contributors to this Web site and do not necessarily represent the views and/or opinions of Armorama, KitMaker Network, or Silver Star Enterrpises. All rights reserved. Originally published on: 2016-03-08 14:36:15. Unique Reads: 20561


