

1⁄35M103A2 Heavy Tank
18
Comments
Part 7 - Dust Cover Delight
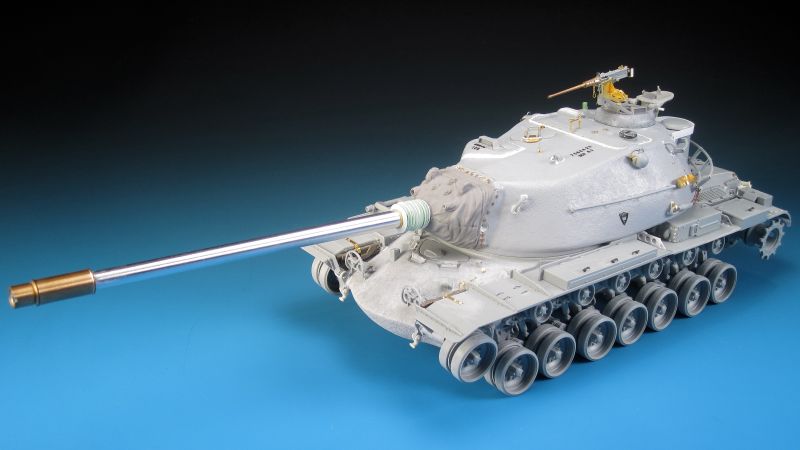
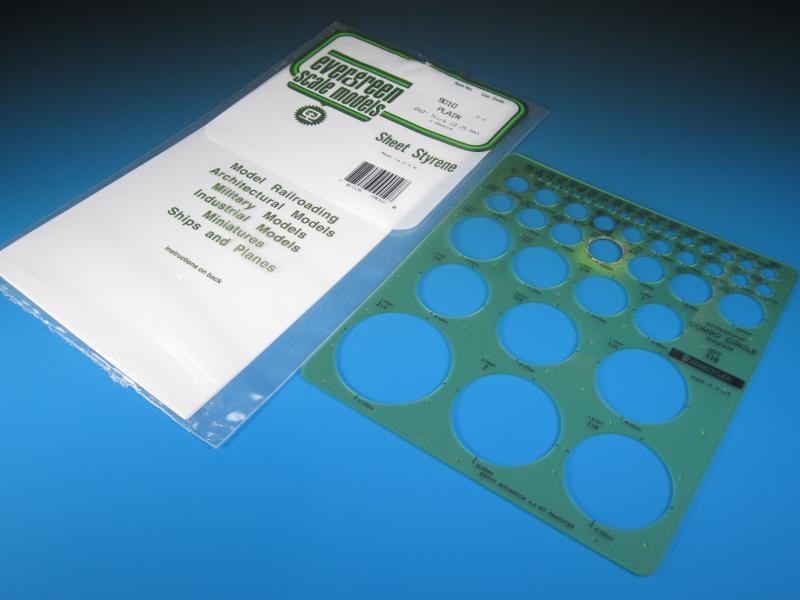
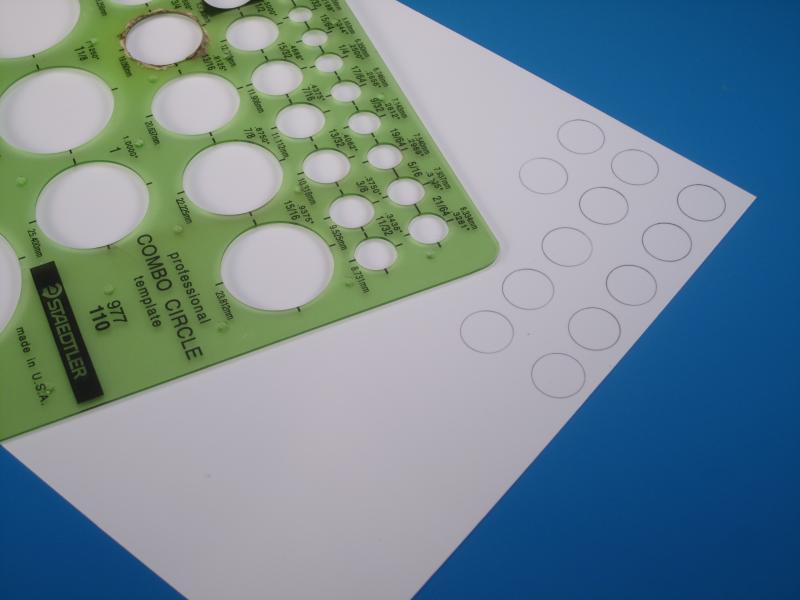
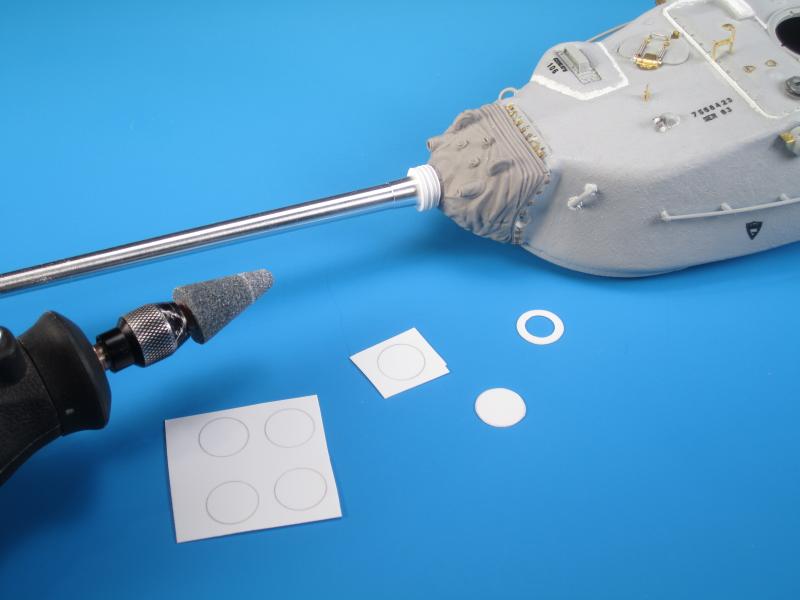
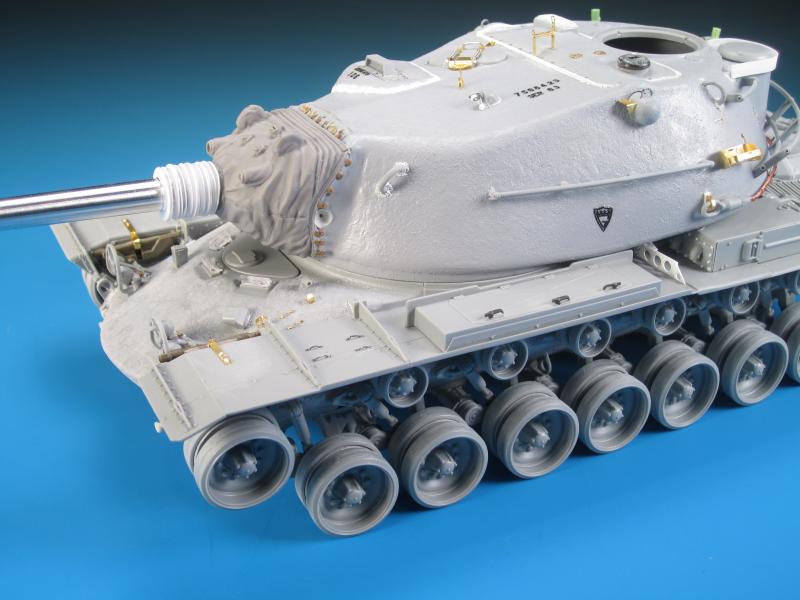
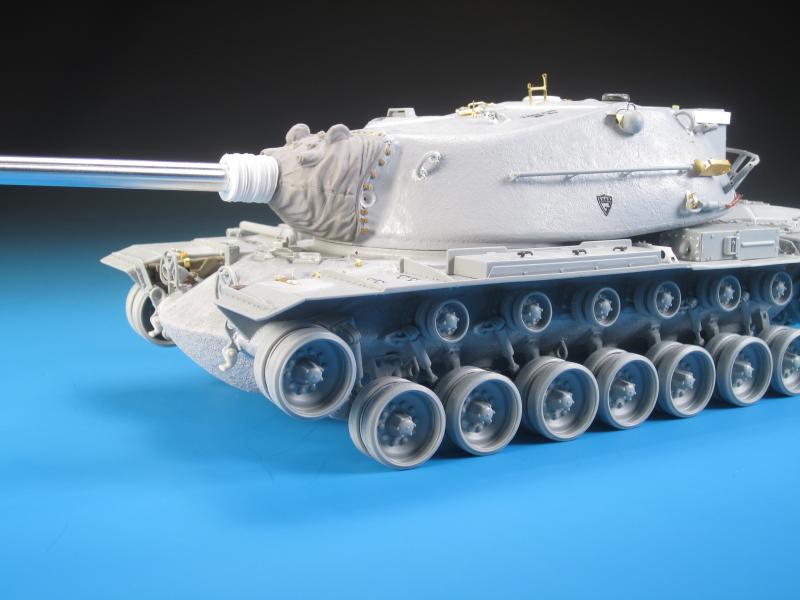
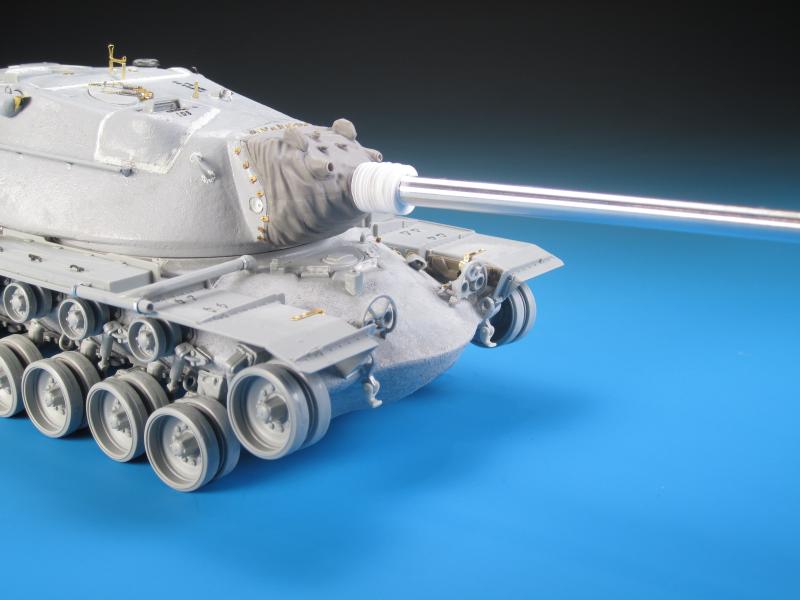
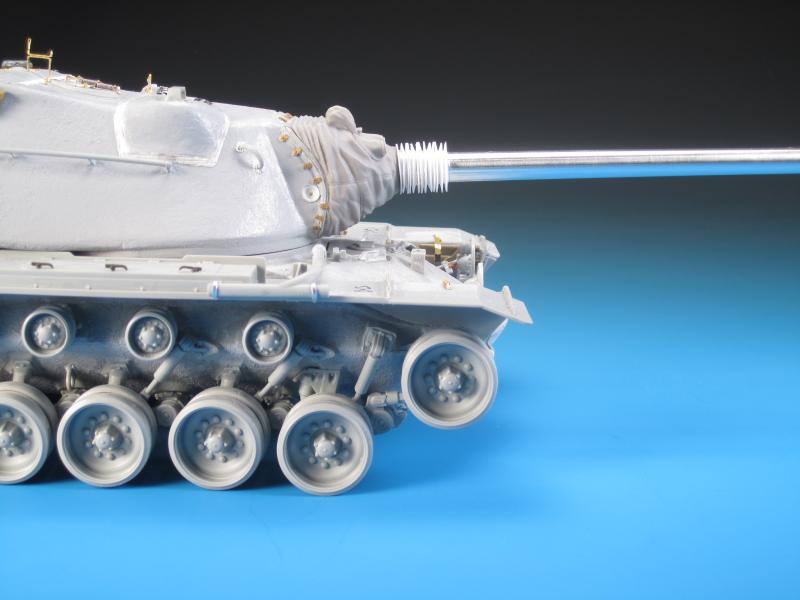
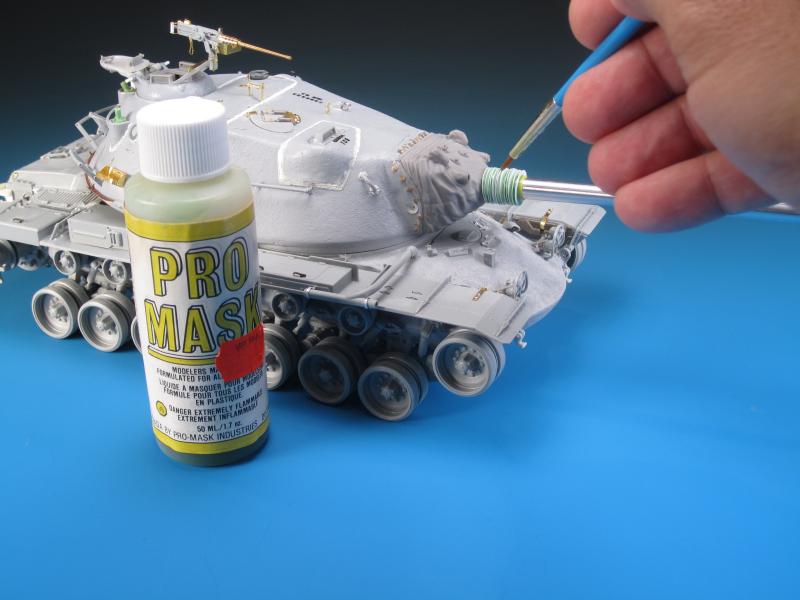
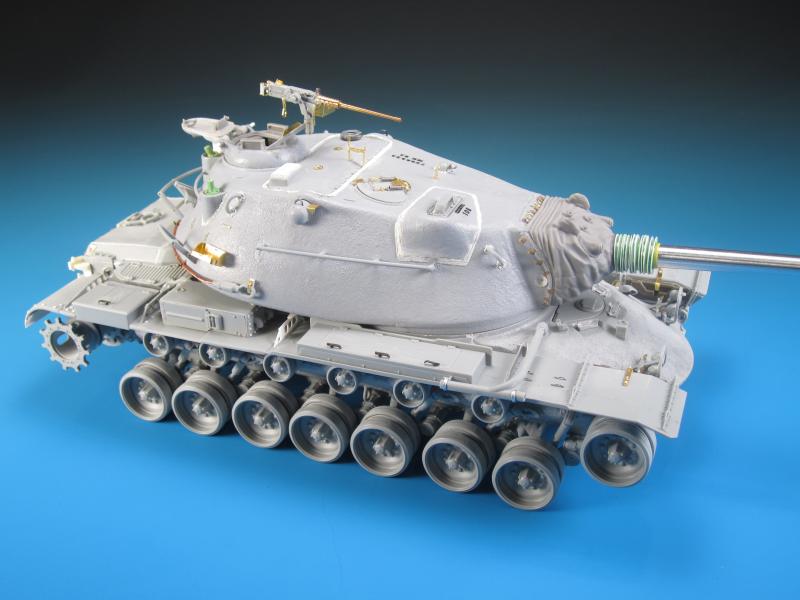
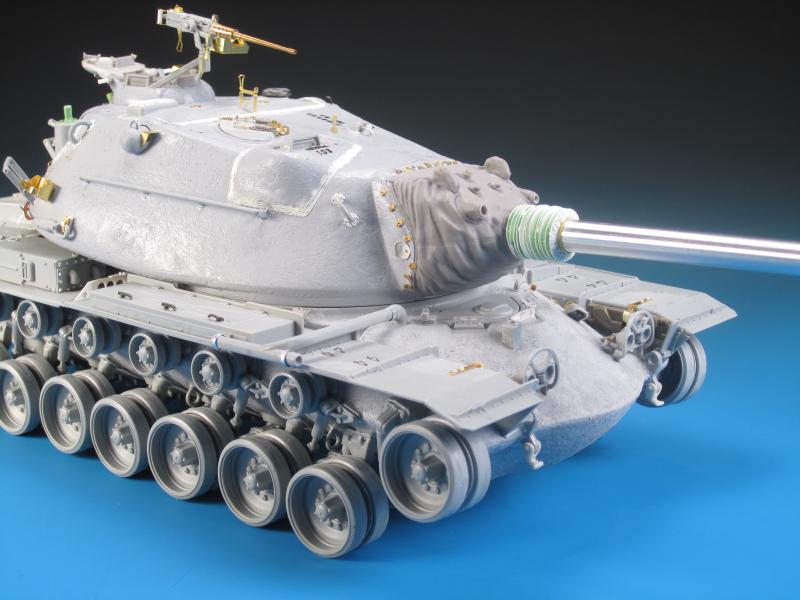
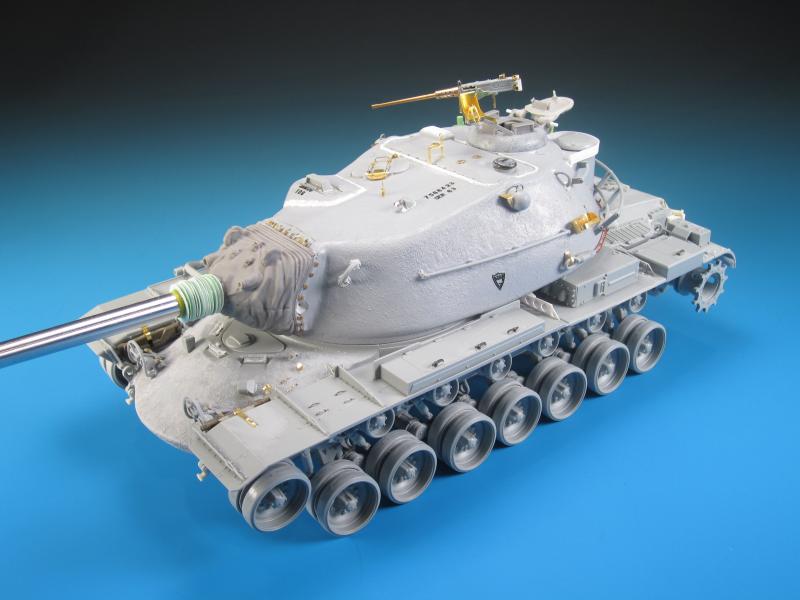
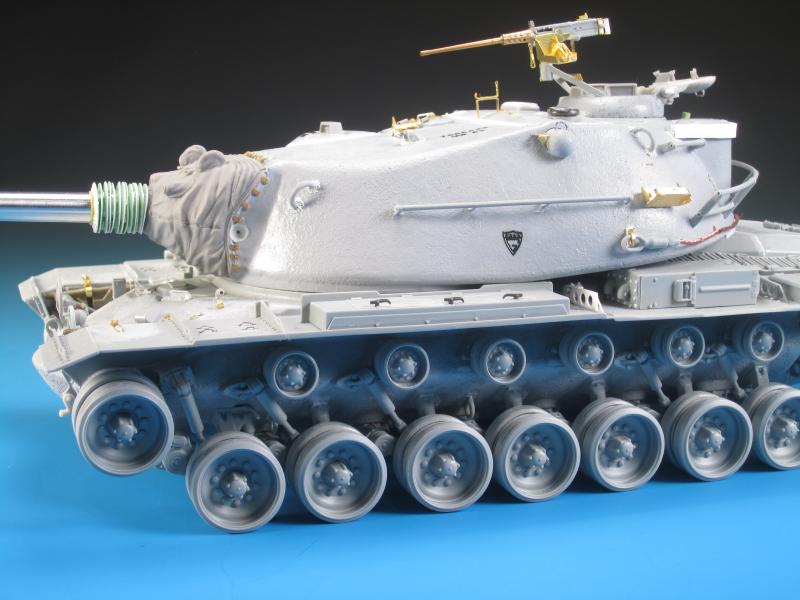
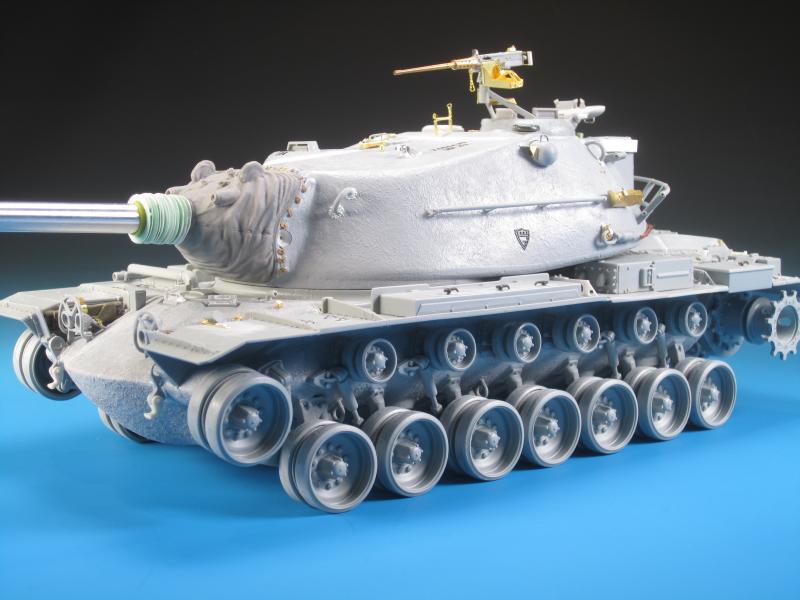
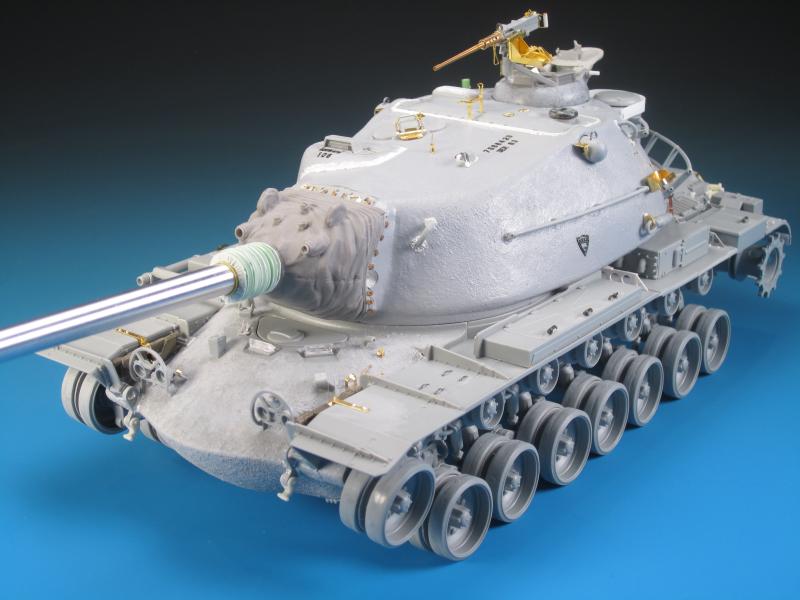
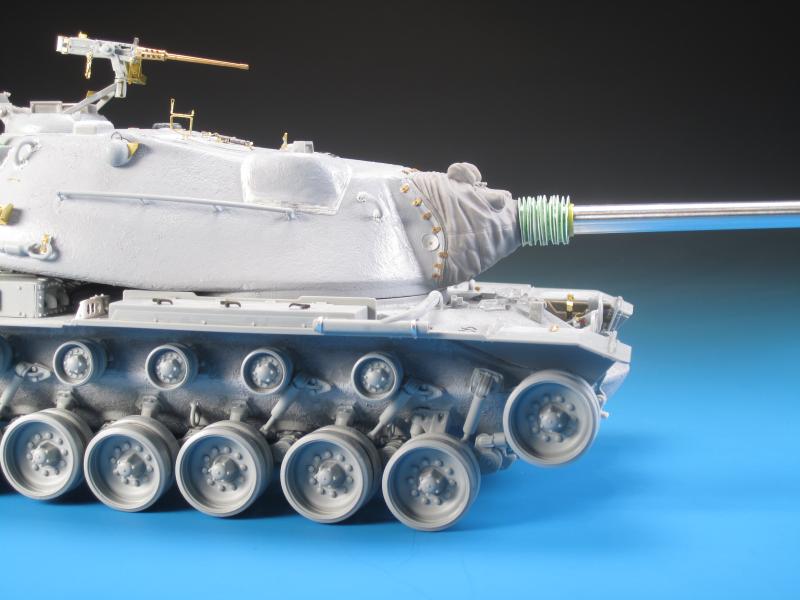
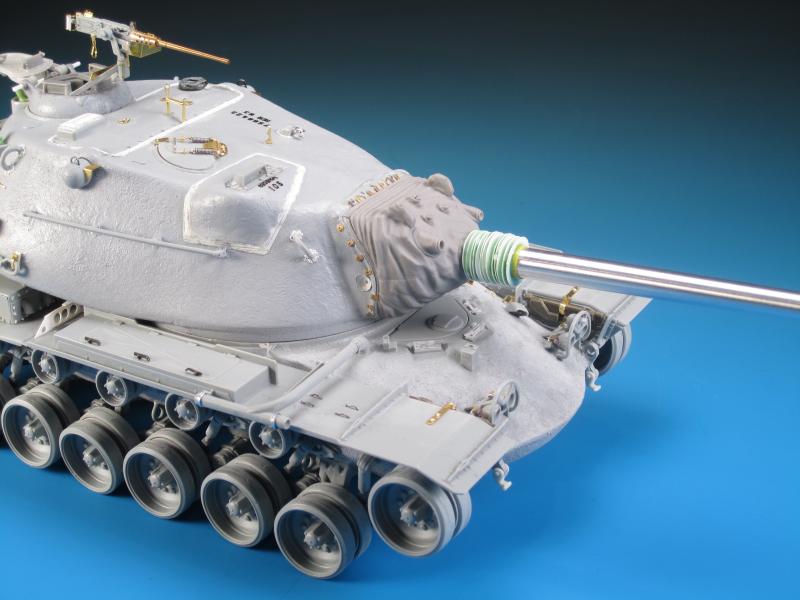
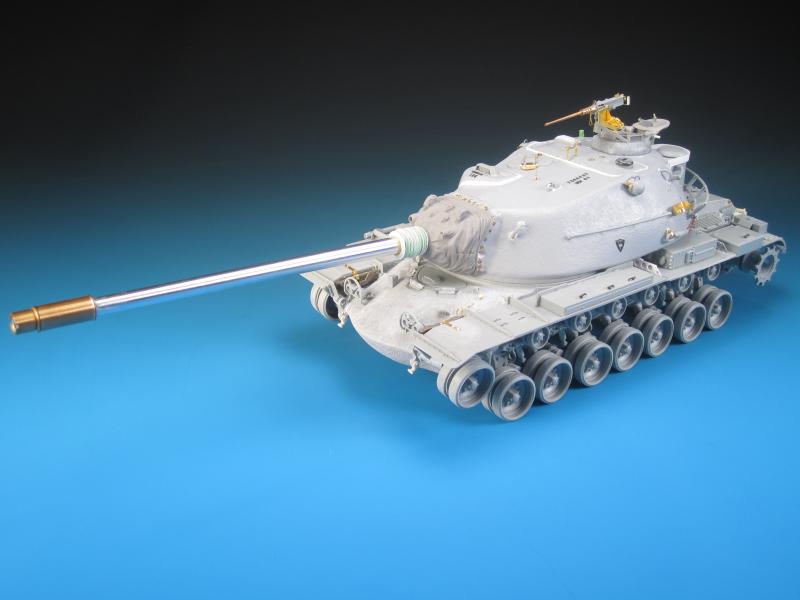
Inevitably I had to come up with a solution to creating the accordion style barrel dust cover. Dragon does not include the mantlet cover or dust cover in the kit. Legend Productions released their aftermarket mantlet cover but the resin dust cover is designed for the kit barrel. There are additional options for those handy with scratch building. One possible solution was the corrugated portion of an extra large or jumbo "bendy" straw. These can be found fairly easy at discount or "dollar" stores. I thought that this might be a great choice but due to the taper on the barrel as it reaches the mantlet the straw portion would not fit properly over the barrel. This would still be a great option if you had a barrel without a taper. The jumbo straw corrugated portion was cut to the correct size but would not slip smoothly on to the tapered portion of the barrel. It was too tight a fit. What other options are there? Door number 1 - You could create the dust cover from epoxy putty. This requires a steady hand and the ability to sculpt. Door number 2 - You could drill out the Legend Productions part and incorporate the taper. This also requires a steady hand and the RB barrel may still be too big to fit. Door number 3 - You could create the accordion look with multiple thin styrene disks over the distinct barrel taper. I chose number 3. I started with .010" (0.25 mm) thick styrene sheets and used the 7/16 circle template. I selected the 7/16 template after comparing the size to reference images and the Legend Productions resin part. Next I traced circles on the styrene sheet using the 7/17 circle template. From there I used the following process: 1. Cut out the 7/16 disks. I used simple scissors and not a fancy diamond edged scribing tool or laser etching device. 2. Smooth the edges with fine sandpaper to ensure even roundness. 3. Landmark the centre of each disk with a small punch. 4. Drill a larger hole in the centre of each disk with a drill bit. 5. I next mounted a cone shaped cutter in a Dremel Tool and on low speed began to cut into the centre of the first disk where the hole was drilled. I alternated by flipping sides to keep the enlarging hole even and smooth. I held the disk in between my thumb and forefinger in order to keep the disk stable. As the centre hole gets bigger the disk becomes less stable. 6. The first disk has the largest hole in order to butt up against the mantlet cover. I test fitted each disk as I was enlarging the holes in order to make sure each one was just a touch smaller in diameter from the previous one in order to fit properly on the barrel taper, yet leave a small gap. The Mk.1 eyeball with fingers crossed was the preferred technique. 7. When sliding the disks onto the barrel taper I was able to gently push them on at the base with tweezers. I used NO glue at all during this process (say it is not true!) and each disk held firm on the barrel taper. The next step I took with the dust cover was to start to fill in the gaps between the disks to create the appearance of a single form. I decided to try liquid Pro-Mask. It flows well, has a relatively long set up time, and is thin enough to apply multiple coats to build up the shape and fill gaps. I had considered plain old white glue but the Pro-Mask seemed OK. I applied it with a brush and let it flow into the crevices. Turning the barrel while it sets prevented it from pooling at the bottom. To finish off the dust cover I added a small amount of Tamiya putty to the face of the front disk. In looking at reference images this appears to show the dust cover slightly bunched and wrinkled. With the dust cover complete the bore evacuator and the muzzle counterweight were attached to the barrel.

About the Author


Comments


Thanks very much again Fellas! I really appreciate your positive feedback and comments.
What's next? I've got a few Leopards to get back to but as far as Cold War Heavies...a German KPz 70 and a British FV4005 are on the list.
MAR 10, 2016 - 04:01 PM
Which was more work, building the kit or writing that article? Both are a great effort. Nice to see something a little less covered here.
MAR 13, 2016 - 05:52 AM
Building the kit was for sure much more work. I'm glad you like both results!
MAR 13, 2016 - 09:55 AM

Thanks Colin...with any luck I will have it at the Alberta Open Model Contest in Edmonton at the end of May.
MAR 13, 2016 - 11:56 PM

Thanks Bob! Not nearly what you bring to the table with your amazing ships!
MAY 12, 2016 - 05:00 AM
Copyright ©2021 by Jason Bobrowich. Images and/or videos also by copyright holder unless otherwise noted. The views and opinions expressed herein are solely the views and opinions of the authors and/or contributors to this Web site and do not necessarily represent the views and/or opinions of Armorama, KitMaker Network, or Silver Star Enterrpises. All rights reserved. Originally published on: 2016-03-08 14:36:15. Unique Reads: 20561

WEB HOSTING BY


Copyright ©2021 Armorama and Kitmaker Network, a subsidiary of Silver Star Enterprises
All Rights Reserved. Please read our Conditions of Use and Privacy Policy.
All Rights Reserved. Please read our Conditions of Use and Privacy Policy.