

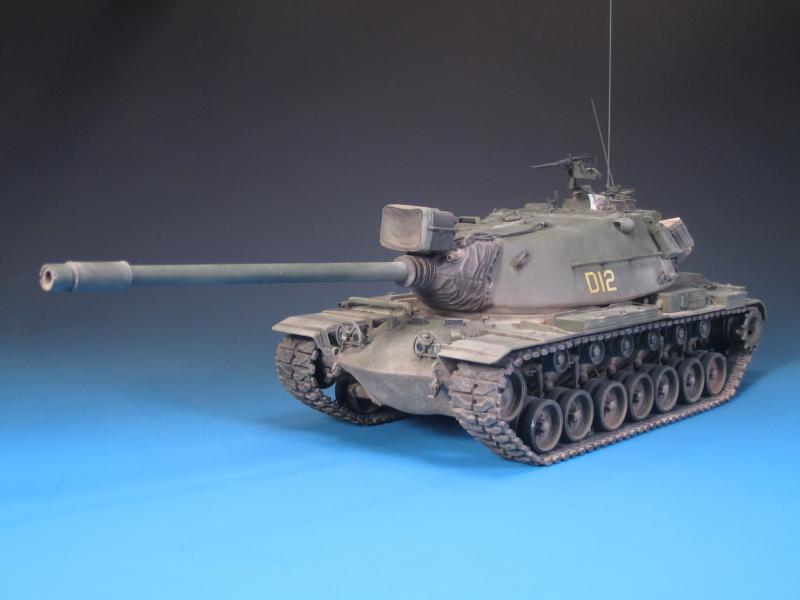
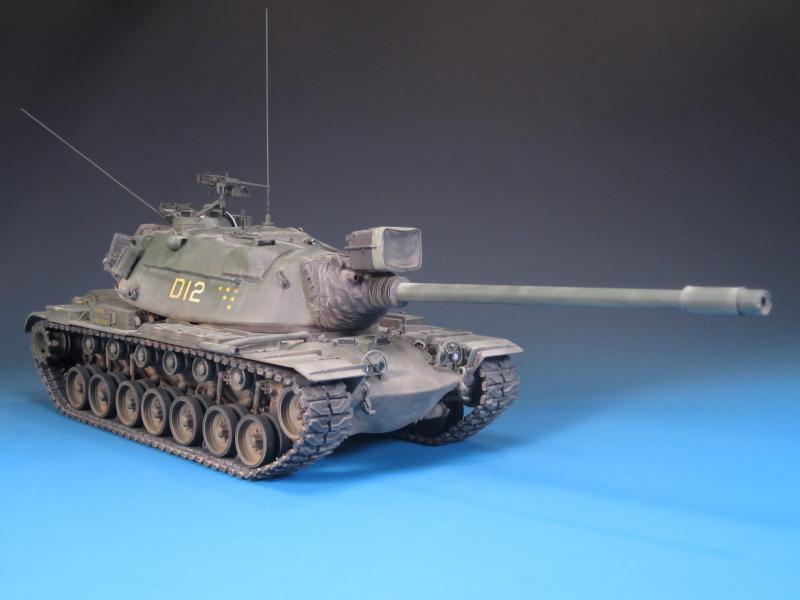
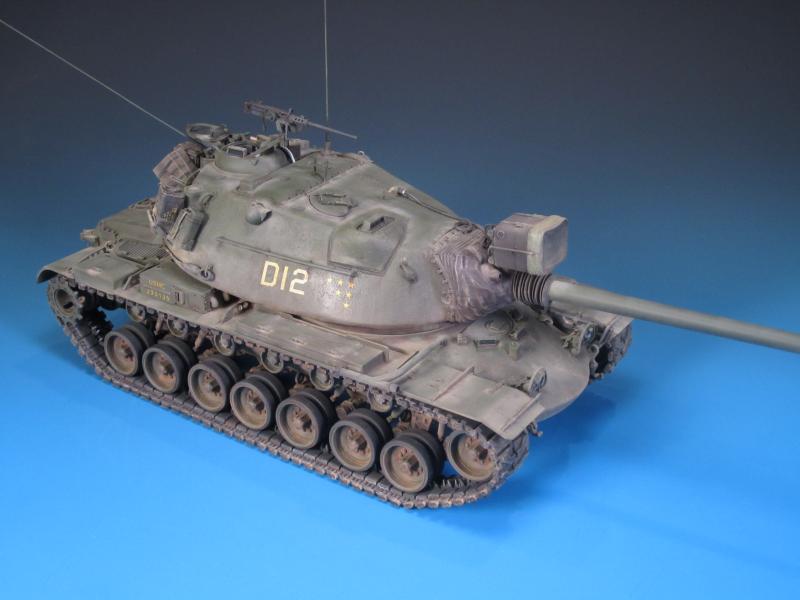
1⁄35M103A2 Heavy Tank
18
Comments
Part 15 - Kitting Up
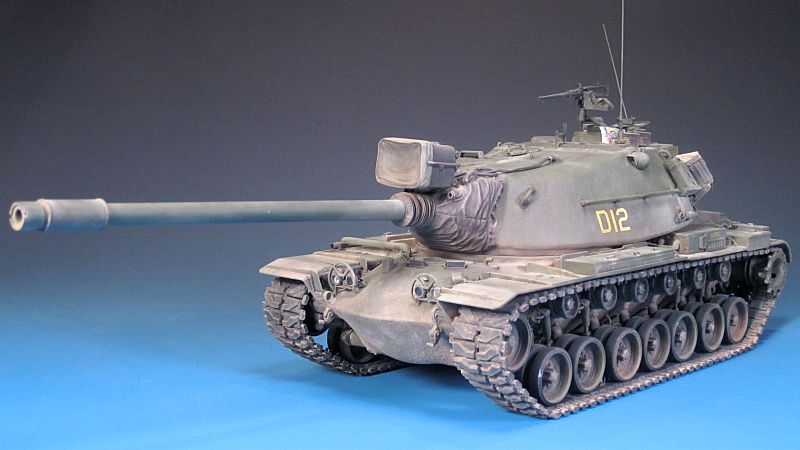
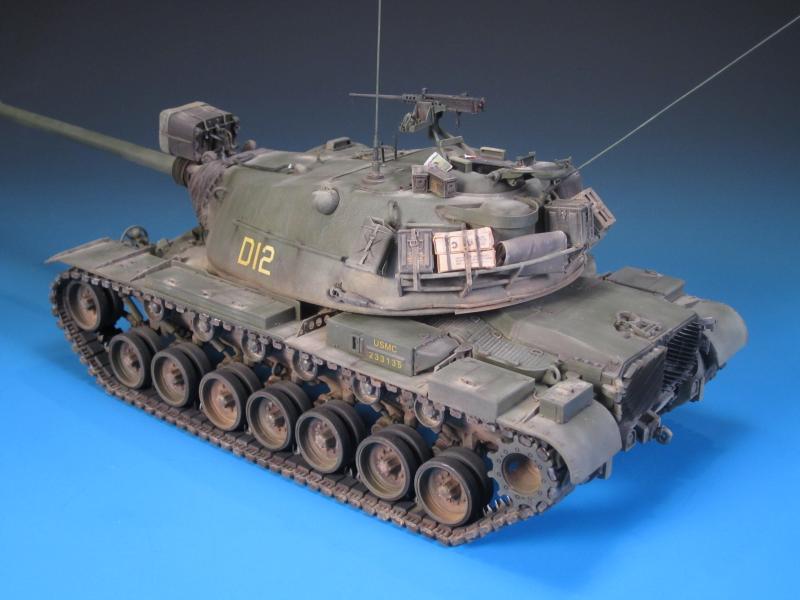
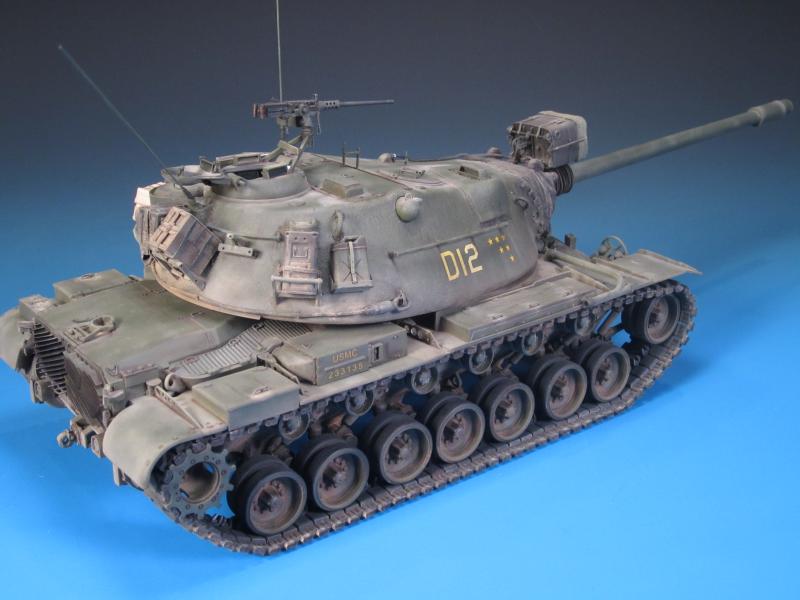
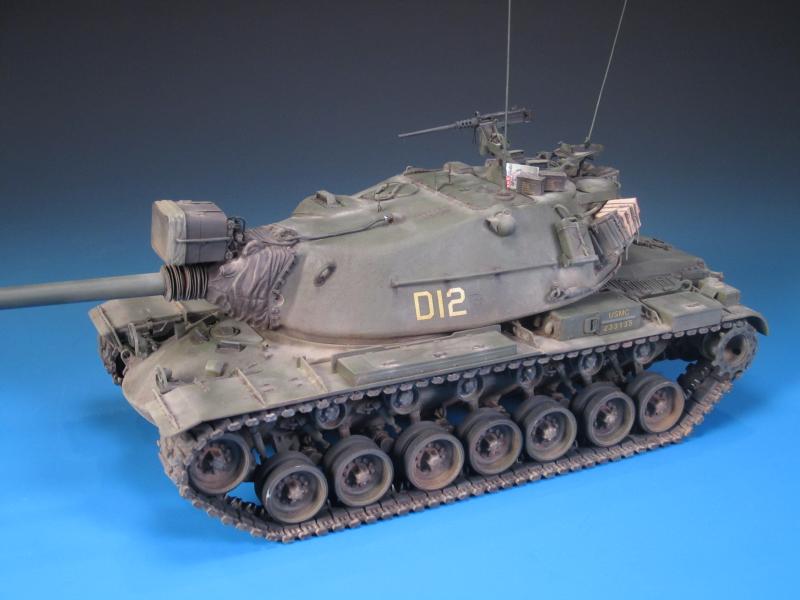
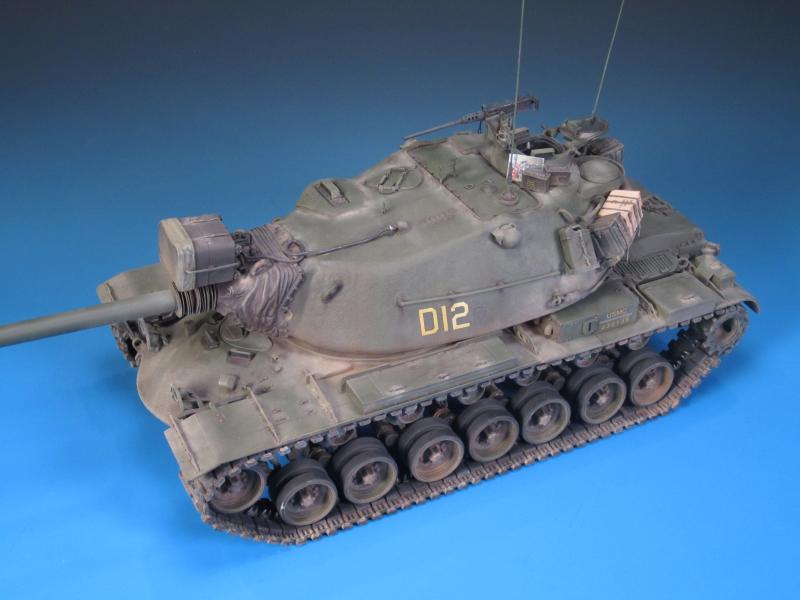
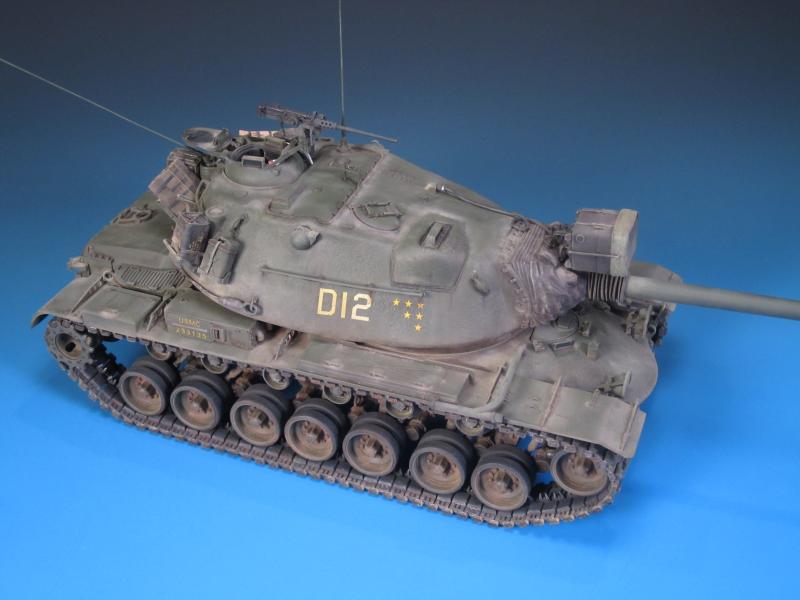
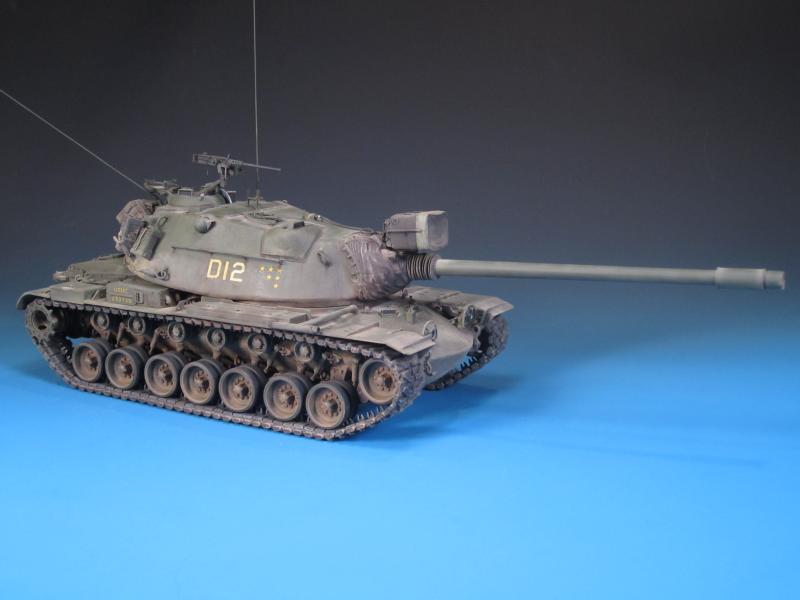
The M103A2s deployed to Guantanamo Bay were operationally ready. When they patrolled or were in defensive positions they were ready for action. That being said, the crews had accommodation and therefore carried what was needed to be operationally ready, but the tanks were not festooned with crew personal kit such as duffle bags or sleeping bags. From my review of images and contact with the former Platoon Leader, kit that was commonly carried on the turret racks were .30 Cal and .50 Cal ammunition crates, rations, water and fuel cans, and a tarp. There is no stowage provided in the kit. I sourced out a variety of stowage items from the Legend Productions M48A3 Vietnam Stowage Set II (LF1269). This is an amazing set, chocked full of ammunition containers, crew kit, bags, and ration boxes. I selected a variety of items and started test fitting them, keeping in mind that anything on the stowage racks would have to be secured with straps. I primed the stowage accessories with Tamiya NATO Black and mixed up a darker shade of Tamiya Olive Drab for the metal containers, and a thinned mixture of Tamiya Buff for the wooden ammunition crates. Once they were dry I applied light washes of Raw Umber oil paint. To create the tarp I used a method I have been using for several years. Take a rubber disposable glove and cut it open to expose the palm and back. The gloves are easily sources at hospitals, clinics, hobby shops, and hardware stores. The colour does not matter as it will be painted. Cut a square of rectangular large piece that will form the folded tarp. The key here is illusion as you will be folding the glove portion to create the look of a folded tarp. As you fold the tarp use tiny applications of CA glue to hold the folds and curves. CA glue instantly sticks and holds the latex glove material. Once you have the look you want, straps or rope of your choice can be used to secure the tarp. In relation to painting this newly created tarp, I find that Tamiya acrylic paints work best either airbrushed or brush painted. The paint applies and adheres to the latex very smoothly. Once dry the tarp can be weathered with oil washes, dry brushing, and pigments / pastels as you desire. A variety of dry transfer stencils and decals were used for the ammunition containers and crates. The markings provided just a touch of colour and set the stowage apart from this very large turret. Stowage on a tank is not magnetic nor Velcro, so it needs to be secured to the storage racks. The tank turret itself has tie down loops to, you guessed it, tie down kit and equipment. There are a variety of ways to secure kit with half decent looking straps. Ive used strips of paper, PE straps, foil straps, thin thread, and in this case thinly cut strips of Tamiya tape with some PE buckles to make them more realistic and breakup the straight edge. With the stowage fully painted I positioned them accordingly. Using the Tamiya tape straps, I went about securing the kit to tie down loops and the bustle rack. Leaving the strap ends with varying loose ended lengths gives a diverse realistic look. The stowage items were given a treatment of pigments in order dust them up and blend them in with the rear of the turret. The colour variations and markings on the stowage added a further level of detail to the very large turret. Additional pigments were added to the turret and hull top, concentrating on areas where fine dust would accumulate and embed along weld seams and fittings. The final touch to personalize the tank was the addition of a 1/35 pack of Marlborough cigarettes on the cupola ring, and an issue of Life Magazine to pass the time on the defensive position. Both items were produced by DioArt.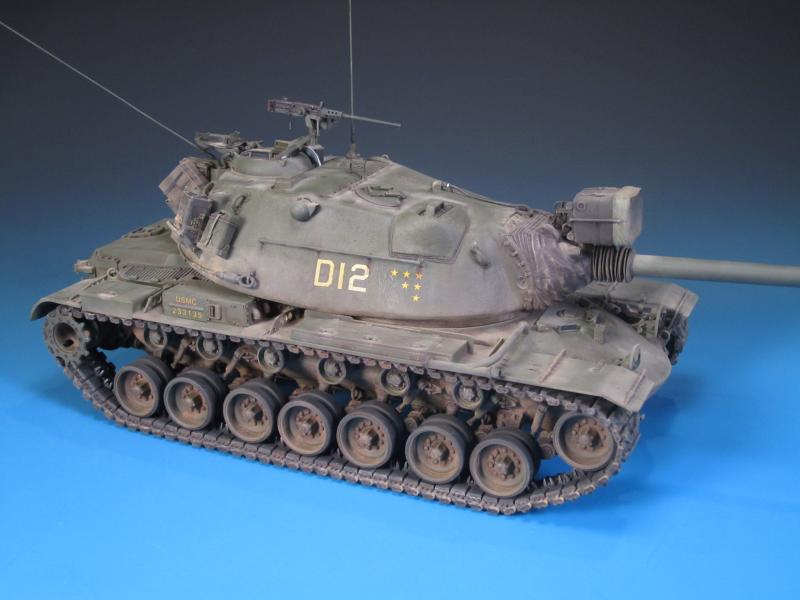
About the Author


Comments


Thanks very much again Fellas! I really appreciate your positive feedback and comments.
What's next? I've got a few Leopards to get back to but as far as Cold War Heavies...a German KPz 70 and a British FV4005 are on the list.
MAR 10, 2016 - 04:01 PM
Which was more work, building the kit or writing that article? Both are a great effort. Nice to see something a little less covered here.
MAR 13, 2016 - 05:52 AM
Building the kit was for sure much more work. I'm glad you like both results!
MAR 13, 2016 - 09:55 AM

Thanks Colin...with any luck I will have it at the Alberta Open Model Contest in Edmonton at the end of May.
MAR 13, 2016 - 11:56 PM

Thanks Bob! Not nearly what you bring to the table with your amazing ships!
MAY 12, 2016 - 05:00 AM
Copyright ©2021 by Jason Bobrowich. Images and/or videos also by copyright holder unless otherwise noted. The views and opinions expressed herein are solely the views and opinions of the authors and/or contributors to this Web site and do not necessarily represent the views and/or opinions of Armorama, KitMaker Network, or Silver Star Enterrpises. All rights reserved. Originally published on: 2016-03-08 14:36:15. Unique Reads: 20561

WEB HOSTING BY


Copyright ©2021 Armorama and Kitmaker Network, a subsidiary of Silver Star Enterprises
All Rights Reserved. Please read our Conditions of Use and Privacy Policy.
All Rights Reserved. Please read our Conditions of Use and Privacy Policy.