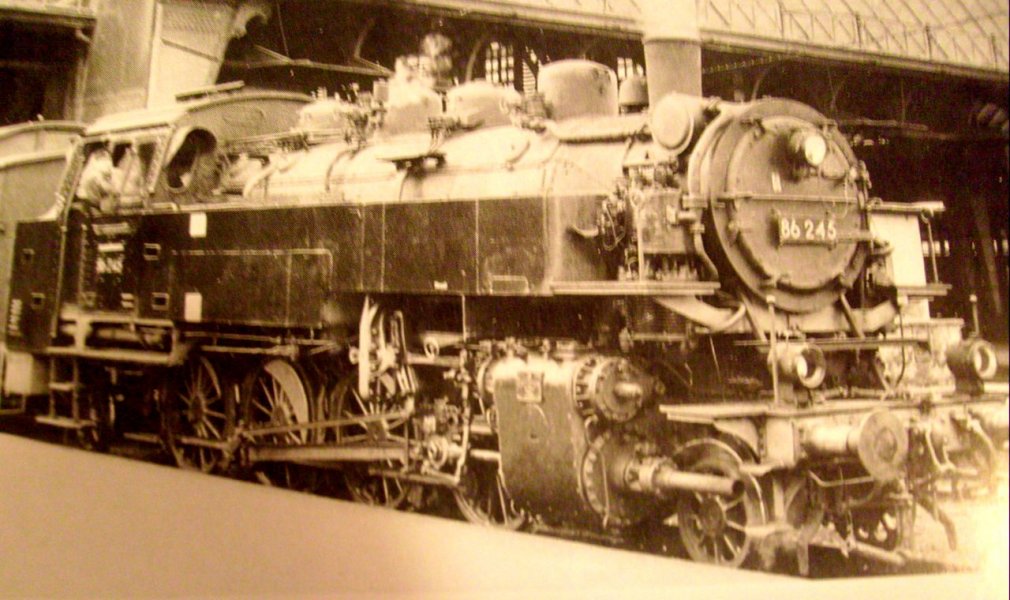
The work on 86 245 started at very end of 1935, and the finished loco (serial number 3291) left the Schichau-Werke factory 10.3.1936. So I´d say that 86 245 in red and black painting scheme from 1935 year mentioned in CMK instructions is ??? I would doubt the red wheels anyway. The loco went in Schwerin and Rostock direction to start its duty. After the end of the WWII, BR 86 245 was taken by Soviet block within the scope of the war compensations, and it held its duty in Eastern Germany DDR in Rostock and Dresden area. 19.2.1980 the BR 86 245 was sold to Wustermark as a heating loco. Probably in 1985 it finished its life at loco cemetery in Berlin.
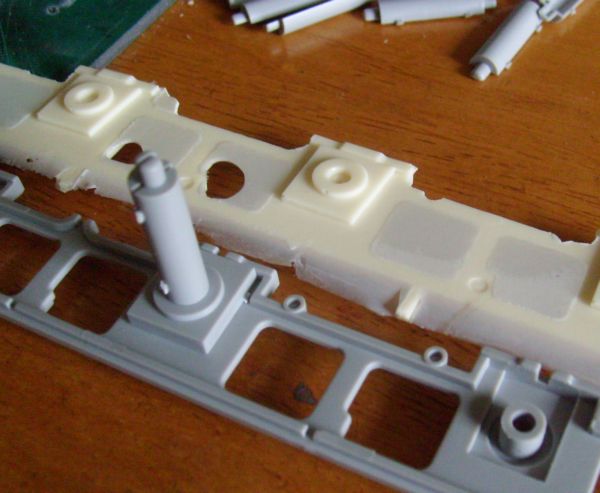
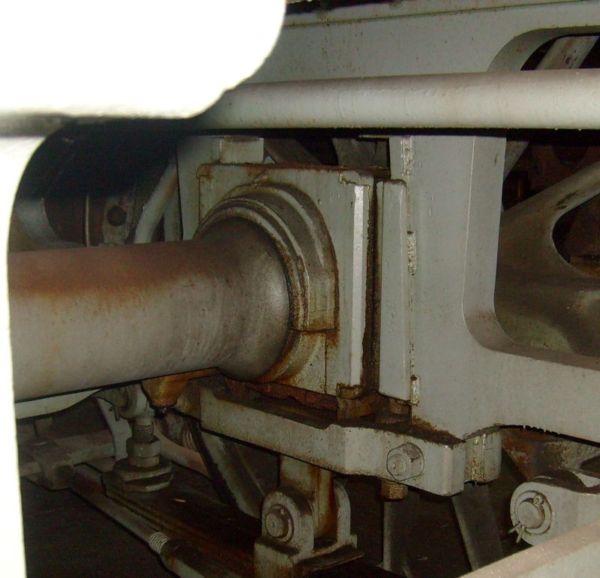
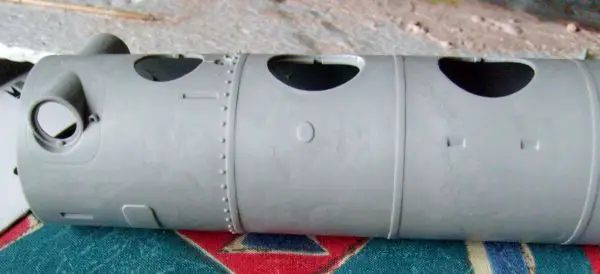
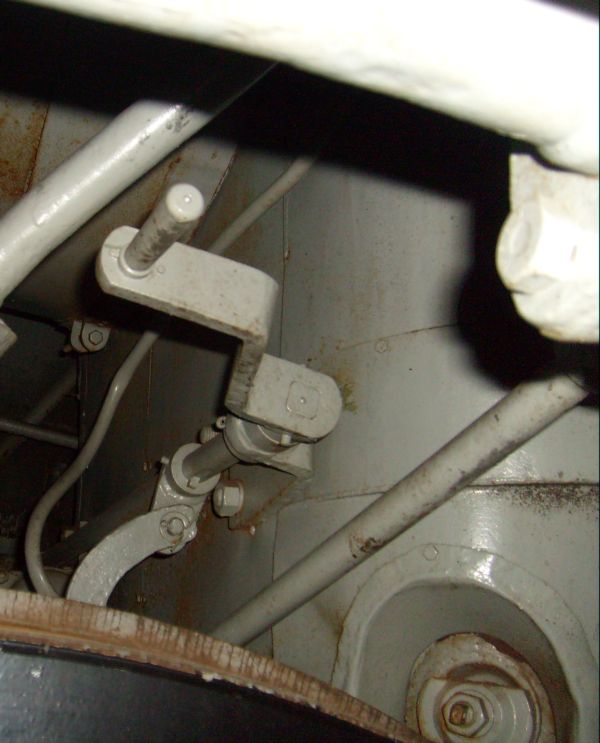
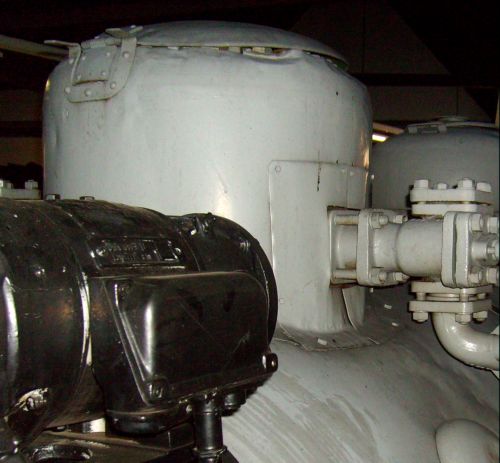
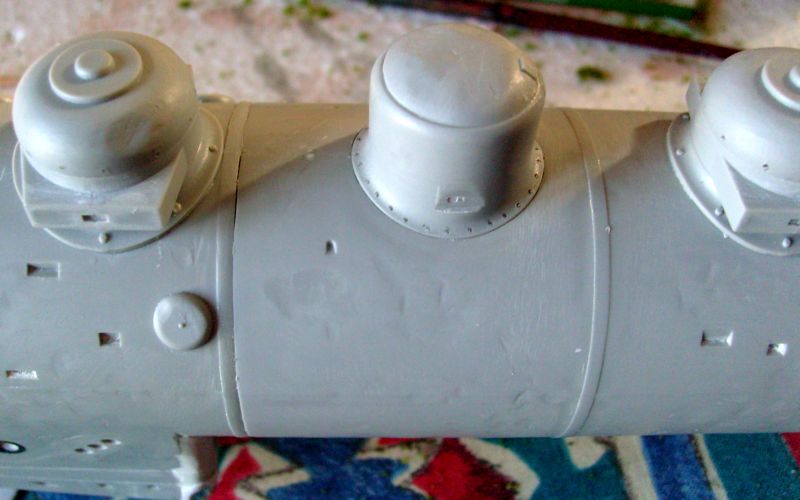
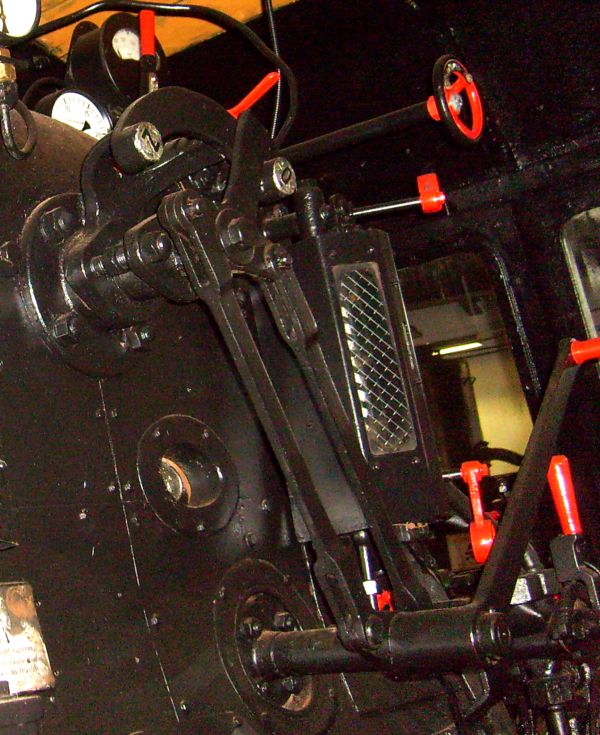
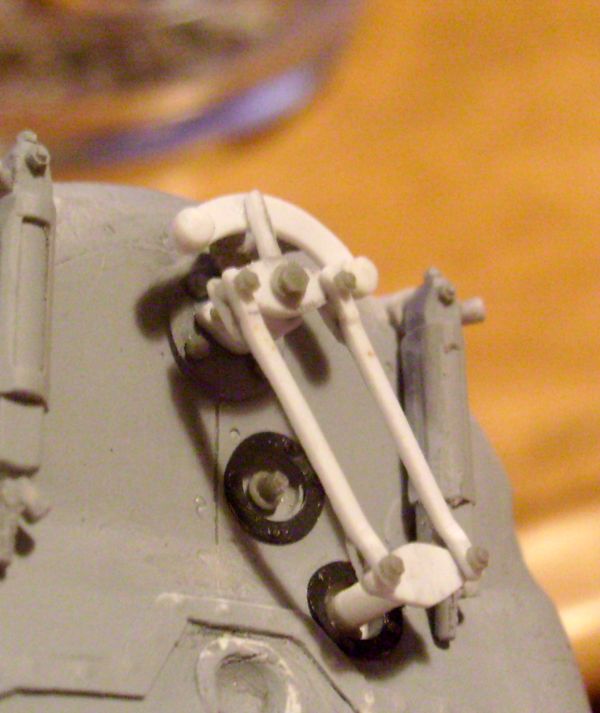
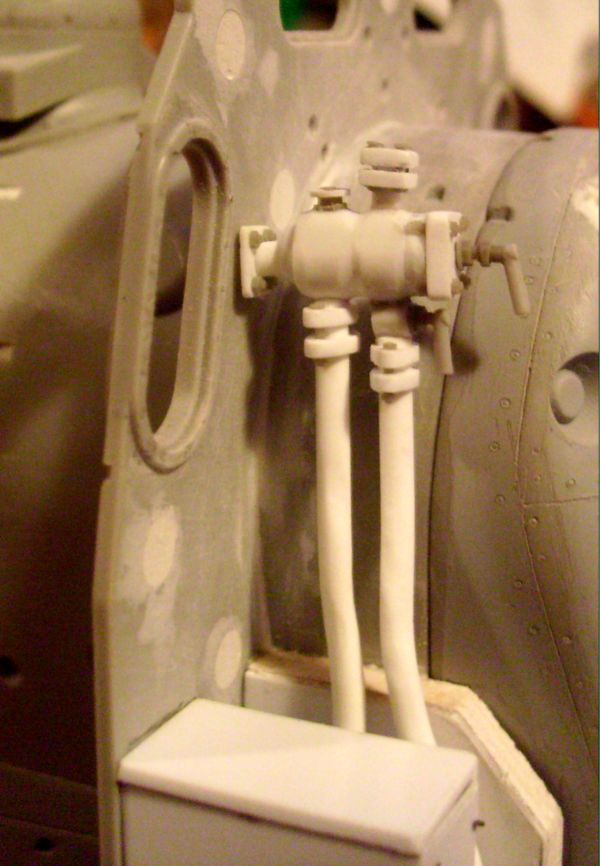
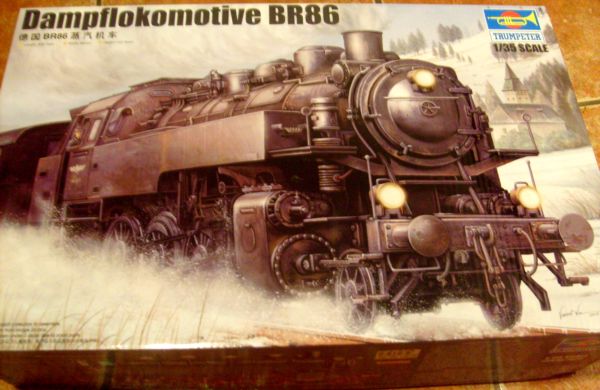
Trumpeter´s kit is very, very simplified the same way like the CMK´s one was, many parts just missing or even wrong. Since 1934 most manufacturers started with double body compressors for BR 86 serie, the chassis were improved and that changed the length of the main connecting rods. Also new steam injector came out, free axles were changed and many more, but this is mostly about parts missing in the kit anyway. There is improved steam cylinder used on the kit, but still old single compressor. BR 86 245 had double one mounted on from manufacturer. Also with second number 271 Trumpeter follows CMK and I am currently checking, if grey painting scheme for this loco number was right. Br 86 271 was manufactured also in Schichau-Werke factory, serial number 3306. Loco left the factory 9th of January 1937, in Frankfurt and Altenkirchen direction, after WWII used to service around Nuremberg and finaly the loco finished its life 11th of December 1968. That means its construction was also very different from the kit, which seems to be closer to some BR 86 loco manufactured before 1931, but then probably with wrong later cylinder. I will bring exact informations, when my research is completed. A picture of real BR86 245 to compare.
I´ll be back with first update soon.
Cheers
Libor