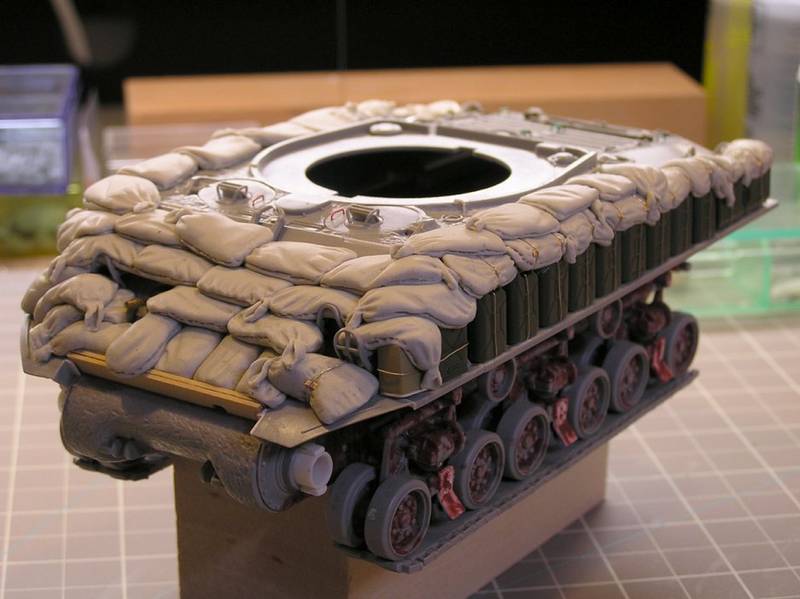
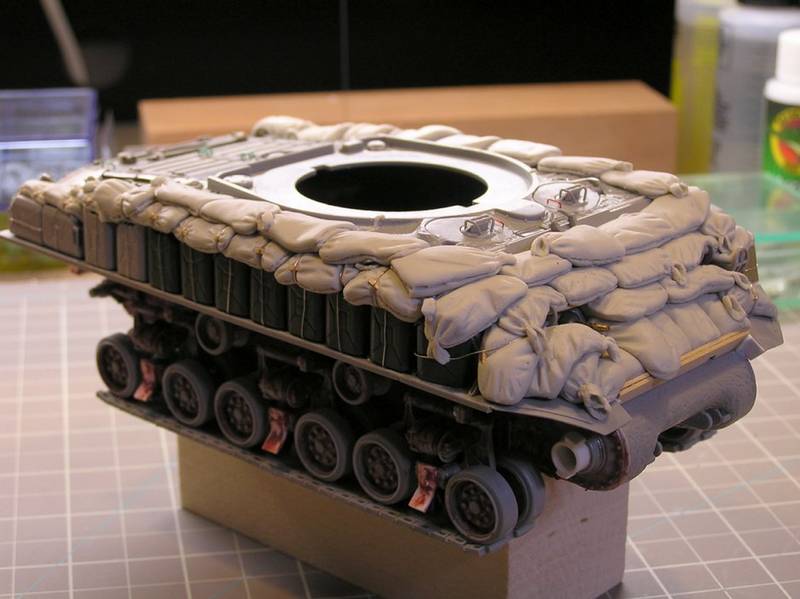
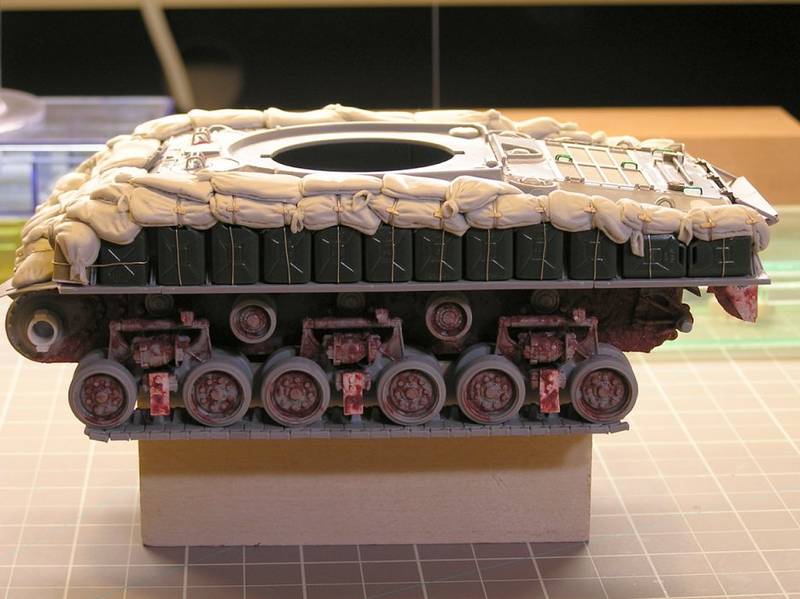
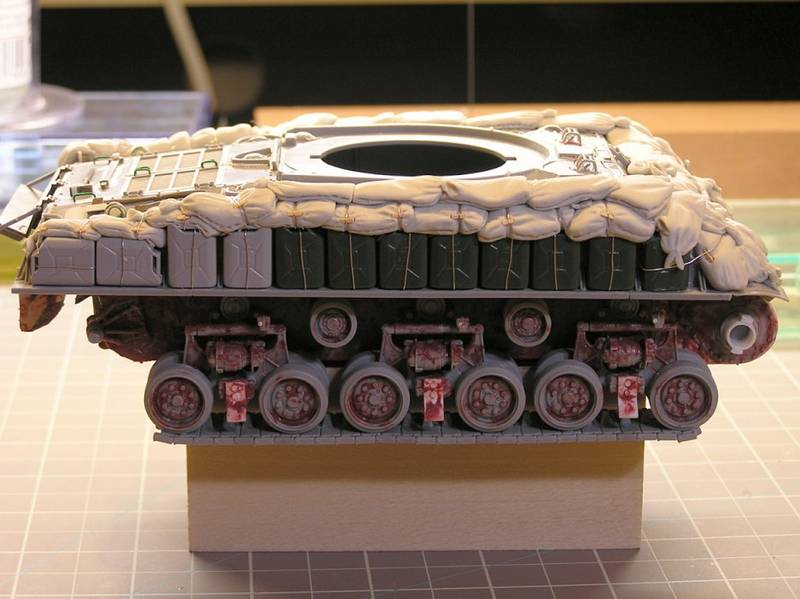
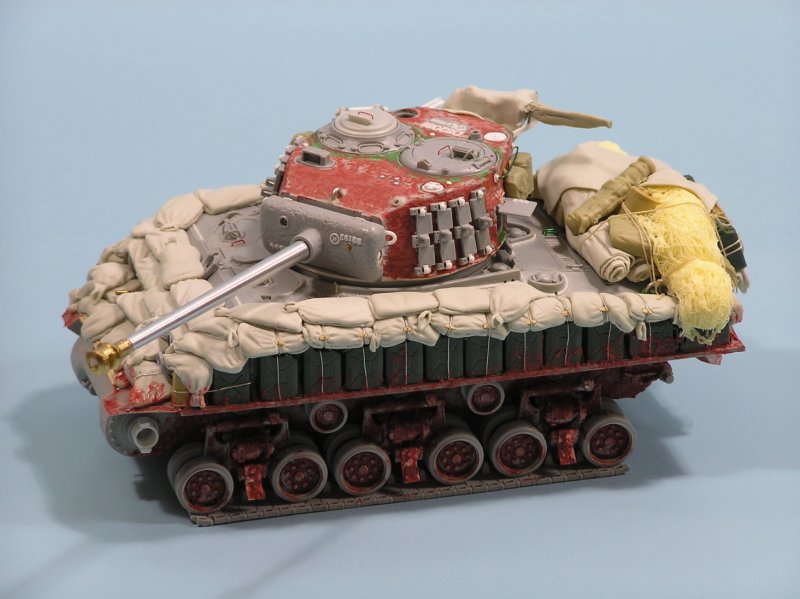
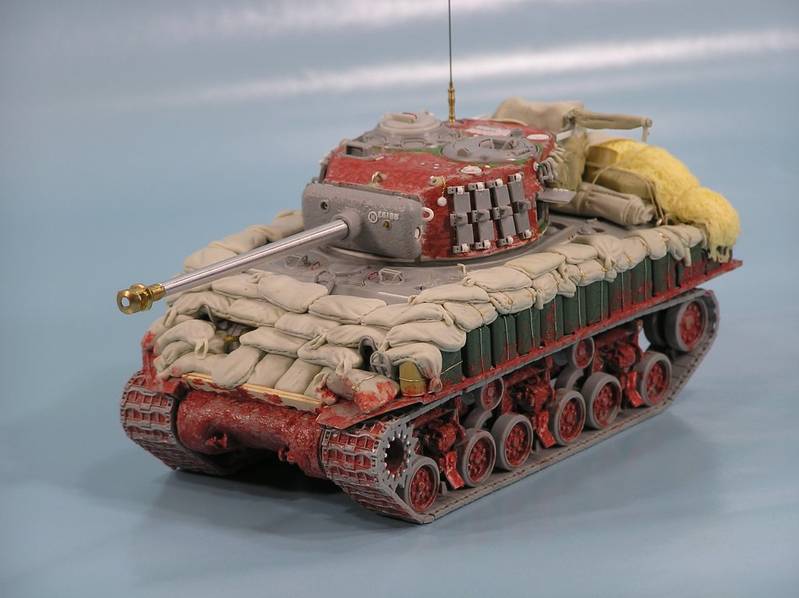
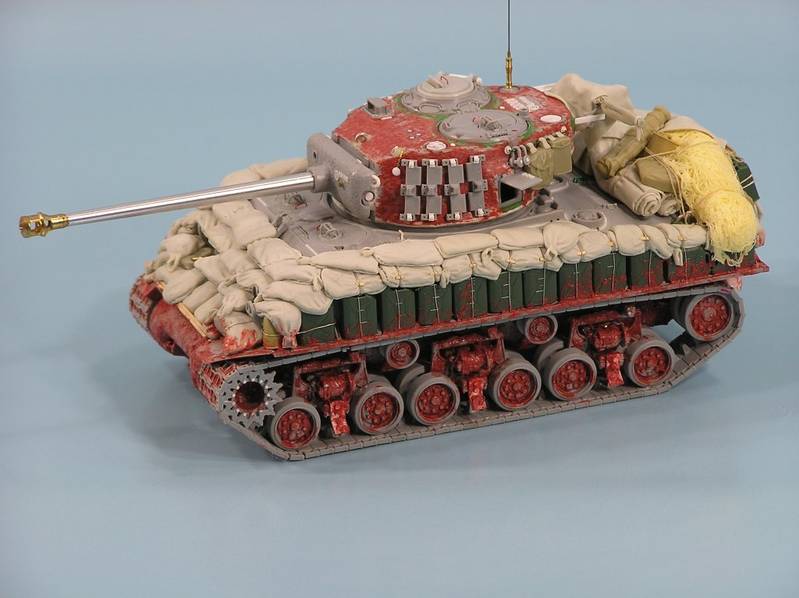
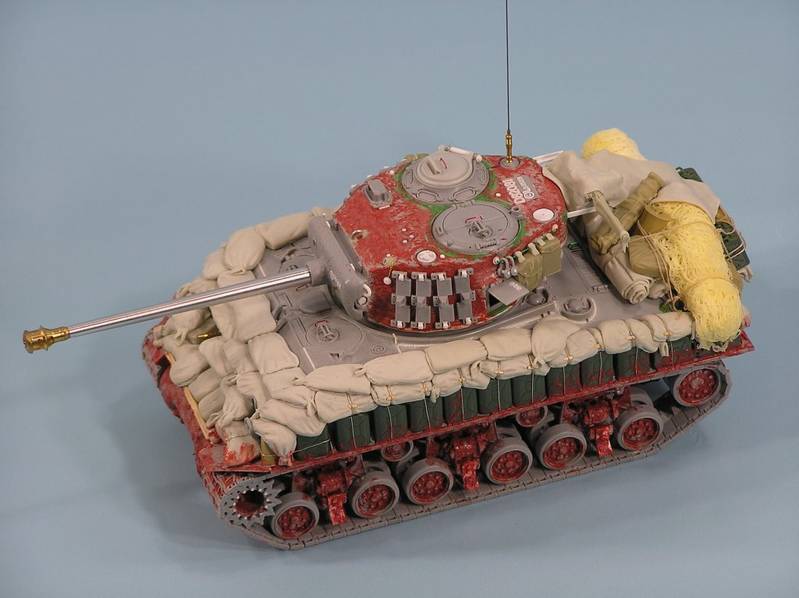
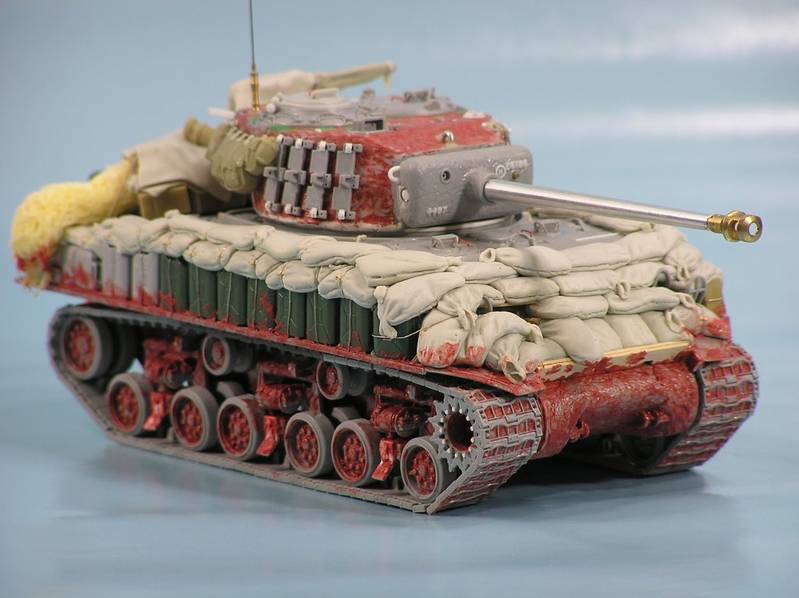
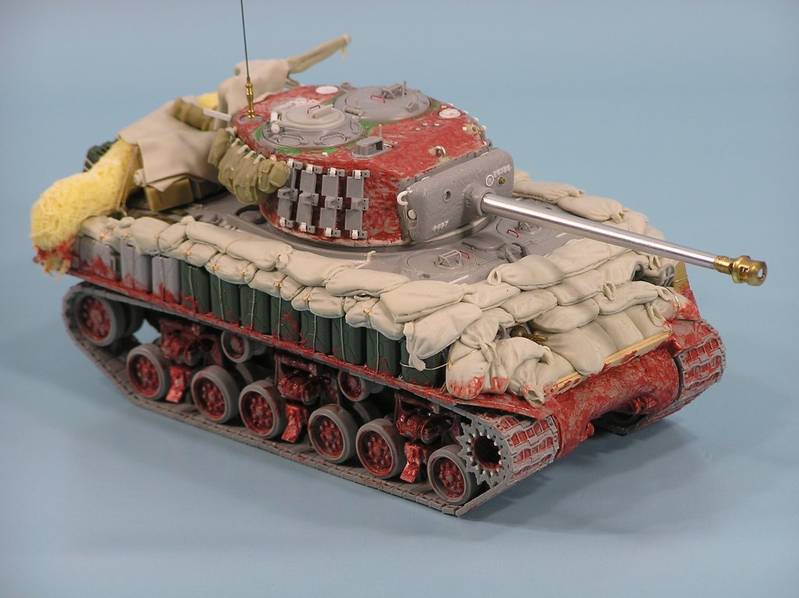
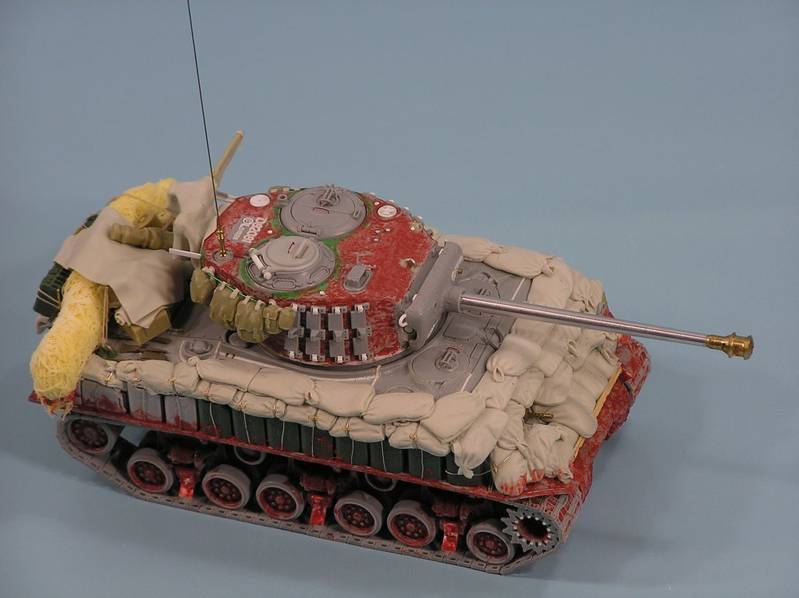
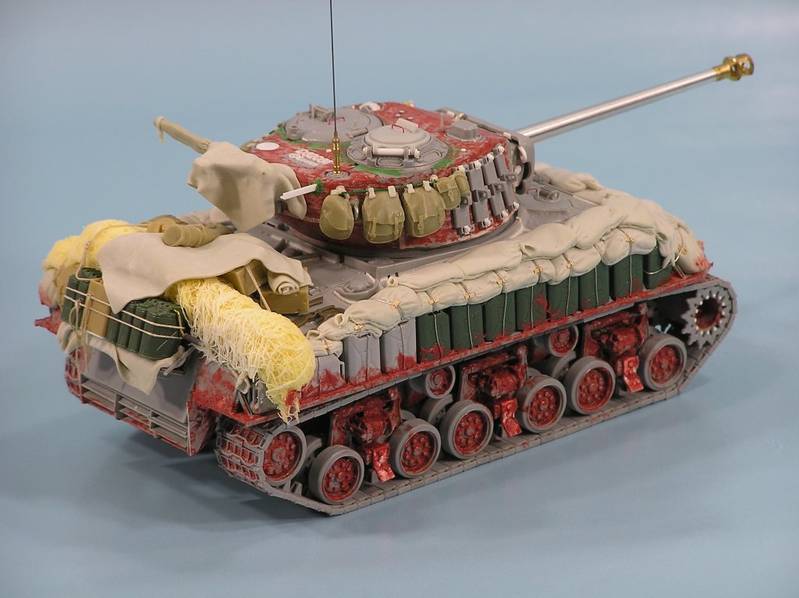
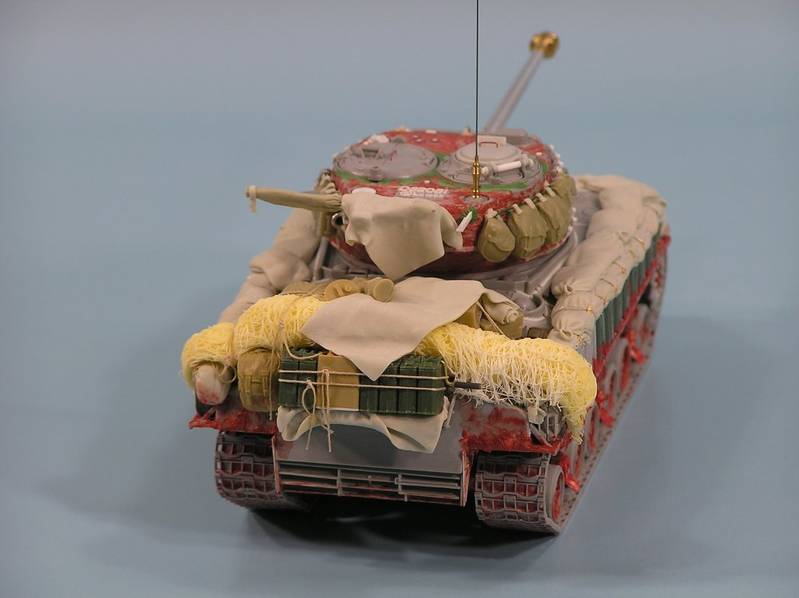
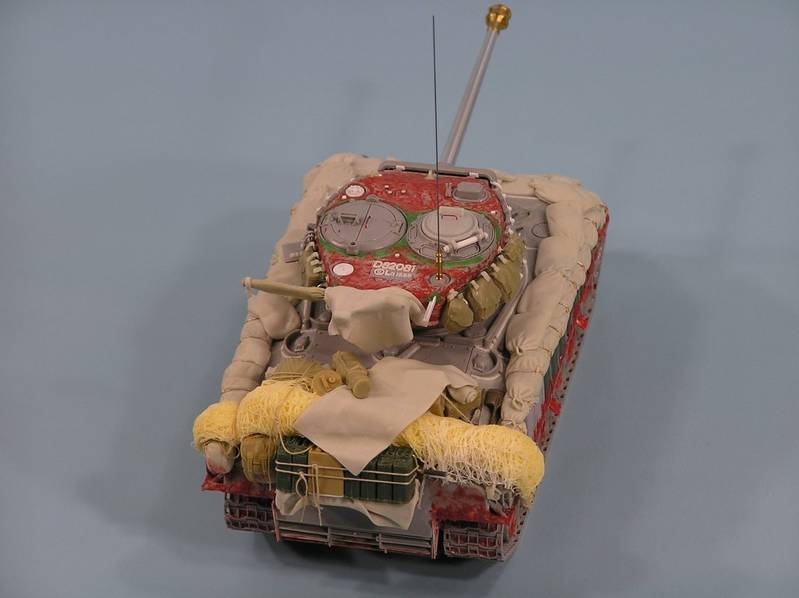
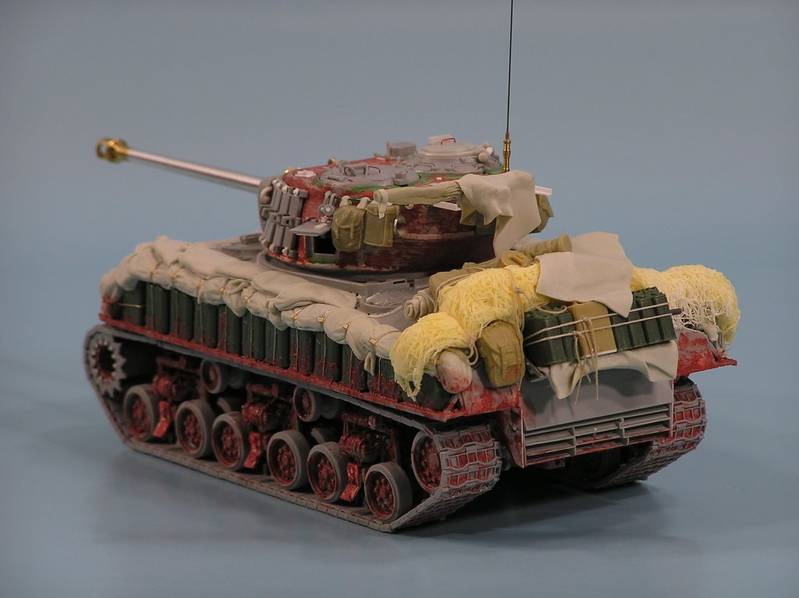
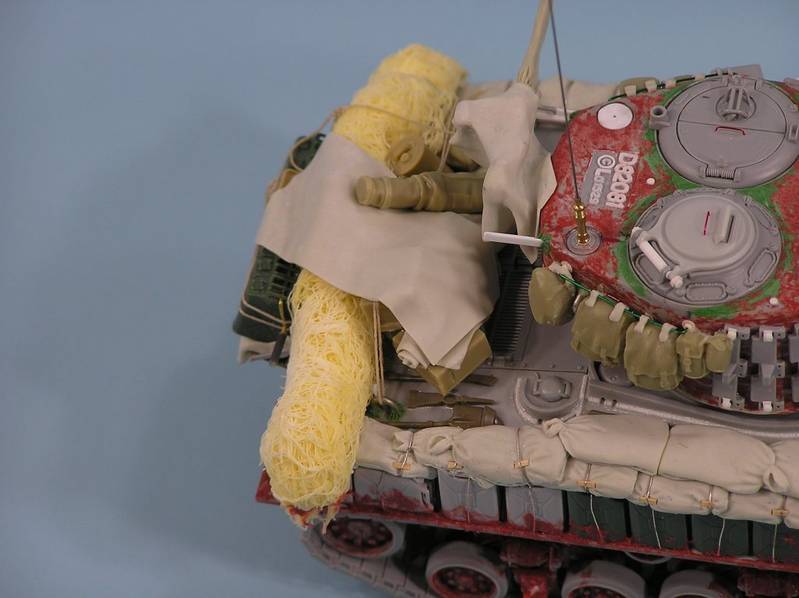
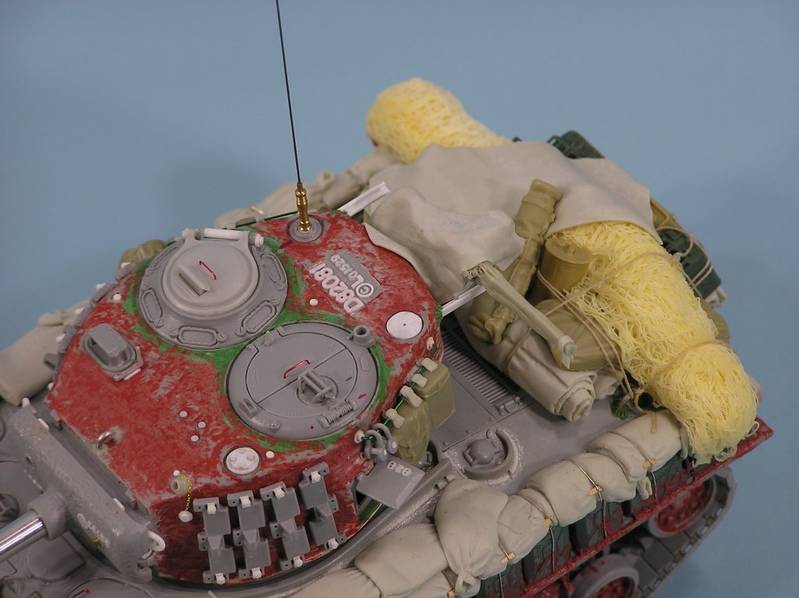
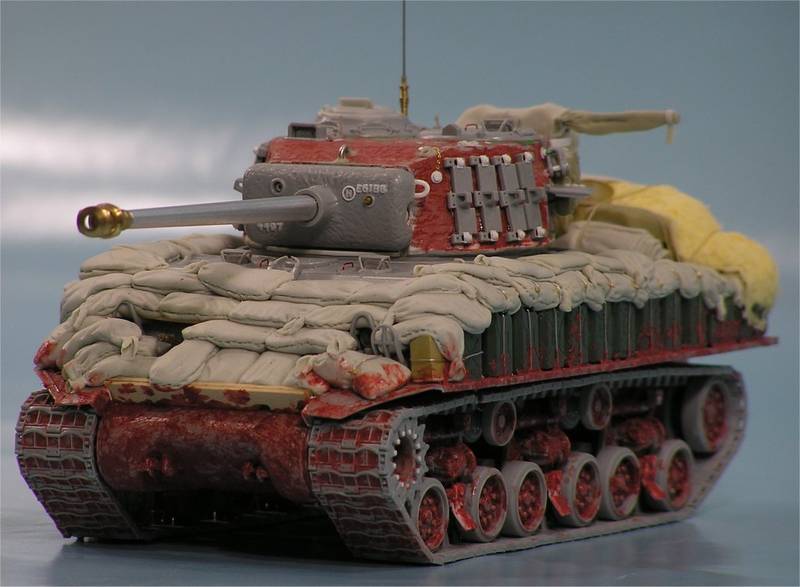
Greetings to All!!
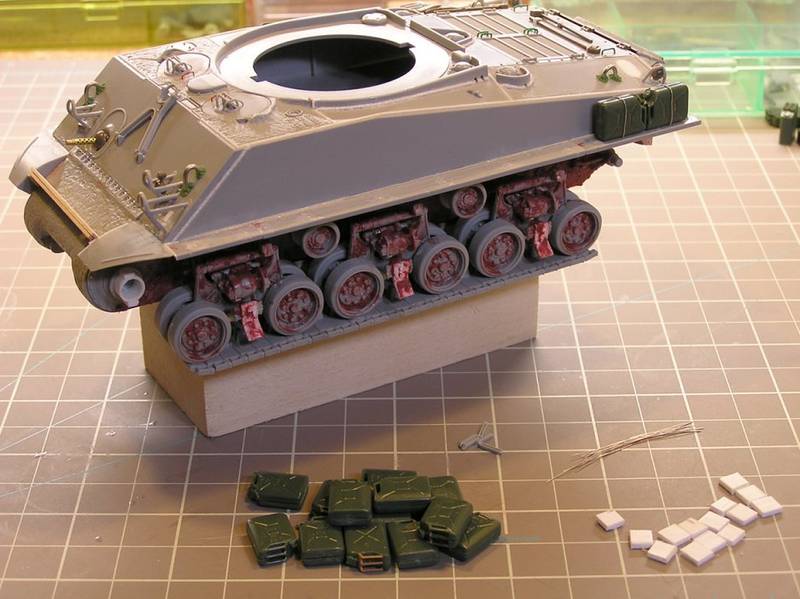
While this is the first post for this build log it is actually part 9 in an on going project for the Sherman Campaign. I decided to start this build log as recent events have accrued that may impact my ability to complete the campaign by the end date. But I’m hoping to finish on time.
Below are links to the pervious posts for this build if you wish to review the progress up to this point.
Part 1-Concept
Part 2-Upper/Lower Hull Fitting & Assembly
Part 3-HVSS Suspension Assemblies
Part 4-Welding
Part 5-What a Bloody Mess!!
Part 6-How About A Lift?
Part 7-Making Tracks
Part 8-Basic Upper Hull Completed
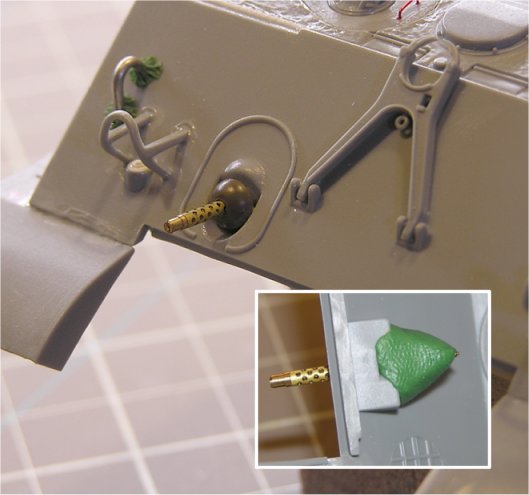
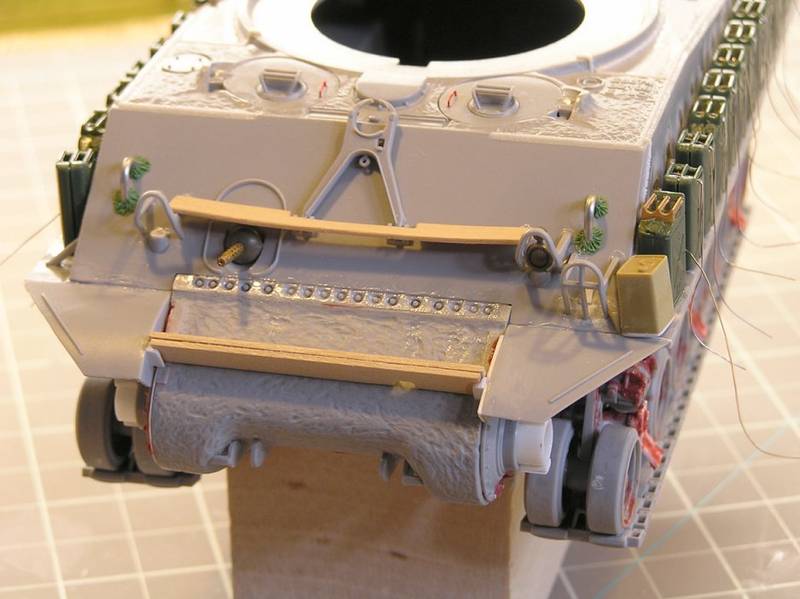
Now on to the current post, I’ll be covering the constructing of handles for hatches, power plant access doors and this can even be use for tie downs.
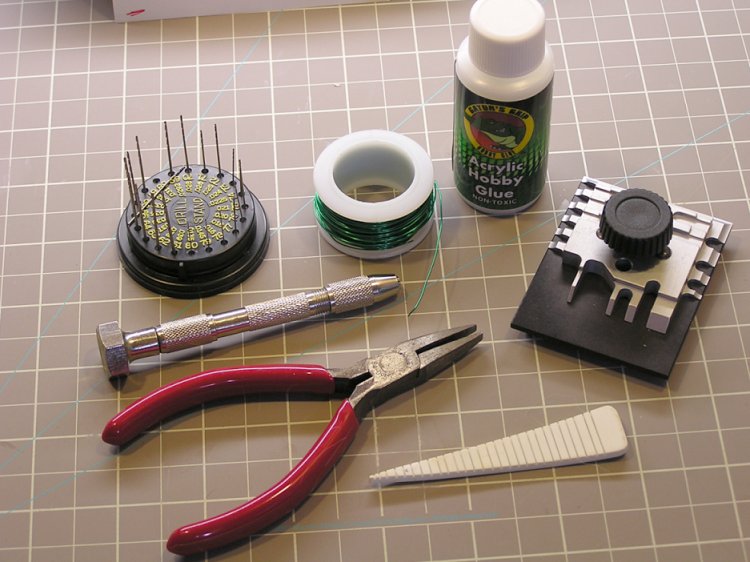
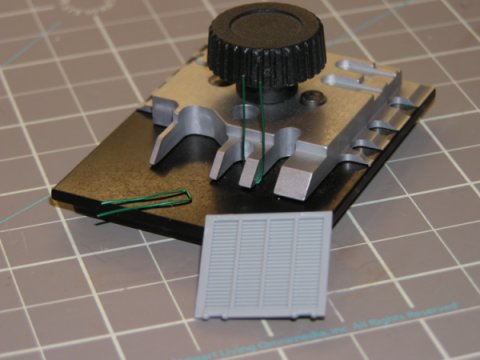
Below you see the tools that are utilized. Holes are drilled for the appropriate size wire being used at the location where the handles will be applied. The pliers will help squire the handles after the basic shape is set using the jig.
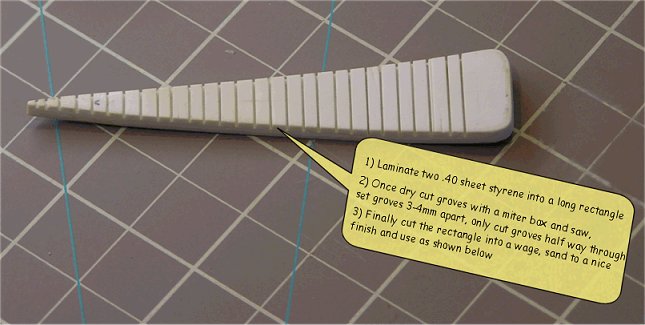
The Jig below helps form the handles into the basic shape. The best part of this jig is that it’s free with the only cost being in materials used to build it. I built this one about 15 years ago!!
Another option for forming the handles is to use a PE folder if you own one already. Just use an appropriate sized “finger” on the folder to set the width of the handle and finish squiring it off with your handy pliers.
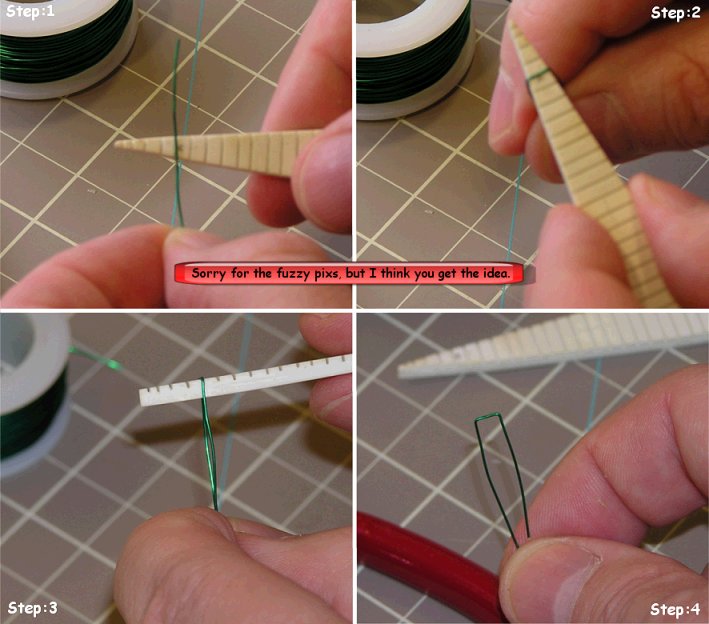
The following illustration steps you through the process of using the jig to form the shape of handle, not hard to do but does need a little practice.
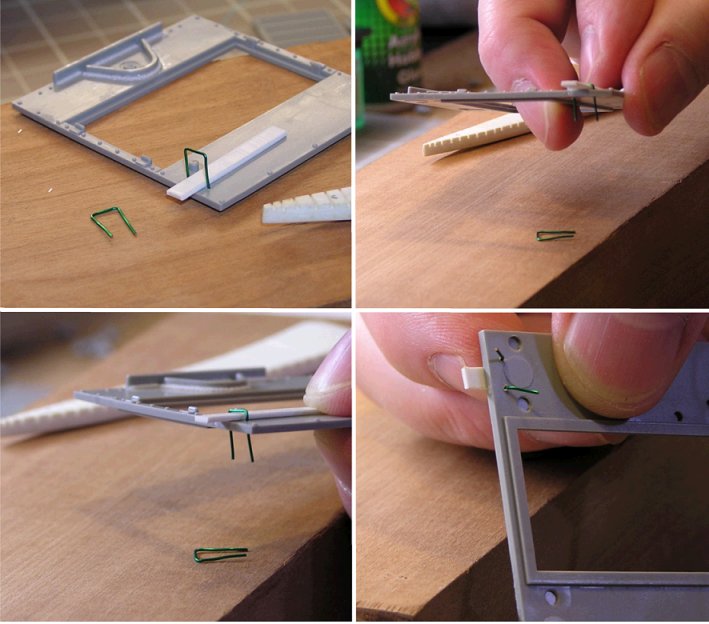
Next is to attach the handles to the location. Use a spacer to help set the height of handle. On the backside bend the wire in to help hold the handle in place. Use whatever glue you like and allow to dry.
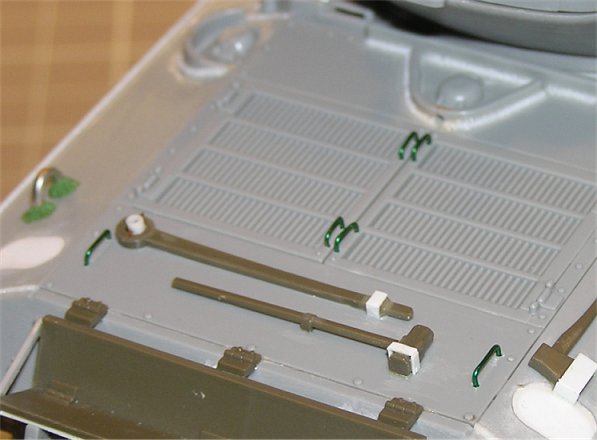
That’s it your handles are basically done. If you like add a little epoxy putty for welds at the base of the handles.
I hope many of you found these helpful and provide ideas that you can apply to your future modeling projects!!


